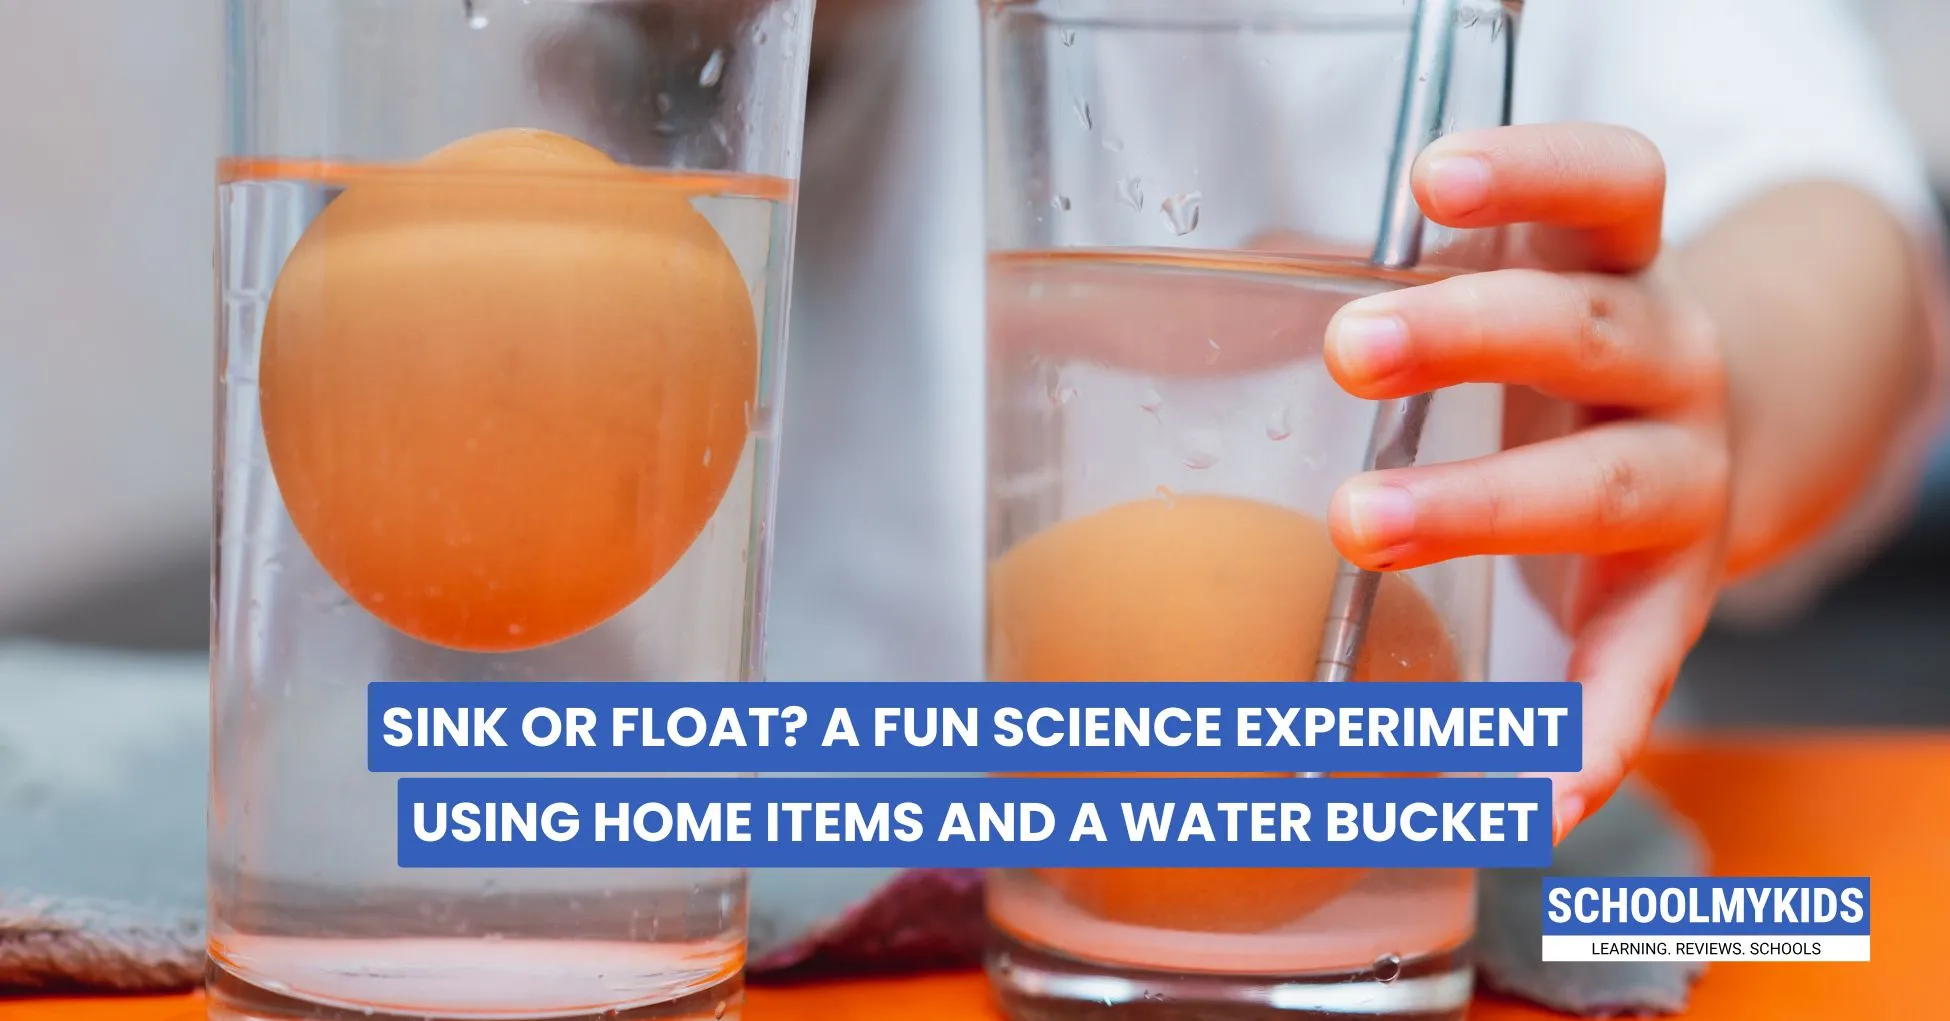
Have you ever wondered why some things float in water while others sink to the bottom? This classic science experiment is not only super easy to do at home, but it’s also a lot of fun! You’ll get to play with water, use things from around the house, and learn some cool science facts. Let’s dive in and learn how to do the sink or float experiment in five simple steps.
What's This Experiment All About?

The sink or float experiment is super cool because it teaches us about something called "density." Don't worry - density just means how heavy something is compared to how much space it takes up. Think of it like this: a rock is really heavy for its size, but a balloon is super light for its size. That's density!
When something is denser (heavier) than water, it sinks. When it's less dense (lighter) than water, it floats.
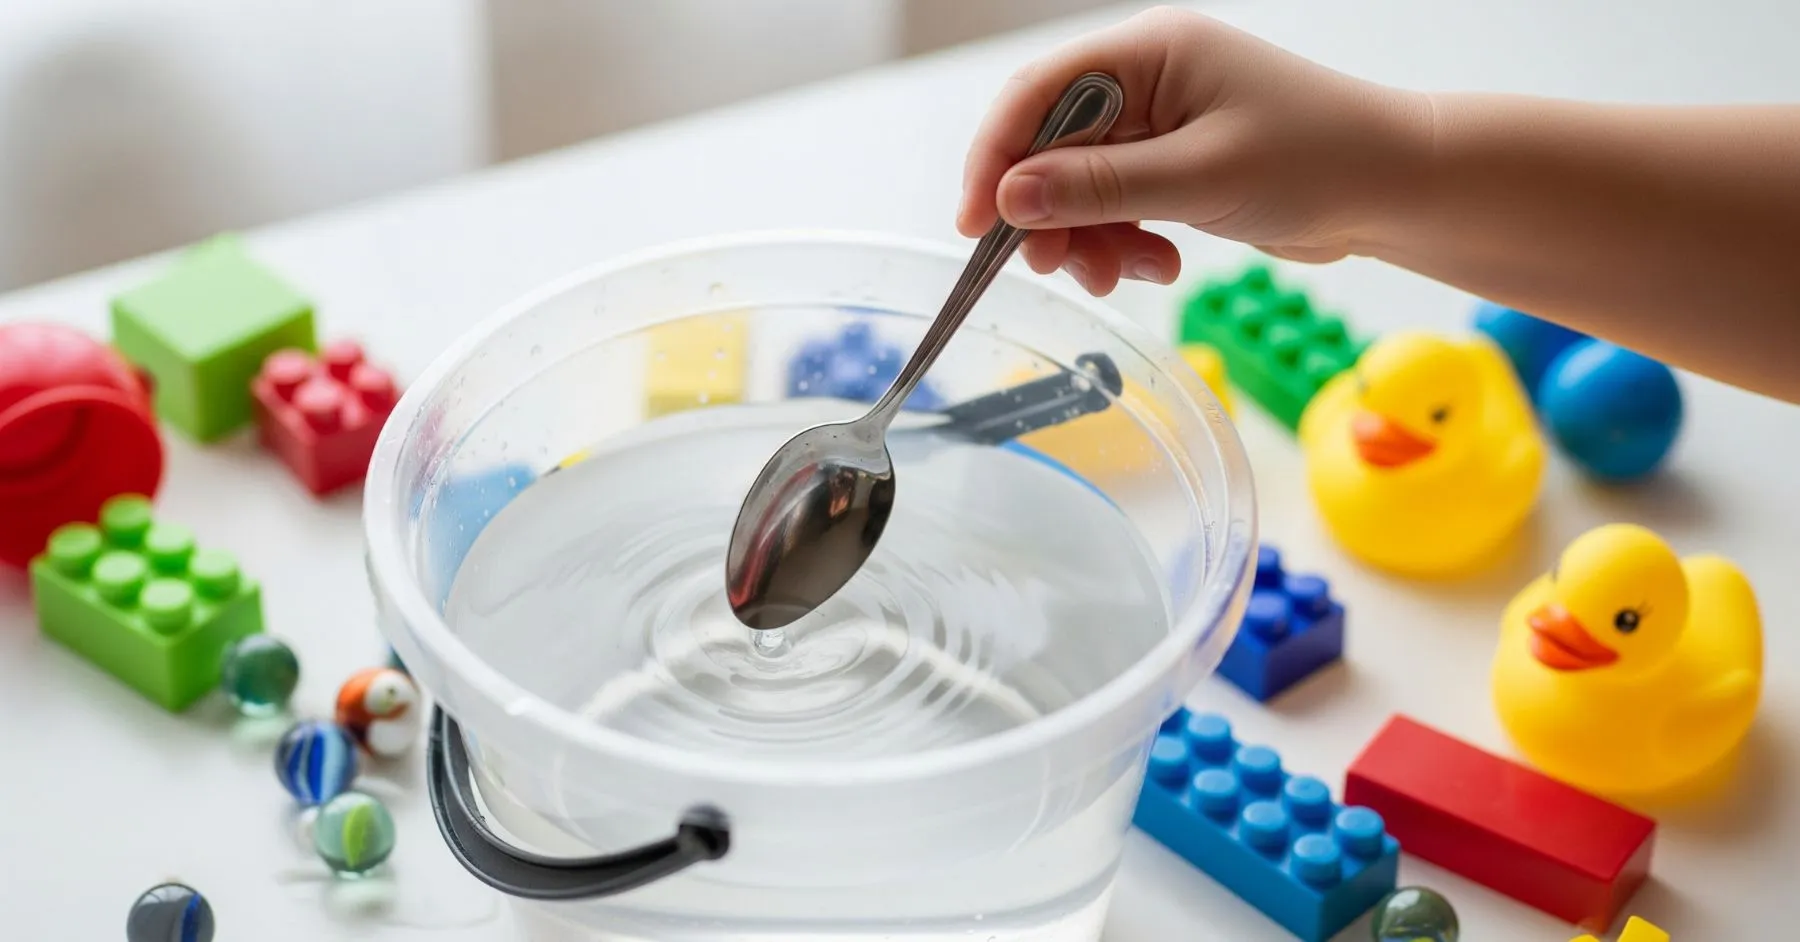
What You'll Need (All From Home!)

Before we start, let's gather our supplies. You won't need to buy anything special:
- A large water bucket or big bowl
- Water (enough to fill your bucket halfway)
- Paper towels for cleanup
- A notebook and pen to record results
Now for the fun stuff - items to test! Look around your house for:
- An apple
- A coin
- A plastic bottle cap
- A small toy car
- A cork or wine stopper
- A paperclip
- A small piece of wood
- A grape
- A marble
- A foam ball or ping pong ball
- A small stone
- A plastic spoon
You can add as many objects as you want.
Step 1: Set Up Your Science Lab

Fill your bucket with water until it's about halfway full. You don't want it completely full because water will splash when you drop things in.
Put some paper towels around your bucket area because things might get a little messy (and that's totally okay!). Set up your notebook nearby where you can easily write down what happens.
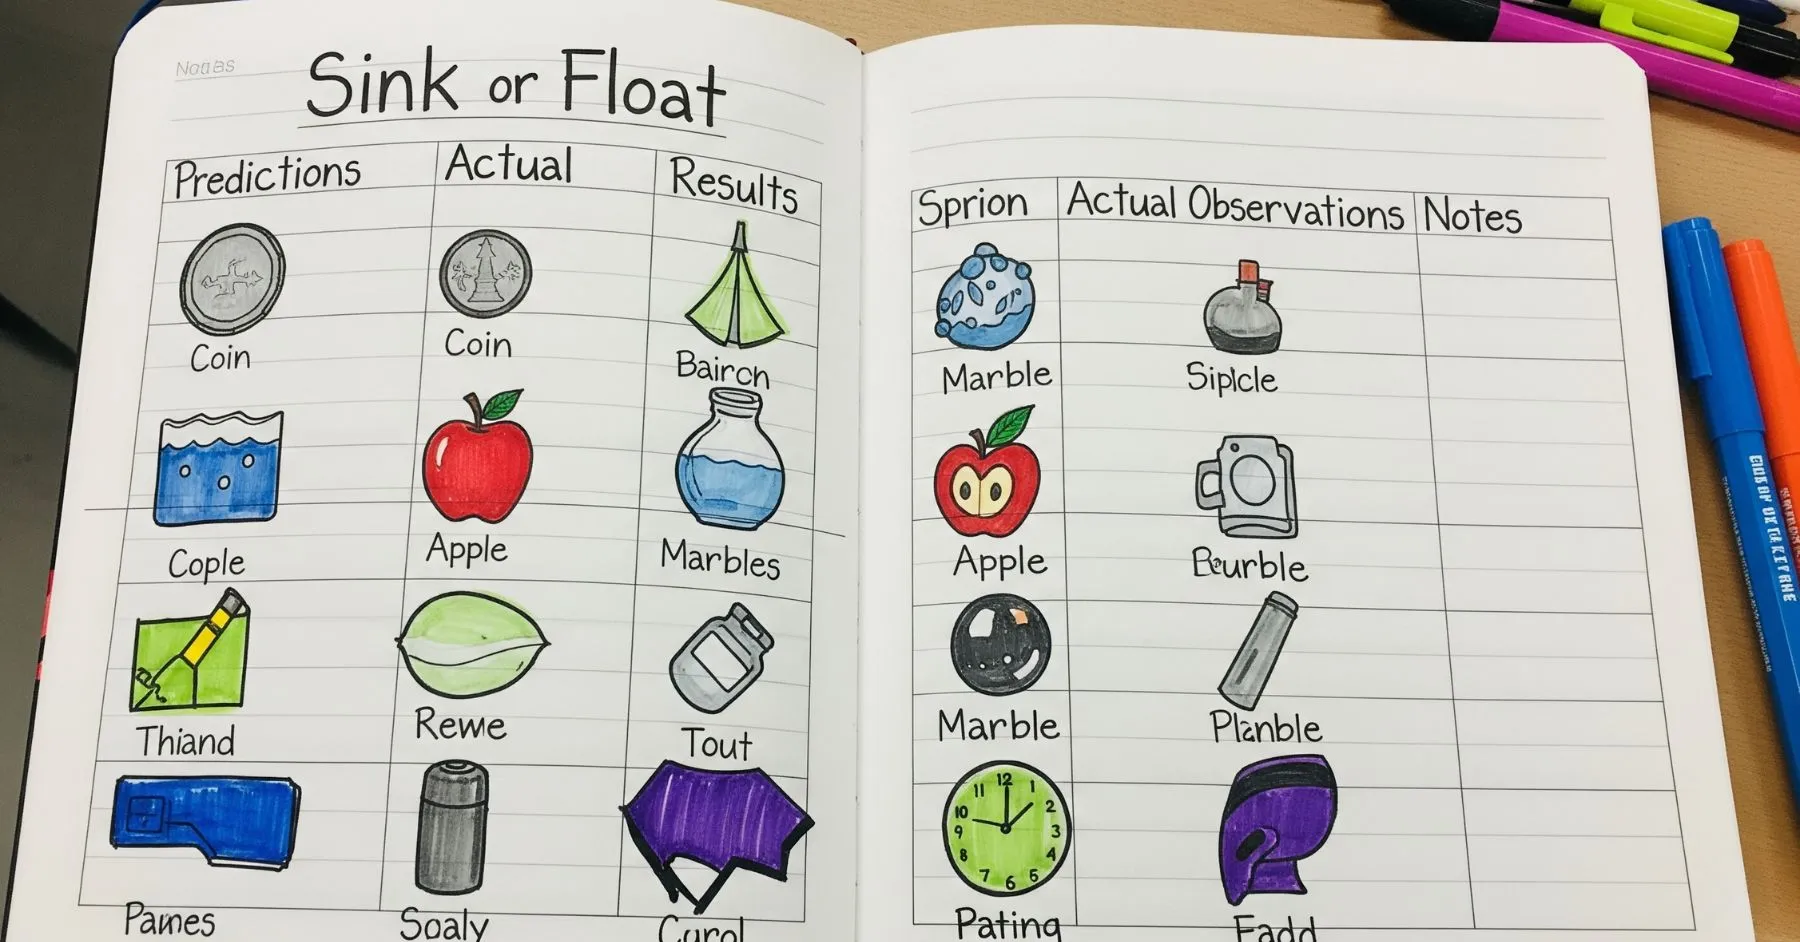
Create a simple chart in your notebook with three columns: "Item," "My Guess," and "What Actually Happened." This will help you keep track of everything like a real scientist!
Here's what your data collection table should look like:
| Item | My Guess (Sink/Float) | What Actually Happened | Notes |
| Apple | _____________ | _____________ | _____________ |
| Coin | _____________ | _____________ | _____________ |
Step 2: Make Your Predictions

Here's where it gets exciting! Before you test anything, you need to make predictions. Look at each item carefully and think about whether it will sink or float.
Hold each object in your hand. Does it feel heavy or light? Is it made of metal, wood, or plastic? Write down your guess for each item in the "My Guess" column.
Don't worry if your guesses are wrong - that's how we learn! Even real scientists make predictions that sometimes turn out differently. The important thing is to think about why you made each guess.
Some hints to help you think: Have you ever seen similar items in water before? What do you know about the materials they're made from?
Step 3: Test Each Item One by One
Now comes the fun part!
- Place your bowl or bucket of water on a flat surface.
- One by one, gently drop each object into the water.
- Watch what happens—does it go to the bottom (sink) or stay on top (float)?
- Write down the result next to your prediction.
Don’t forget to wipe your hands and the objects with the towel if they get too wet. Be careful with sharp or heavy items, and always ask an adult for help if needed.
Step 4: Record Your Results in a Table
To make your project neat and easy to understand, create a table like this in your notebook or on a chart paper:
| Object | Prediction (Sink/Float) | Result (Sink/Float) |
| Spoon | Sink | Sink |
| Leaf | Float | Float |
| Coin | Sink | Sink |
Results Summary:
- Total items tested: ___
- Items that floated: ___
- Items that sank: ___
- Correct predictions: ___
- Incorrect predictions: ___
- Biggest surprise: ___
Step 5: Explain Why Things Sink or Float

Now that you have your results, it’s time to explain the science behind them. Here’s what you need to know:
- Density is the main reason things sink or float. If an object is denser (heavier for its size) than water, it sinks. If it’s less dense, it floats.
- Shape also matters! A big, flat object like a wooden log floats, but a small, heavy object like a coin sinks. Even a heavy ship floats because of its shape and the air inside it.
You can add a simple explanation like this to your project: “Objects that are lighter or have more air inside usually float. Objects that are heavy for their size, like coins or stones, sink. This is because of something called density.”
You can also try testing different shapes, like flattening a piece of foil and then scrunching it into a ball, to see how the shape changes, floating and sinking.
Tips to Get Good Grades
- Be neat: Write clearly and keep your table tidy.
- Be creative: Use colors, drawings, or stickers to decorate your project.
- Explain your thinking: Write a few lines about why you think some things float and others sink.
- Add a conclusion: For example, “I learned that density and shape decide if things sink or float.”
- Stay safe: Always ask for help with sharp or breakable items.
Conclusion
The sink or float experiment is a simple way to learn big science ideas at home. You get to play, predict, observe, and discover—all while having fun! With your colorful table, neat notes, and clear explanation, your project will stand out. So grab your bucket, find some objects, and see what floats your boat!


Be the first one to comment on this story.