
Summer holidays are here, and if you're looking at that science assignment thinking, "How am I going to do chemistry experiments at home?" don't worry! Your kitchen is actually a mini laboratory packed with amazing chemicals and reactions waiting to be explored. Let's turn your summer assignment into something super fun and educational.
Why Kitchen Chemistry is Amazing
Your kitchen has everything you need to understand basic chemistry concepts. Salt, sugar, baking soda, vinegar, milk, eggs - these aren't just food items; they're chemicals that can teach you about acids, bases, reactions, and so much more. Plus, it's safe and cheap, and your parents won't freak out about you doing "dangerous" experiments.
Getting Started: Your Kitchen Lab Setup
Before we jump into experiments, let's set up properly:
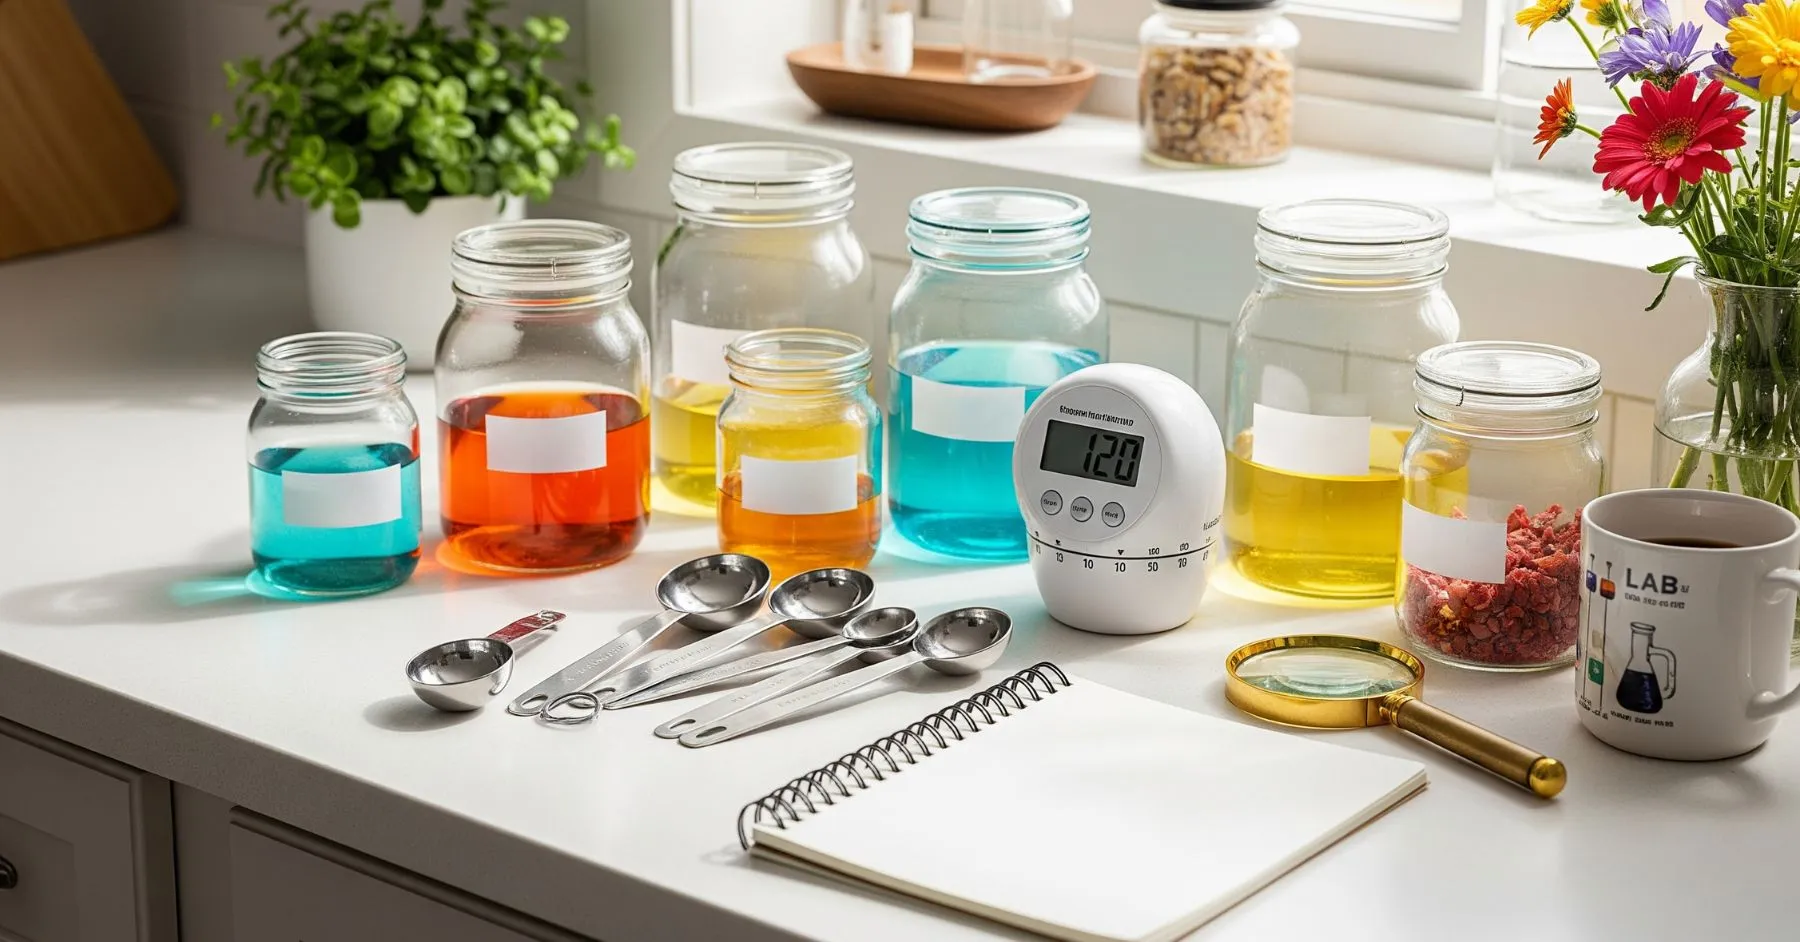
Basic Materials You'll Need:
- Clear glasses or jars
- Measuring spoons and cups
- A notebook for observations
- Phone camera for recording changes
- Timer
- Magnifying glass (if you have one)
Pro Tip: Always tell an adult what you're doing and clean up as you go. Trust me, your parents will be much happier to help if you're not making a mess!
Easy Experiments for Beginners (Classes 6-8)
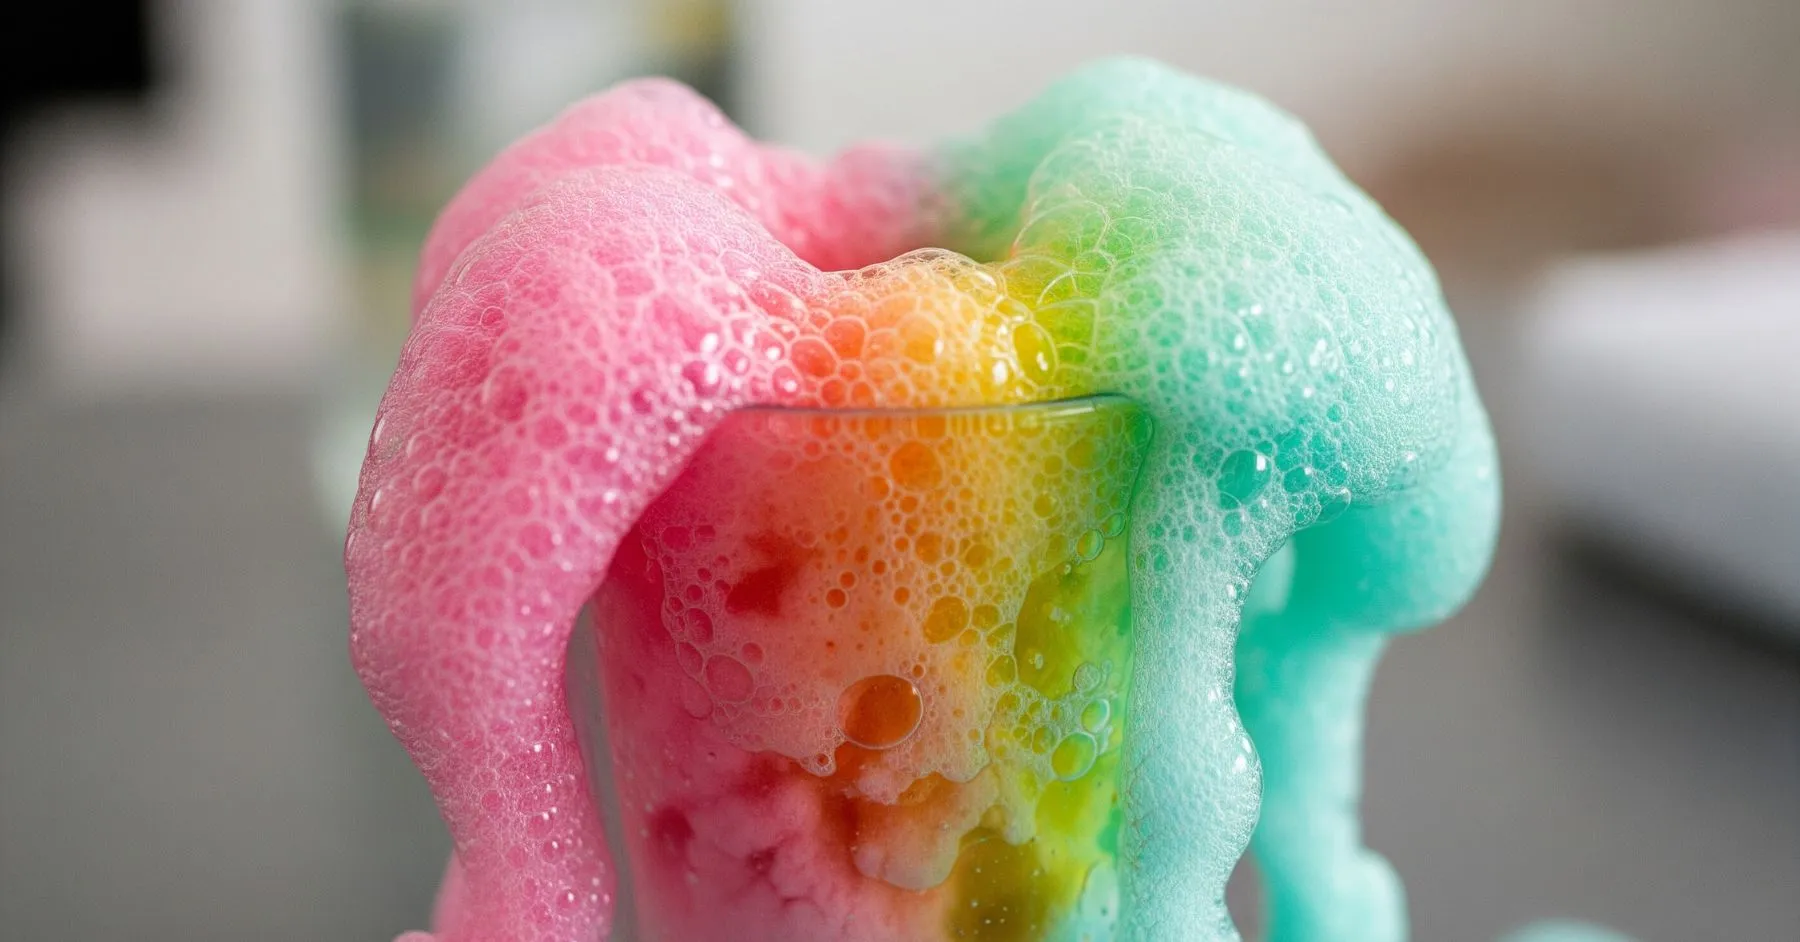
1. The Classic Volcano (Acid-Base Reaction)
What You Need:
- 2 tablespoons baking soda
- 1/4 cup vinegar
- Food coloring (optional)
- Dish soap (2 drops)
Steps:
- Put baking soda in a clear glass
- Add food coloring and soap
- Pour vinegar quickly and step back!
Chemistry Behind It: Vinegar (acetic acid) is an acid, and baking soda (sodium bicarbonate) is a base,. When they meet, they create carbon dioxide gas - that's your "eruption"!
Document It:
| Time | Observation | Scientific Explanation |
| 0 min | Added vinegar to baking soda | Acid meets base |
| 5 sec | Fizzing and bubbling started | CO2 gas being produced |
| 30 sec | Reaction slowing down | Reactants getting used up |
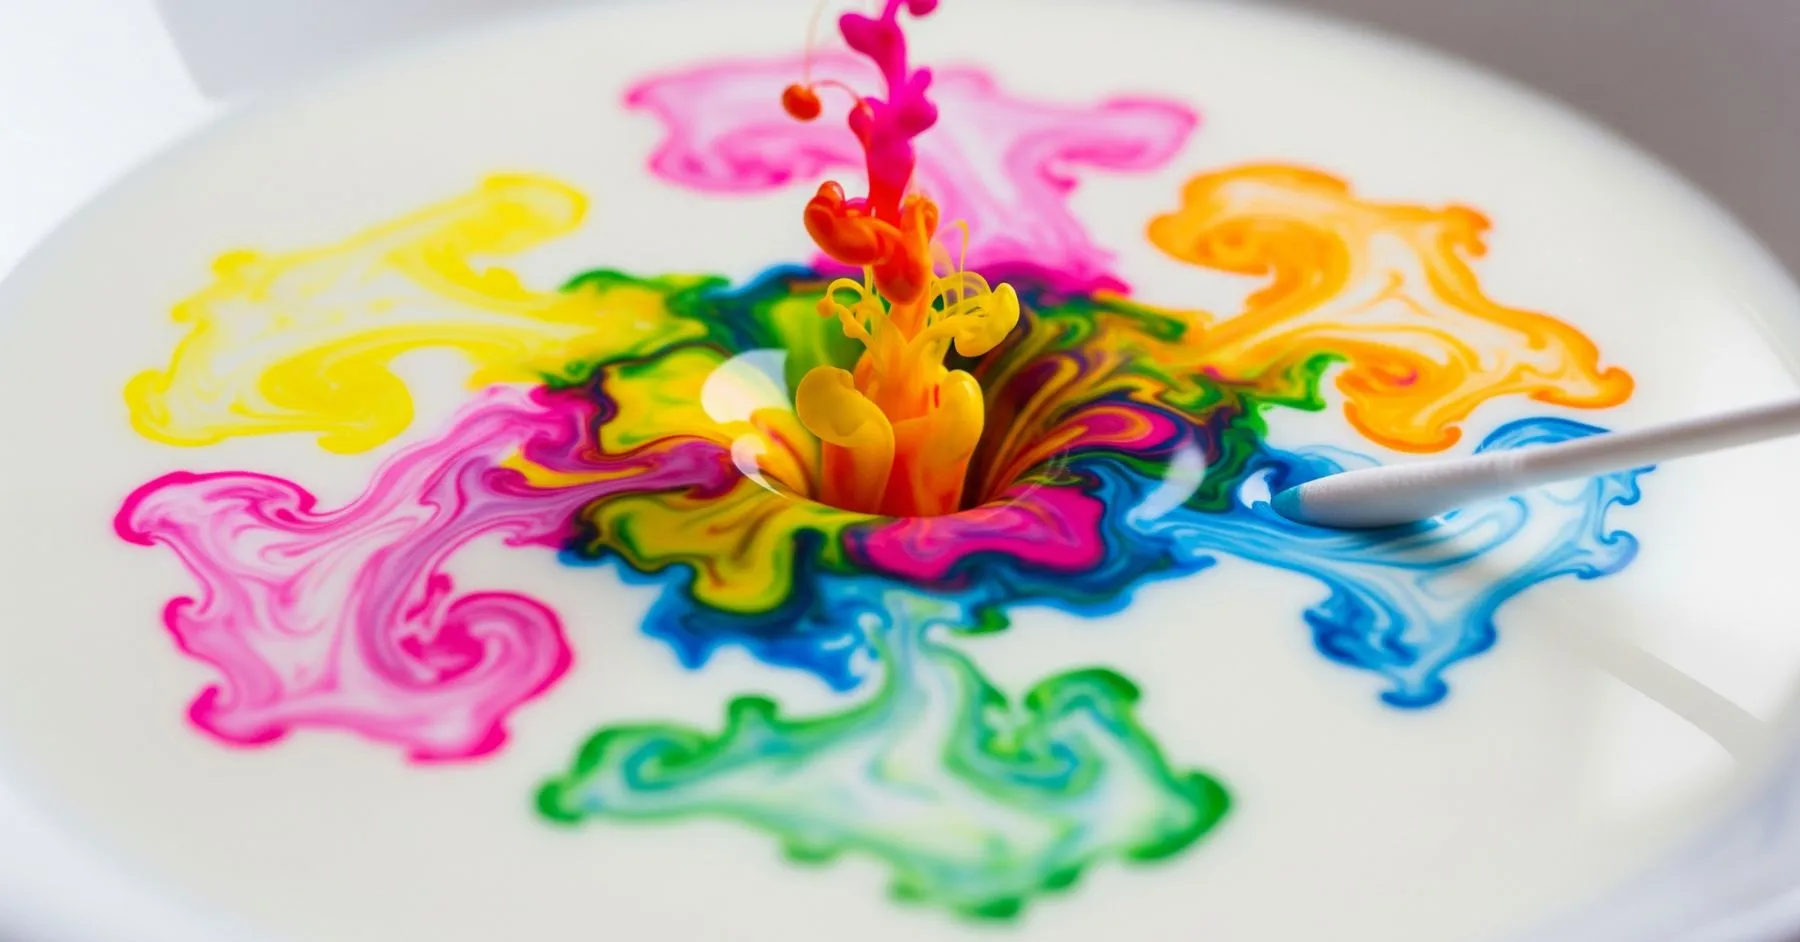
2. Magic Milk Colors (Surface Tension)
What You Need:
- Whole milk (1/2 cup)
- Food coloring (4 different colors)
- Cotton swabs
- Liquid dish soap
Steps:
- Pour milk into a shallow dish
- Add 2-3 drops of each color in different spots
- Dip a cotton swab in soap
- Touch the soapy swab to one color drop
- Watch the magic happen!
Chemistry Behind It: Soap breaks down fat molecules in milk, creating currents that make colors dance. This teaches you about surface tension and molecular interactions.
Document It:
| Trial | Colors Used | Pattern Observed | Duration of Movement | Notes |
| 1 | Red, Blue, Yellow, Green | Swirling outward | 30 seconds | Fast initial movement |
| 2 | Same colors, different positions | _____________ | _____________ | _____________ |
| 3 | After milk cooled down | _____________ | _____________ | _____________ |
Intermediate Experiments (Classes 9-10)
3. Invisible Ink (Chemical Indicators)

What You Need:
- Lemon juice
- Cotton swabs
- White paper
- Heat source (ask an adult to help)
Steps:
- Squeeze fresh lemon juice into a small bowl
- Dip a cotton swab in juice and write on paper
- Let it dry completely (it looks invisible!)
- Have an adult hold paper near a light bulb or iron
- Watch your message appear!
Chemistry Behind It: Lemon juice contains citric acid. When heated, it turns brown due to oxidation, a chemical reaction with oxygen.
Document It:
| Type of "Ink" | Visibility Before Heat | Color After Heat | Best Heat Source |
| Lemon juice | Completely invisible | Light brown | Light bulb |
| Orange juice | _____________ | _____________ | _____________ |
| Milk | _____________ | _____________ | _____________ |
| Onion juice | _____________ | _____________ | _____________ |
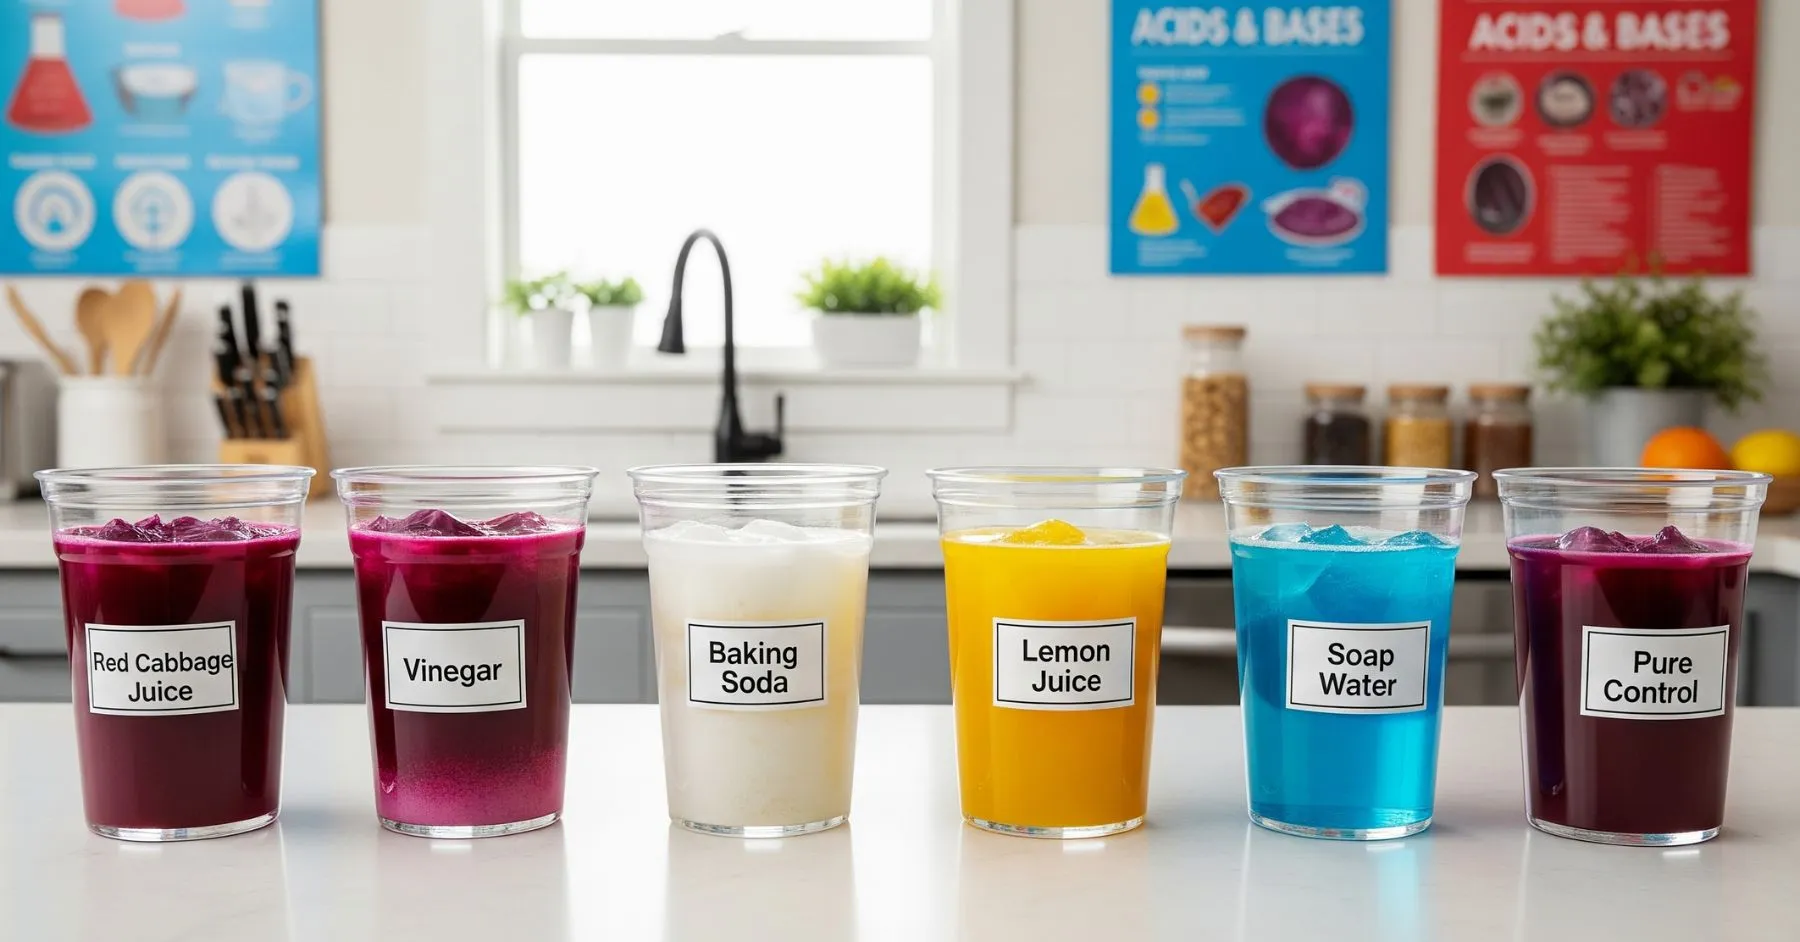
4. Homemade pH Indicator
What You Need:
- Red cabbage (4-5 leaves)
- Hot water
- Clear containers
- Various household liquids (lemon juice, baking soda solution, soap)
Steps:
- Chop cabbage and soak in hot water for 30 minutes
- Strain the purple liquid - this is your indicator
- Add a few drops to different substances
- Watch the color changes!
Document It:
| Household Item | Expected pH | Expected Color | Actual Color Observed |
| Lemon juice | 2 (very acidic) | Red/Pink | _____________ |
| Vinegar | _____________ | _____________ | _____________ |
| Coffee | _____________ | _____________ | _____________ |
| Pure water | _____________ | _____________ | _____________ |
| Baking soda solution | _____________ | _____________ | _____________ |
| Soap water | _____________ | _____________ | _____________ |
Pro Tips for Success

Documentation Tips:
- Take photos at each step
- Note the exact measurements and times
- Record room temperature and weather
- Write observations in simple, clear language
- Draw diagrams when words aren't enough
Safety First:
- Always have an adult nearby for heating experiments
- Wear old clothes (some reactions can stain)
- Never mix cleaning products
- Wash hands after each experiment
Making It Assignment-Ready:
- Create a hypothesis before each experiment
- Explain the chemistry in your own words
- Connect experiments to real-world applications
- Suggest variations or improvements
Recording Your Results Like a Real Scientist
Create different types of documentation:
Observation Table:
| Time | Visual Changes | Sounds | Smells | Temperature |
Hypothesis vs Results:
- What I thought would happen: ___
- What actually happened: ___
- Why the difference: ___
Real-World Connections:
- Where do we see this reaction in daily life?
- How do industries use this principle?
Conclusion

Kitchen science experiments are a great way to learn chemistry using things you already have at home. They are safe, easy, and perfect for summer holiday assignments. So, pick your favorite experiment, gather your materials, and start exploring the science in your kitchen.


Be the first one to comment on this story.