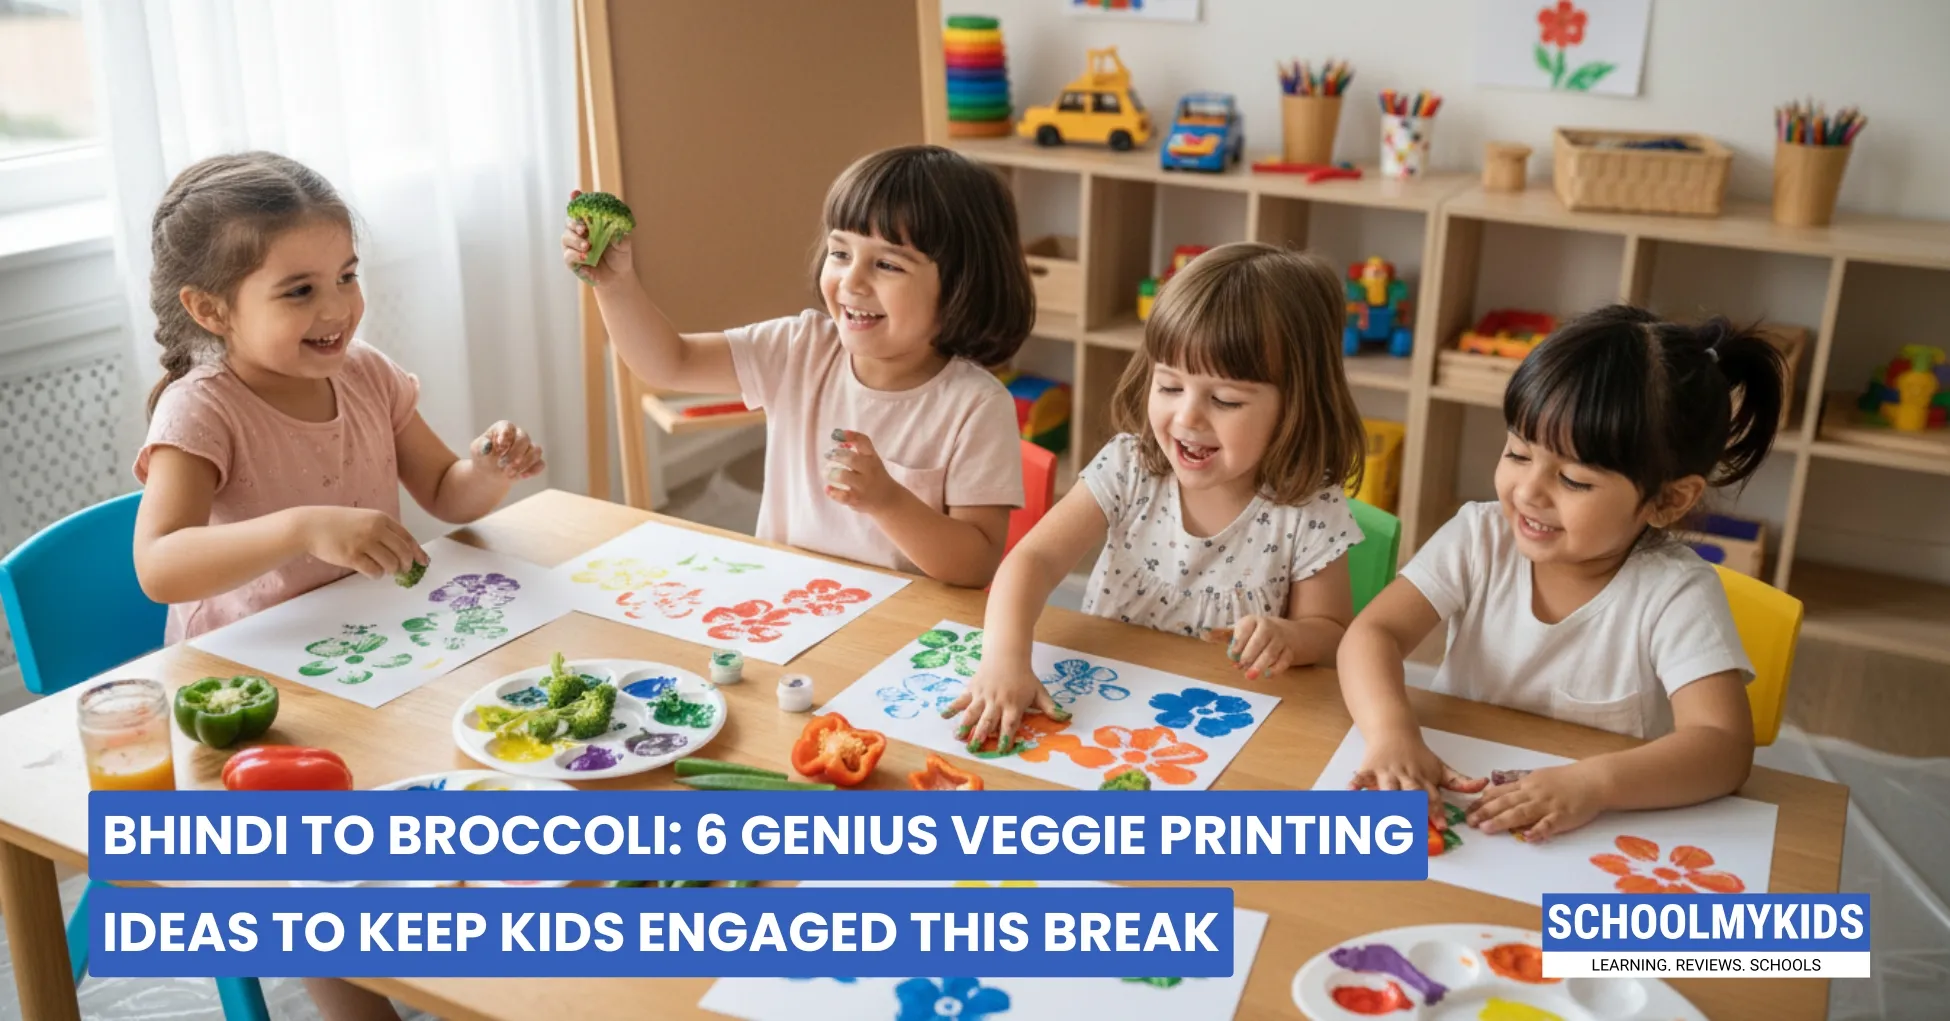
Winter break is here, and if you're already hearing "Mummy, I'm bored!" on repeat, you're not alone. Keeping kids engaged without handing them a screen feels like an Olympic sport. But what if we told you that the solution is literally sitting in your vegetable basket right now?
Welcome to vegetable printing, where that leftover bhindi, those extra carrots, and even that capsicum nobody wants to eat can transform into your child's favorite art supplies.
What You'll Need (All from Your Kitchen!)
The beauty of vegetable printing is its simplicity. Here's your shopping list, which is really just a walk to your kitchen:
- Vegetables: Bhindi (okra), potato, carrot, capsicum, onion, cauliflower, broccoli, mushrooms
- Paints: Washable poster colors or fabric paints (available at any local stationery shop for ₹50-100)
- Paper: Chart paper, old newspaper, or even brown packaging paper works perfectly
- Plates or shallow dishes for paint
- A kitchen towel or an old cloth for cleaning up
- An old newspaper or a plastic sheet to protect your floor
Pro Tip: Use vegetables that are slightly old or leftover pieces you'd normally throw away. No need to waste fresh produce!
6 Veggie-Print Masterpieces Your Kids Will Love
1. Bhindi Flower Garden
Bhindi (okra or lady's finger) is the superstar of vegetable printing. When cut crosswise, it creates the most beautiful star-like flower shape.
How to do it:
- Wash and dry the bhindi thoroughly
- Cut it into thick slices (about 2cm wide)
- Let your child dip it in different colored paints
- Press firmly onto white chart paper
- Create a whole garden with green stems drawn using a brush and bhindi flowers in pink, orange, and yellow
2. Capsicum Flower Bouquet
Cut a capsicum (bell pepper) in half, and you've got yourself a gorgeous flower stamp. The inside creates a unique pattern.
How to do it:
- Cut the capsicum horizontally through the middle
- Pat dry with a kitchen towel
- Dip the cut side into the paint
- Stamp multiple capsicum prints to form a bouquet
- Add stems with a brush or a carrot stick
- Let kids experiment with different colors; red capsicum with yellow paint, green with orange
3. Potato Shape Printing
Potatoes are the blank canvas of vegetable printing. You can carve them into any shape your child dreams up, like hearts, stars, circles, or even their initials!
How to do it:
- Cut a large potato in half
- For younger kids, use cookie cutters to press shapes into the potato surface
- For older kids (8+), help them carve simple shapes with a butter knife (under supervision)
- Create patterns, borders, or use them as stamps for DIY greeting cards
- Make a whole set for different festivals; diyas for Diwali, stars for Christmas
4. Carrot Circle Patterns
Carrots are perfect for little hands. They're easy to grip, create clean circular prints, and kids can arrange them into endless patterns.
How to do it:
- Cut carrots into thick slices
- Let younger kids create random patterns with different colors
- Challenge older kids to make specific designs, like caterpillars, flower centers, or geometric patterns
- Try cutting carrots lengthwise for textured line prints
- Create a "dot mandala" using carrot circles in concentric patterns
5. Onion Ring Art
When you slice an onion, you get those beautiful concentric circles that create beautiful prints. There might be some tears, but the results are worth it.
How to do it:
- Cut the onion into thick horizontal slices
- Let it air dry for 5-10 minutes to reduce tears
- Dip in paint and create overlapping circle designs
- Kids can make rainbows, targets, or abstract art
- Older kids can experiment with color blending
Pro Tip: Do this activity near an open window or with a fan on. Your eyes will thank you!
6. Gobi (Cauliflower/Broccoli) Tree Prints
Broccoli and cauliflower florets look like tiny trees when printed. They're perfect for creating forest scenes or adding texture to any artwork.
How to do it:
- Separate broccoli or cauliflower into small florets
- The natural "tree" shape is perfect for landscape scenes
- Create a forest scene with green paint for leaves and brown for trunks
- Make clouds with cauliflower and white/light blue paint
- Add details with other vegetables or brushes
This is fantastic for storytelling. Let your child create a scene and narrate a story about what's happening in their painted forest.
Pro Tips for Parents
- Budget-friendly hack: Instead of buying multiple paint colors, teach kids about color mixing. Red + Yellow = Orange, Blue + Yellow = Green.
- Reuse old materials: Old newspaper, the back of used paper, or even cardboard boxes work brilliantly as canvases.
- Make it a family affair: Get siblings involved with different roles; one dips, one stamps, one arranges. It teaches teamwork and keeps rivalry at bay.
- The mess factor: Lay down plastic sheets, use washable paints, and remember that mess washes off, but memories last forever.
Safety First
- Always supervise when children are using vegetables, especially if cutting is involved
- For toddlers (2-4 years), pre-cut all vegetables and hand them ready-to-use pieces
- Use only non-toxic, washable paints
- Keep a bucket of water nearby for quick hand washing
- Watch for allergies; if your child has skin sensitivity, consider wearing thin gloves
Conclusion
Start with just one vegetable and one color if you're feeling overwhelmed. The beautiful thing about this activity is that there's no wrong way to do it. Every print is unique, every creation is special, and every moment spent together is precious.
So go ahead, grab that bhindi from your fridge, squeeze out some paint, and watch your little Picasso at work.


Be the first one to comment on this story.