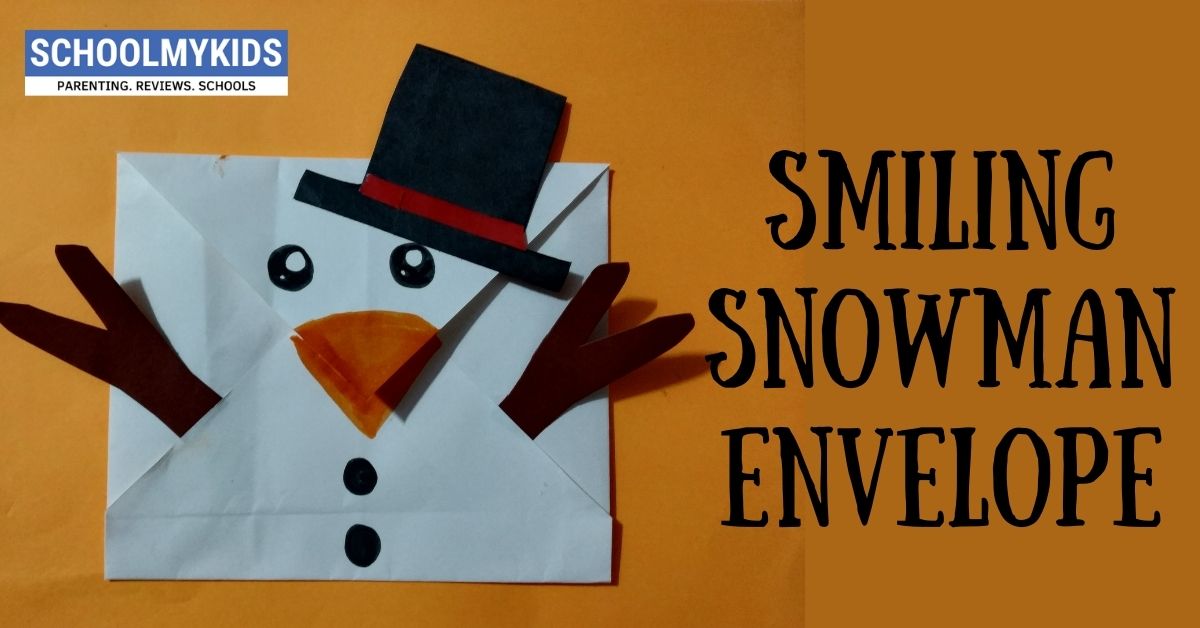
Hello kids! We love to do a lot of fun at Christmas! Not to forget the exciting gifts by dear Santa! We love them, don’t we? Yes indeed! So let’s add more fun to our Christmas greetings this time! Today we will make a beautiful snowman envelope to send across our warm Xmas wishes to our near and dear ones! Be it a Christmas party invite or even a small greeting card use this envelope and celebrate Christmas with all its pomp and fun!
Follow the instructions to know how to make smiling snowman envelope.
Materials Required to Make Snowman Envelope
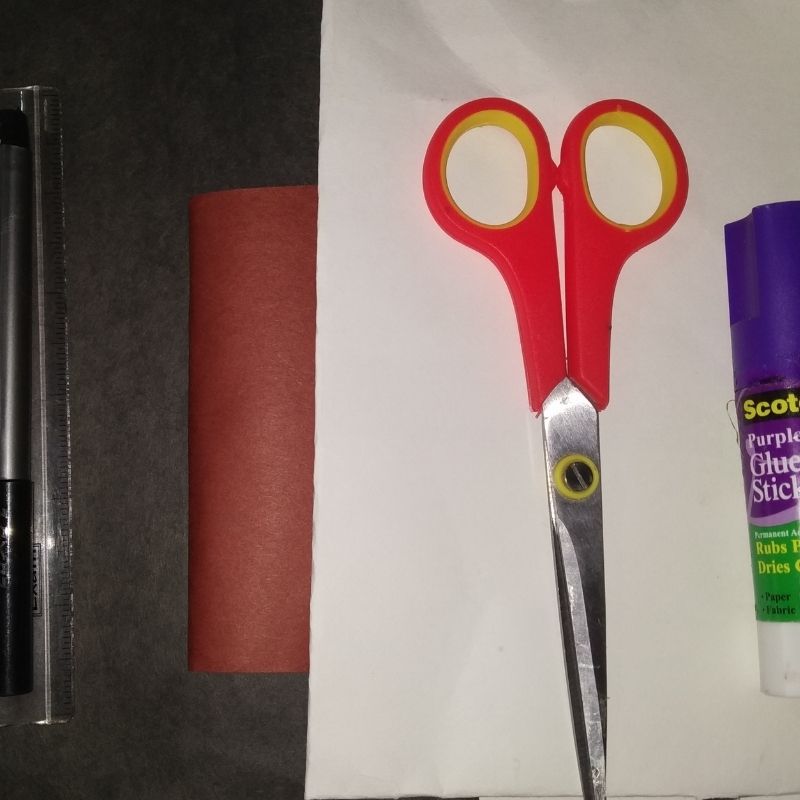
- White paper
- Brown paper
- Red paper
- Sketch pens
- Pencil
- Scissors
- Glue
How to Make Snowman Envelope Step by Step
- We need an A4 sized white sheet of paper.
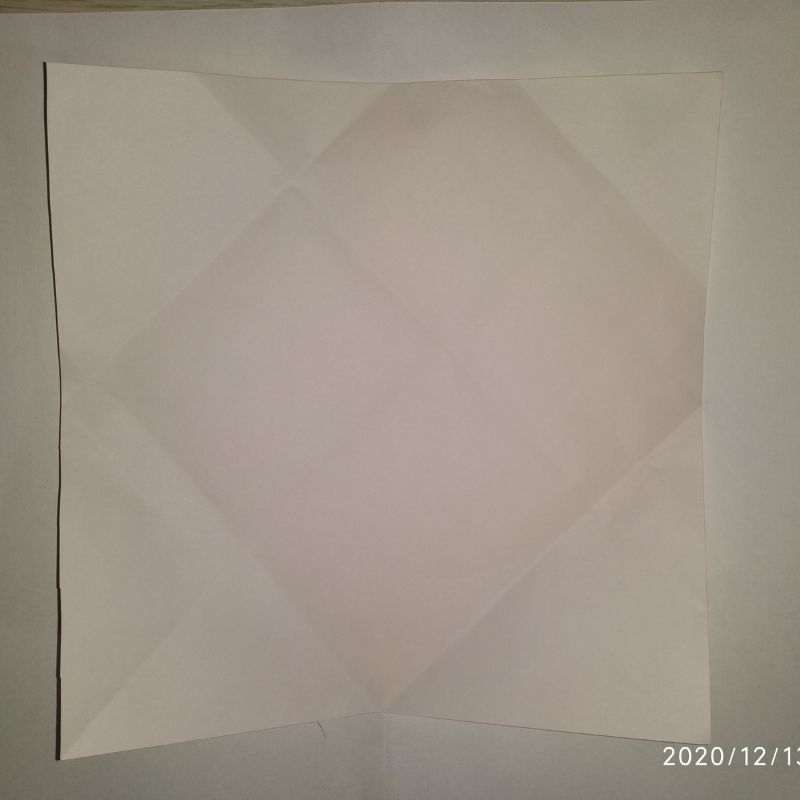
- Fold it into a square and cut the square portion
- Now we need the square portion for the envelope.
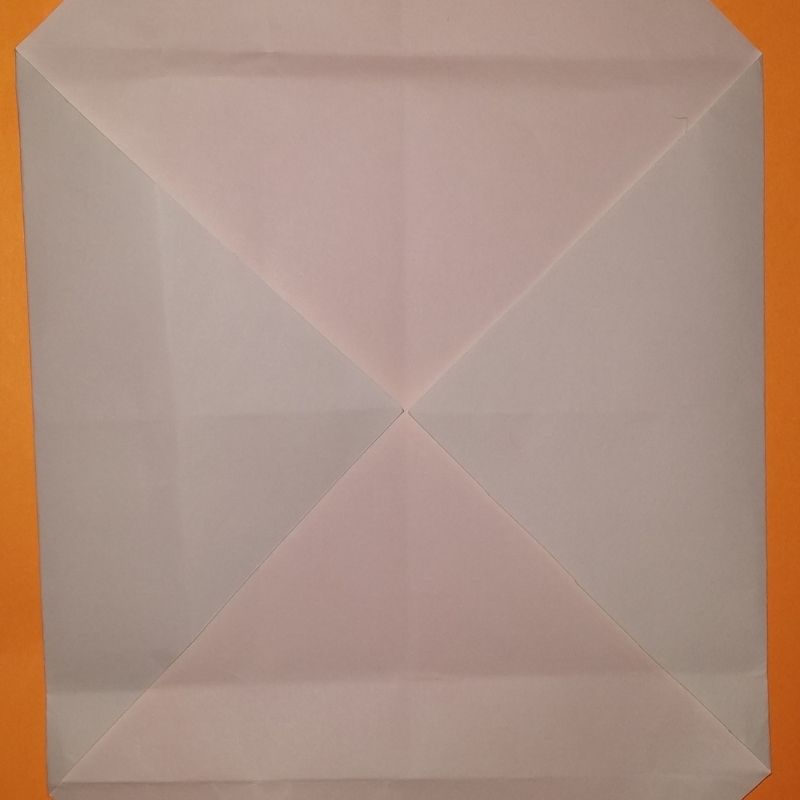
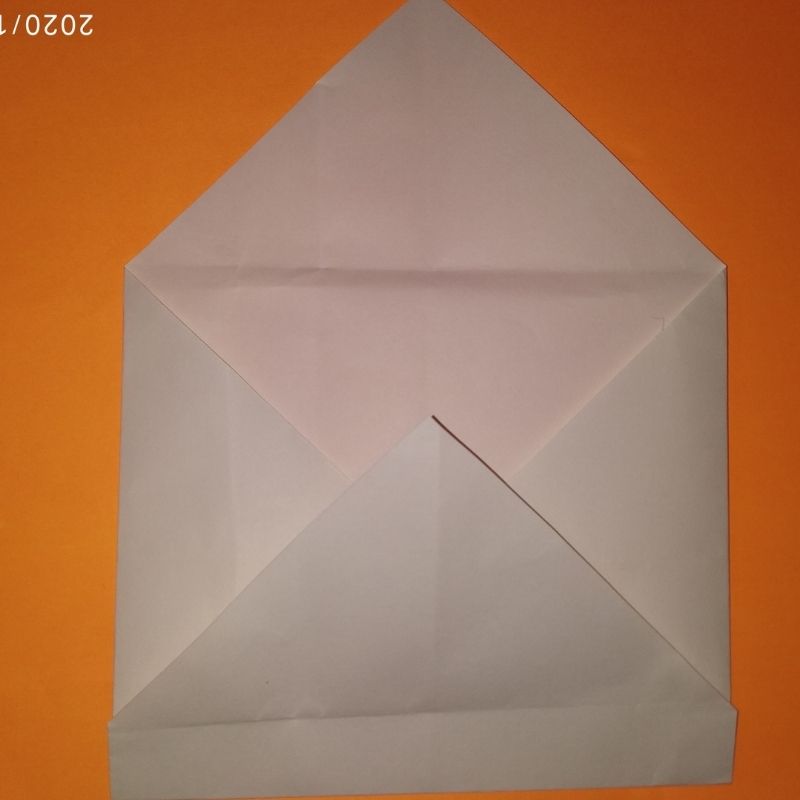
- Hold the square and start folding the two sides into a triangle and stick the edges.
- Next, lift the lower end that is the horizontal portion on the lower side of the sheet and further lift and fold it into a triangle and stick it to the side two ends. Cut the extra portion of the triangle or tuck it inside and stick it.
- Your base for the envelope is now ready.
- You now have a pocket for the envelope ready.
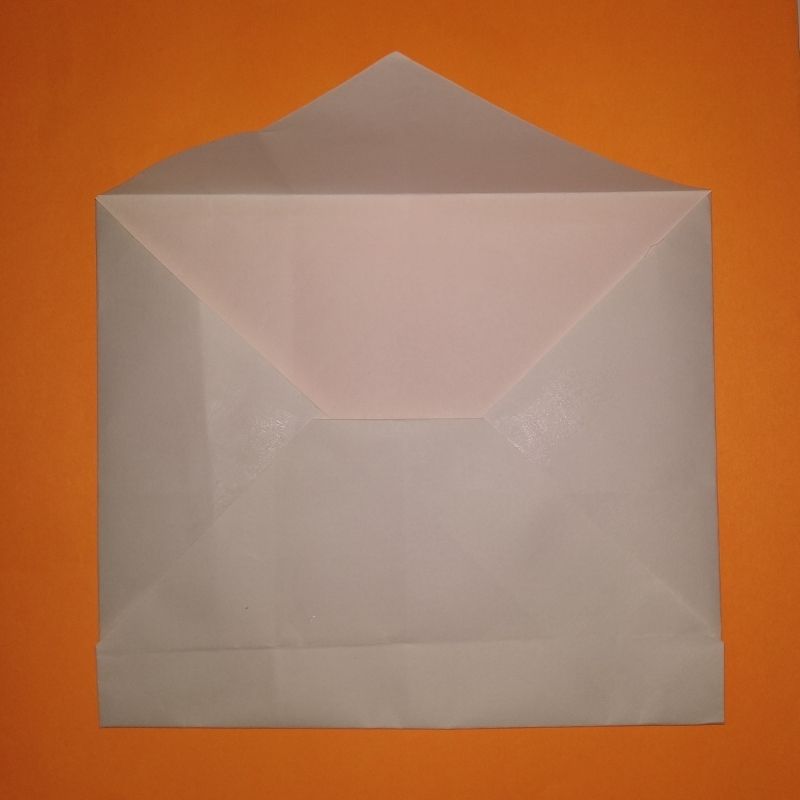
- Next, you have one free upper end.
- Keep it as it is and just fold it.
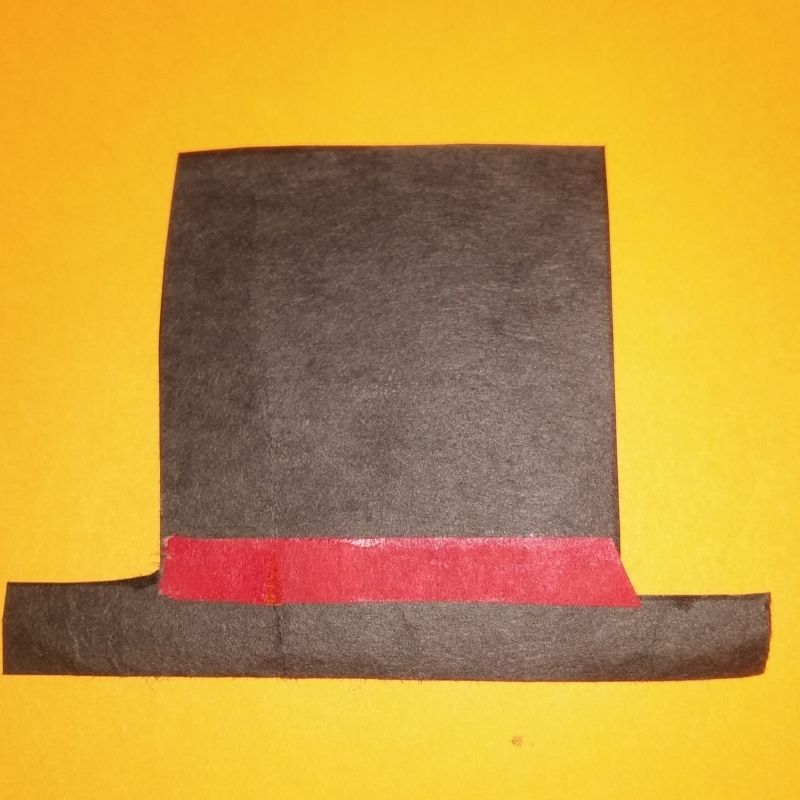
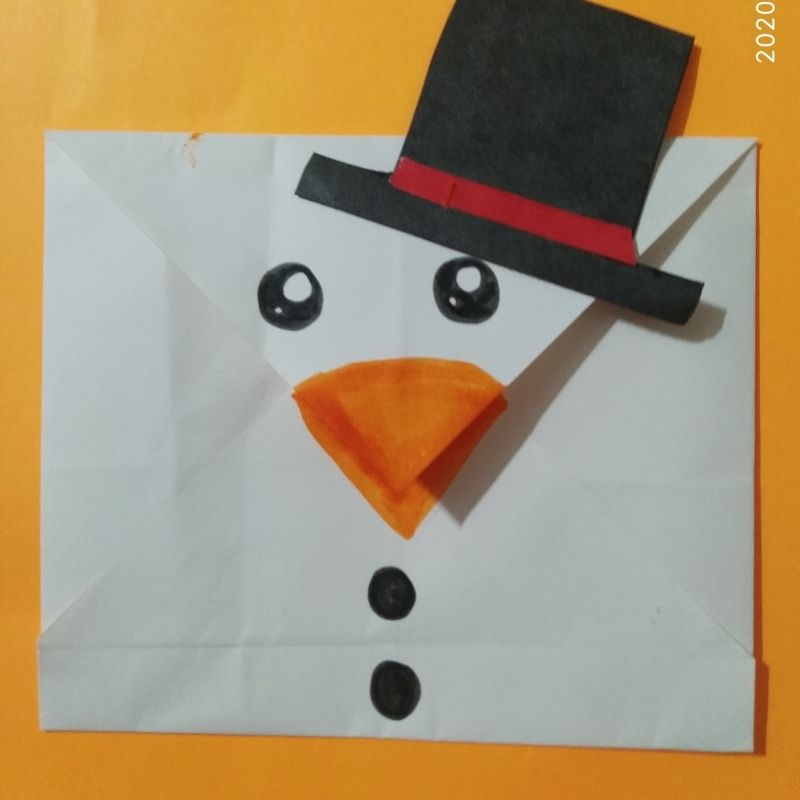
- Next, take a black sheet of paper and cut the hat of the snowman
- Add details like a red ring band on the hat using a red sheet of paper.
- Cut a thin strip of red paper and stick it on the hat.
- Next, stick this on either right or left side of the folded top end of the envelope.
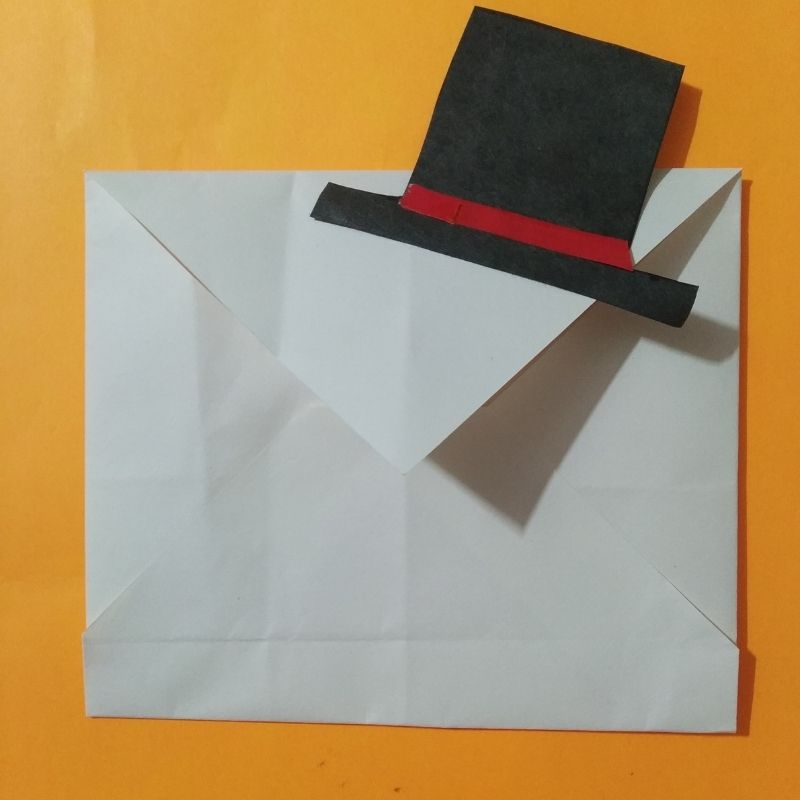
- Stick it a bit tilted.
- Next, add details like eyes, mouth nose and buttons on the envelope using black and orange sketch pens.
- Once done, take a brown sheet of paper and cut two small arms for the snowman.
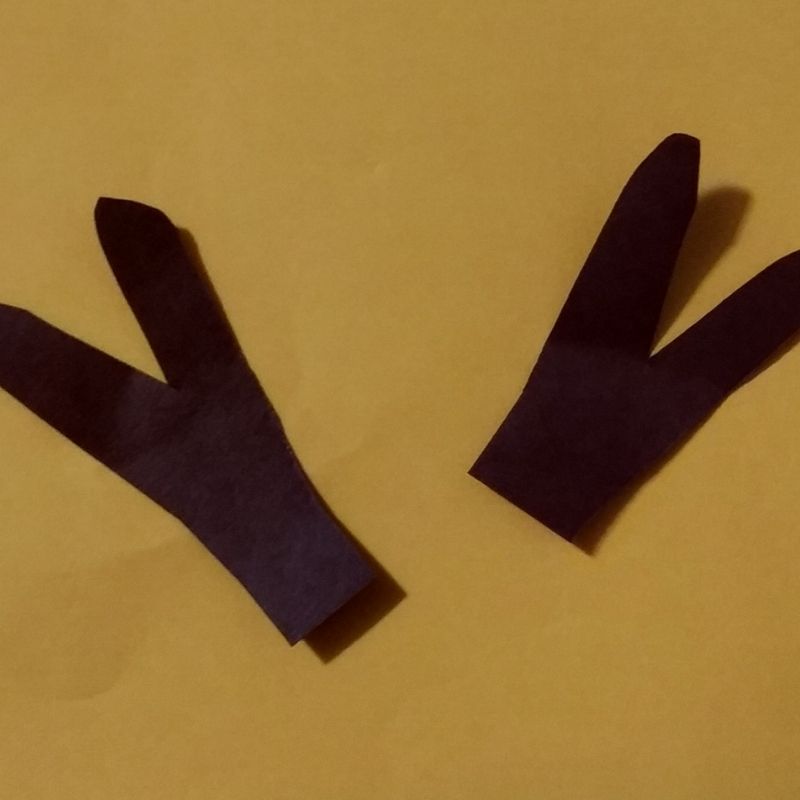
- The brown arms would resemble wooden twigs as used in sculpting a snowman.
- Stick these arms just beneath the upper flap of the envelope extending outwards and upwards.
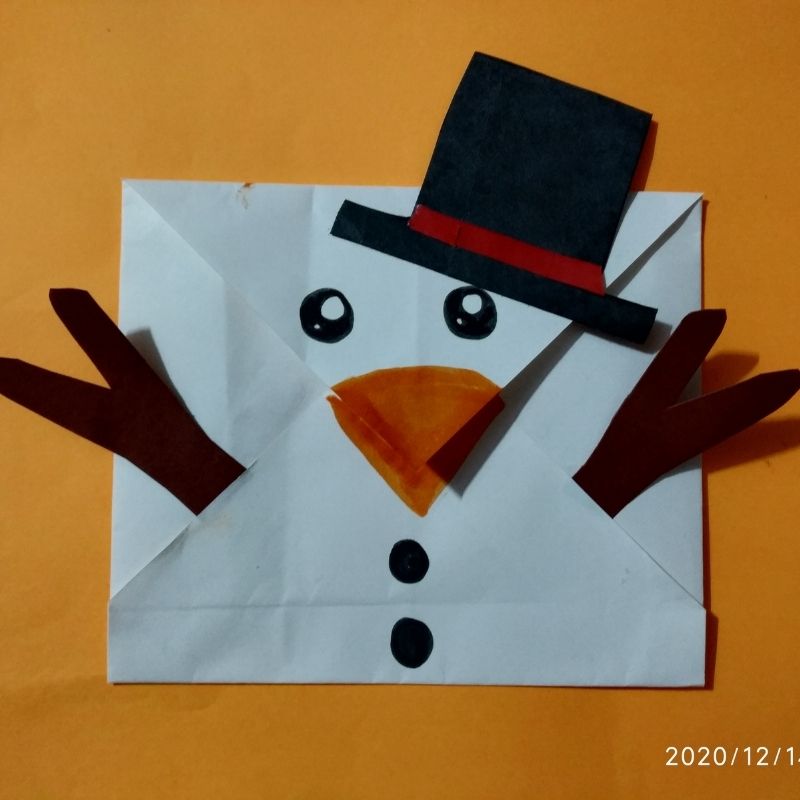
- That’s it, kids!
- You have your beautiful paper snowman envelope ready!
- Try for yourself!


Be the first one to comment on this story.