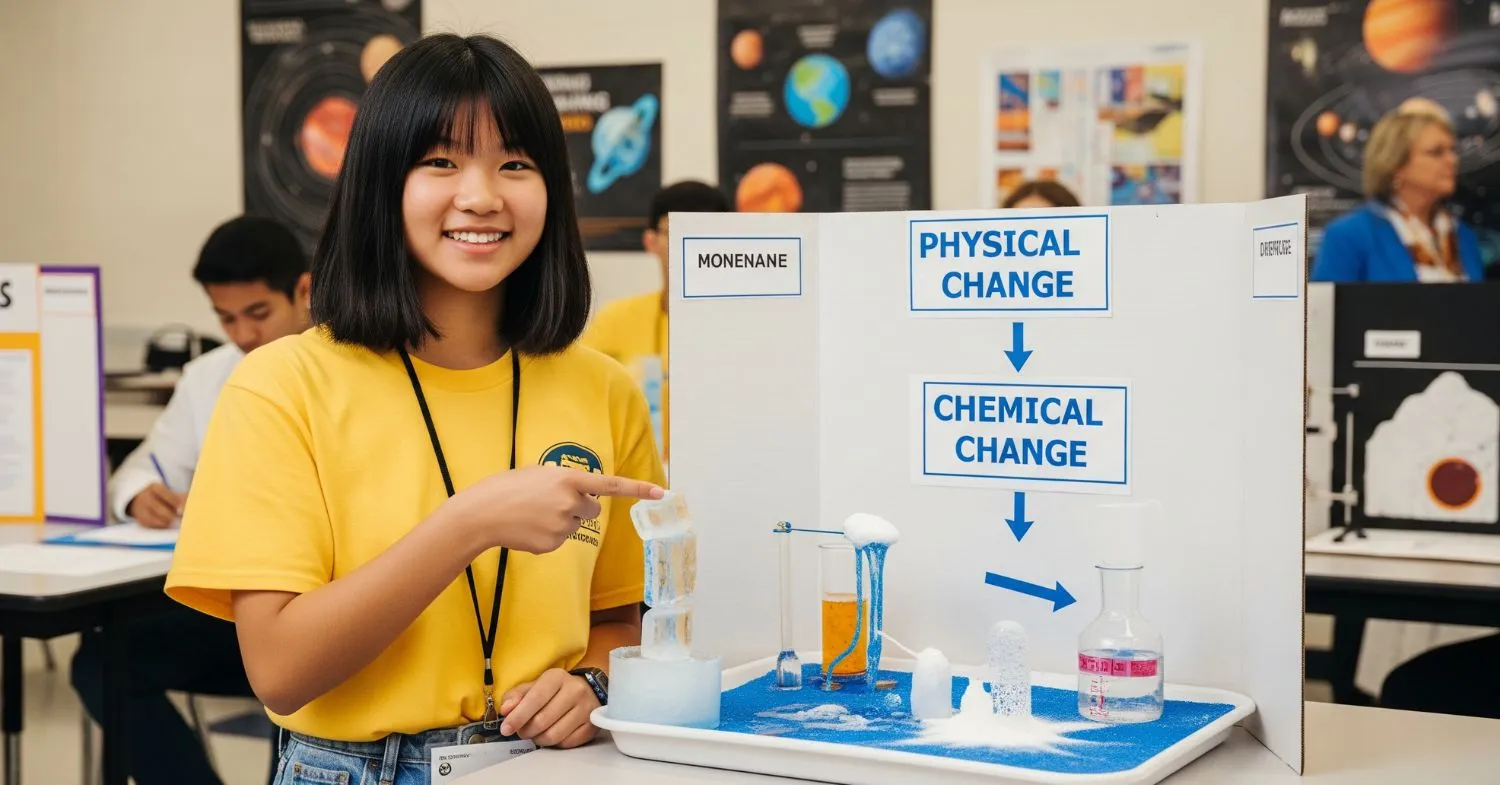
Ready to dive into one of the most exciting science projects that'll make your summer homework absolutely amazing? Today, we're going to create a dual model that shows both physical and chemical changes in the most fun and easy way possible. By the end of this project, you'll never forget the difference between these two types of changes!
Understanding Physical and Chemical Changes
Before building your model, it’s important to know what these changes mean:
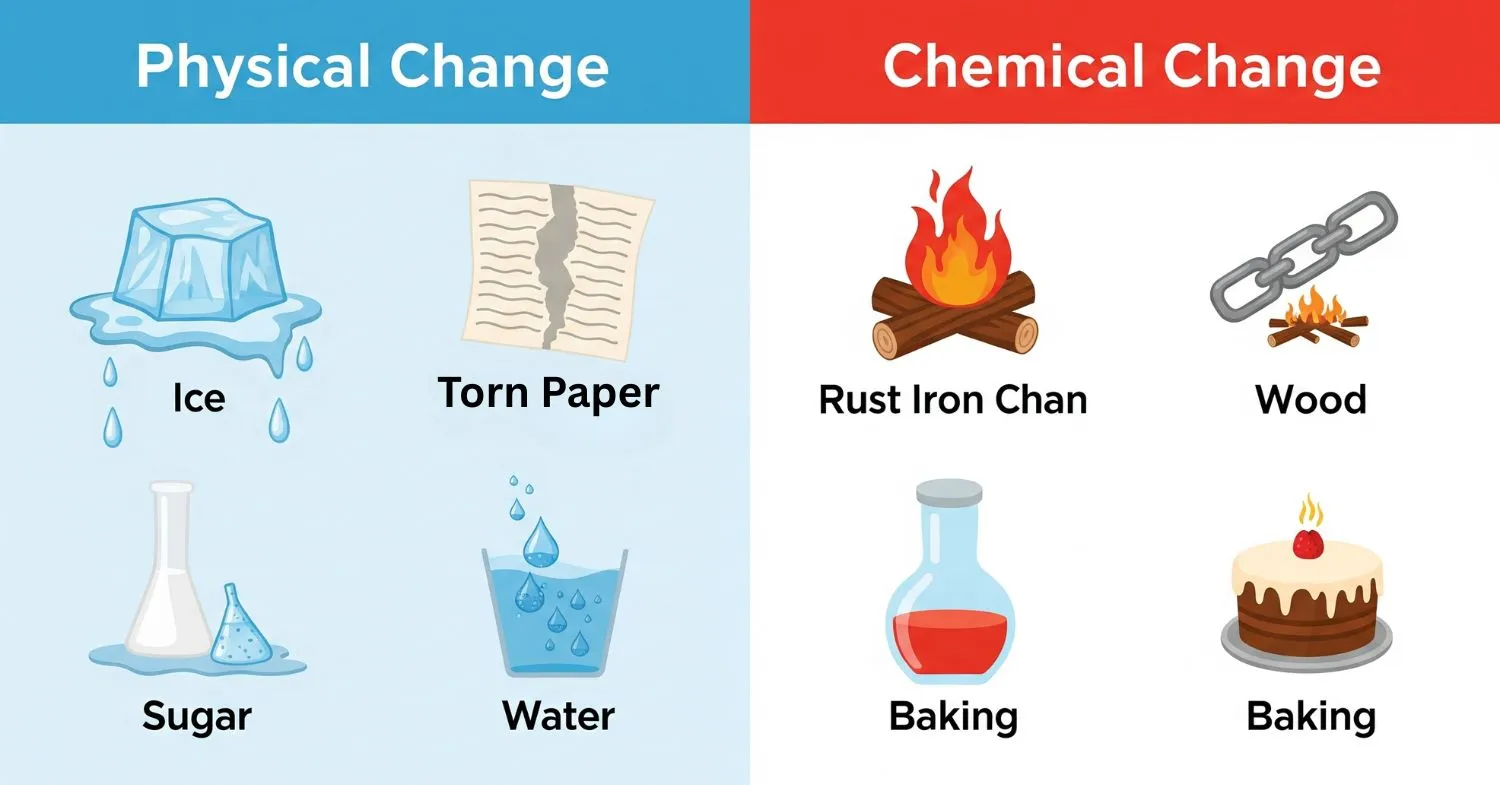
- Physical Change: This is when something changes its appearance, shape, or state (like solid to liquid), but it’s still the same substance. No new material is made. These changes are usually easy to reverse. Examples: Melting ice, tearing paper, dissolving sugar in water.
- Chemical Change: This is when a new substance is created. The change is usually permanent and can’t be reversed easily. You might see color changes, bubbles, heat, or even a new smell. Examples: Burning wood, rusting iron, baking a cake.
Ideas for a Dual Model
To make your project stand out, your model should clearly show one physical change and one chemical change side by side. Here are some creative ideas:
- Physical Change: Melting ice, dissolving salt in water, or inflating a balloon.
- Chemical Change: Vinegar and baking soda reaction, rusting of iron, or burning a candle.
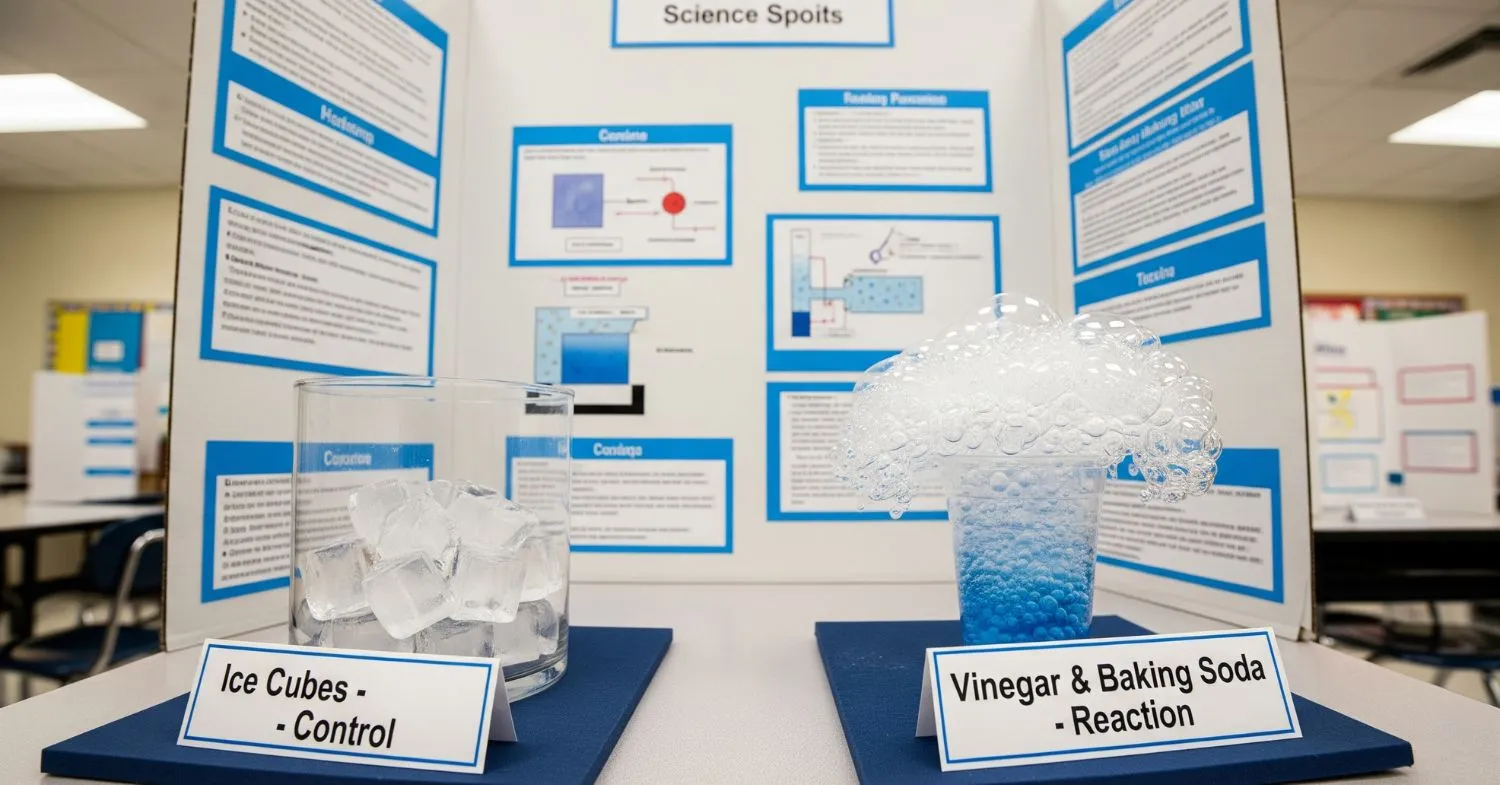
Model 1: Melting Ice (Physical) and Vinegar-Baking Soda (Chemical)
Materials Needed:
- Ice cubes
- Clear glass or bowl
- Salt
- Vinegar
- Baking soda
- Small bottle or cup
- Tray (to catch spills)
- Markers, chart paper for documentation
Steps:
Part 1: Physical Change (Melting Ice)
- Place ice cubes in a clear glass or bowl.
- Sprinkle some salt on one cube to show how it melts faster (optional).
- Observe and document how the ice changes from solid to liquid—no new substance is formed.
Part 2: Chemical Change (Vinegar and Baking Soda)
- Place a small amount of baking soda in a bottle or cup.
- Pour vinegar over it and watch the fizzing reaction.
- Explain that a new substance (carbon dioxide gas) is formed, which is why you see bubbles.
Pro Tips:
- Use clear containers so everyone can see the changes.
- Label each part of your model.
- Take photos at each stage for your documentation.
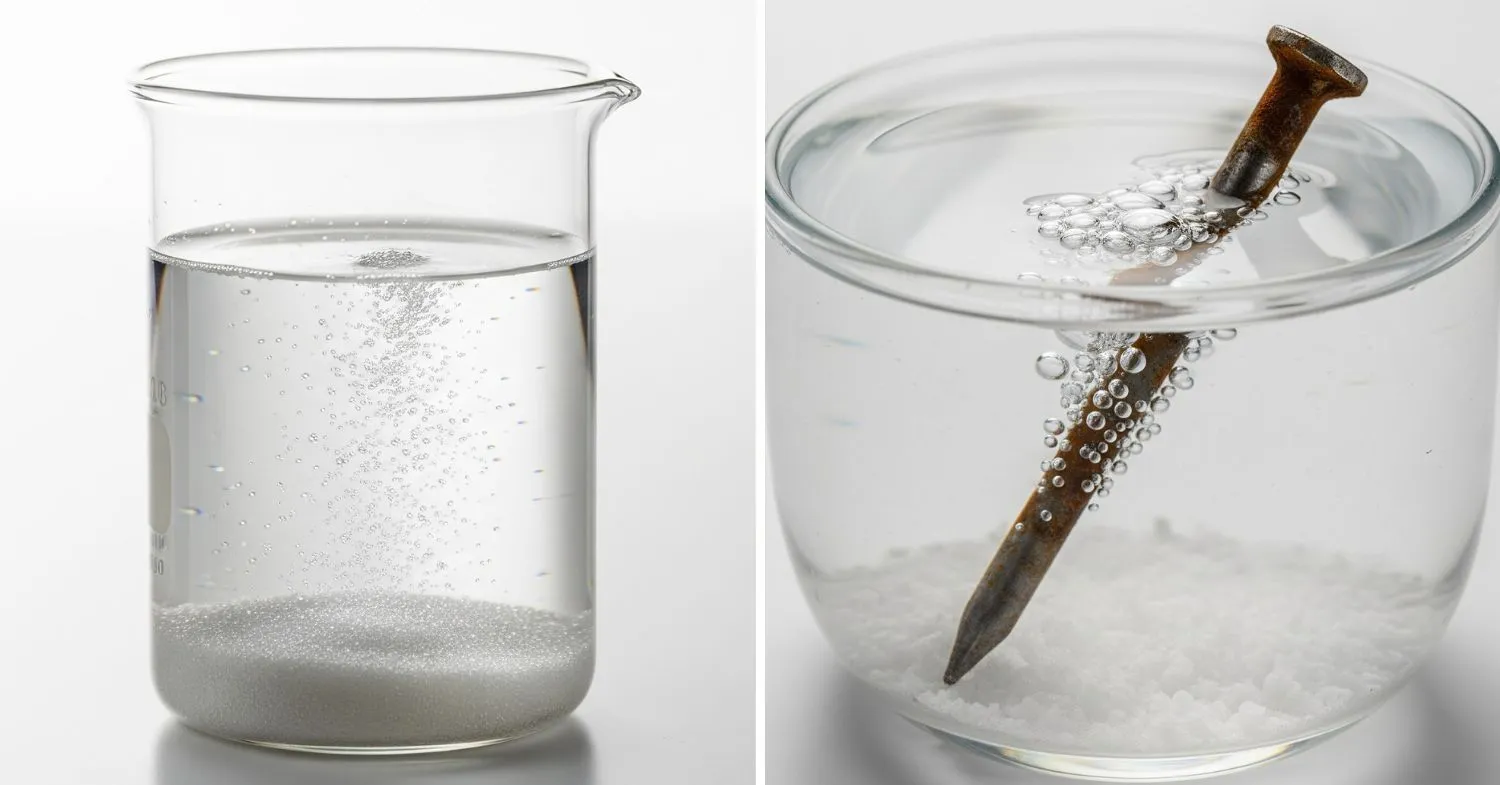
Model 2: Dissolving Sugar (Physical) and Rusting Iron (Chemical)
Materials Needed:
- Sugar
- Water
- Spoon
- Iron nail
- Small bowl
- Water and salt (to speed up rusting)
- Chart paper
Steps:
Part 1: Physical Change (Dissolving Sugar)
- Add sugar to water and stir.
- Observe how the sugar disappears, but the solution is still sweet—no new substance is formed.
Part 2: Chemical Change (Rusting Iron)
- Place an iron nail in a bowl of water with a bit of salt.
- Leave it for a few days and observe the formation of rust (a new substance).
Pro Tips:
- Start the rusting experiment early, as it takes time.
- Use a magnifying glass for close-up observations.
- Draw diagrams showing before and after.
More Options
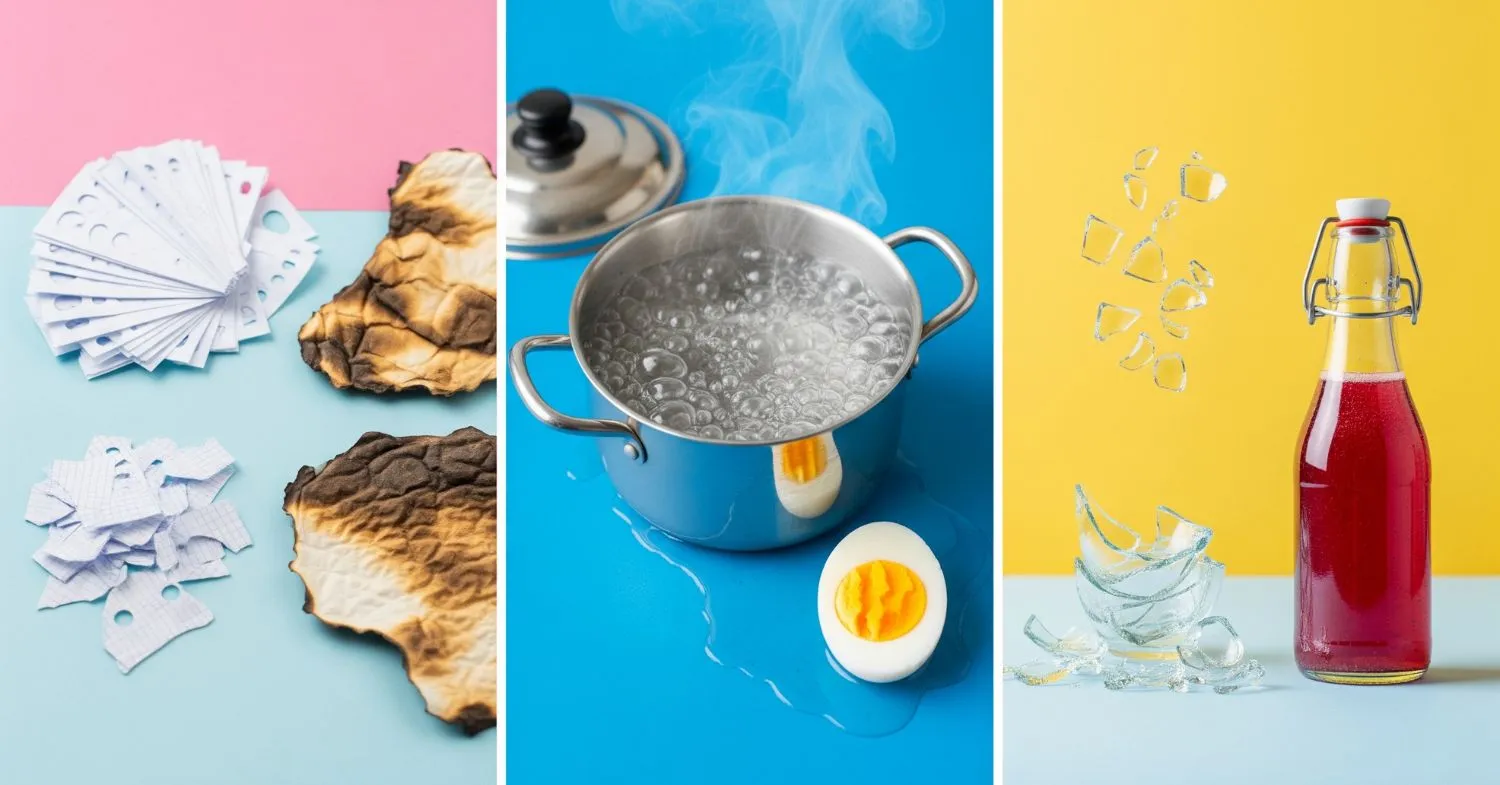
Cutting Paper and Burning Paper
Physical Change: Cutting or tearing paper
Chemical Change: Burning paper
How to Make:
- Cut or tear a piece of paper (physical change: only shape changes, no new substance).
- Burn another piece of paper in a safe, supervised setting (chemical change: paper turns to ash and smoke, new substances formed).
Pro Tip:
Show both pieces side by side and label the changes.
Boiling Water and Cooking an Egg
Physical Change: Boiling water
Chemical Change: Cooking an egg
How to Make:
- Boil water in a kettle or pan (physical change: water changes from liquid to gas, a reversible process).
- Boil an egg in the same water (chemical change: egg white and yolk turn solid and cannot return to their original form).
Pro Tip:
Display both the boiled water and the cooked egg side by side to highlight the differences.
Shattering Glass and Fermentation
Physical Change: Shattering glass
Chemical Change: Fermentation of fruit juice
How to Make:
- Carefully break a small glass item (with adult supervision) to show it is still glass, just in smaller pieces (physical change).
- Place fruit juice in a bottle and let it ferment over a few days to produce bubbles and a sour smell (chemical change: sugars convert to alcohol and gases).
Pro Tip:
Document the changes with before-and-after photos.
How to Document Your Project
A well-documented project is as important as the model itself. Here’s how to organize your work:
- Title and Introduction: Clearly state the topic and what you aim to show.
- Materials List: List everything you used.
- Procedure: Describe each step in simple language.
- Observations: Note what you see, feel, or hear (e.g., “ice became water,” “bubbles formed”).
- Results Table: Use a table to compare physical and chemical changes.
- Conclusion: Summarize what you learned—highlight the differences between the two types of changes.
- Photos and Diagrams: Add pictures or hand-drawn diagrams for clarity.
Pro Tips to Make Your Model Stand Out
- Neatness Counts: Use clean containers and tidy labels.
- Interactive Elements: Let viewers touch the ice or feel the heat from a chemical change (with supervision).
- Clear Labels: Use big, bold labels for each part of your model.
- Presentation: Practice explaining your model in simple words. Be ready to answer questions like “What’s happening here?” or “Why is this a chemical change?”
How to Present Your Project
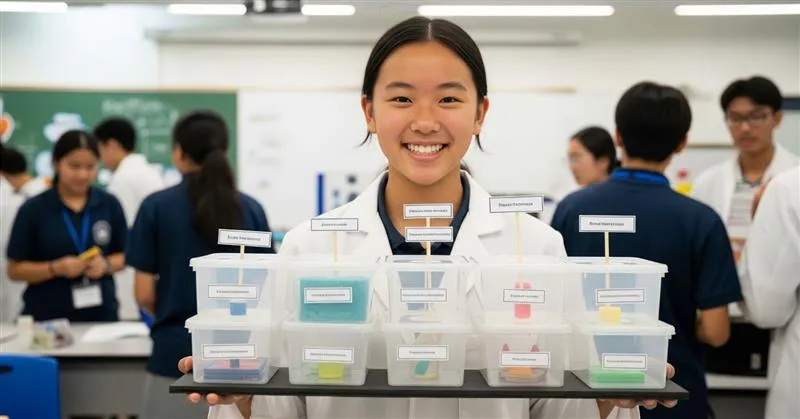
- Place your model on a sturdy tray or board.
- Stand beside your model and use a pointer to show each part.
- Speak slowly and clearly, using simple words.
- End with a summary: “Physical changes only change how something looks, but chemical changes make something new!”
Conclusion
Building a dual model of physical and chemical changes is a fun and effective way to understand science. By following these steps and tips, you’ll create a project that’s not only educational but also impressive and easy to present. Remember, science is all about curiosity—so experiment, observe, and enjoy the process!


Be the first one to comment on this story.