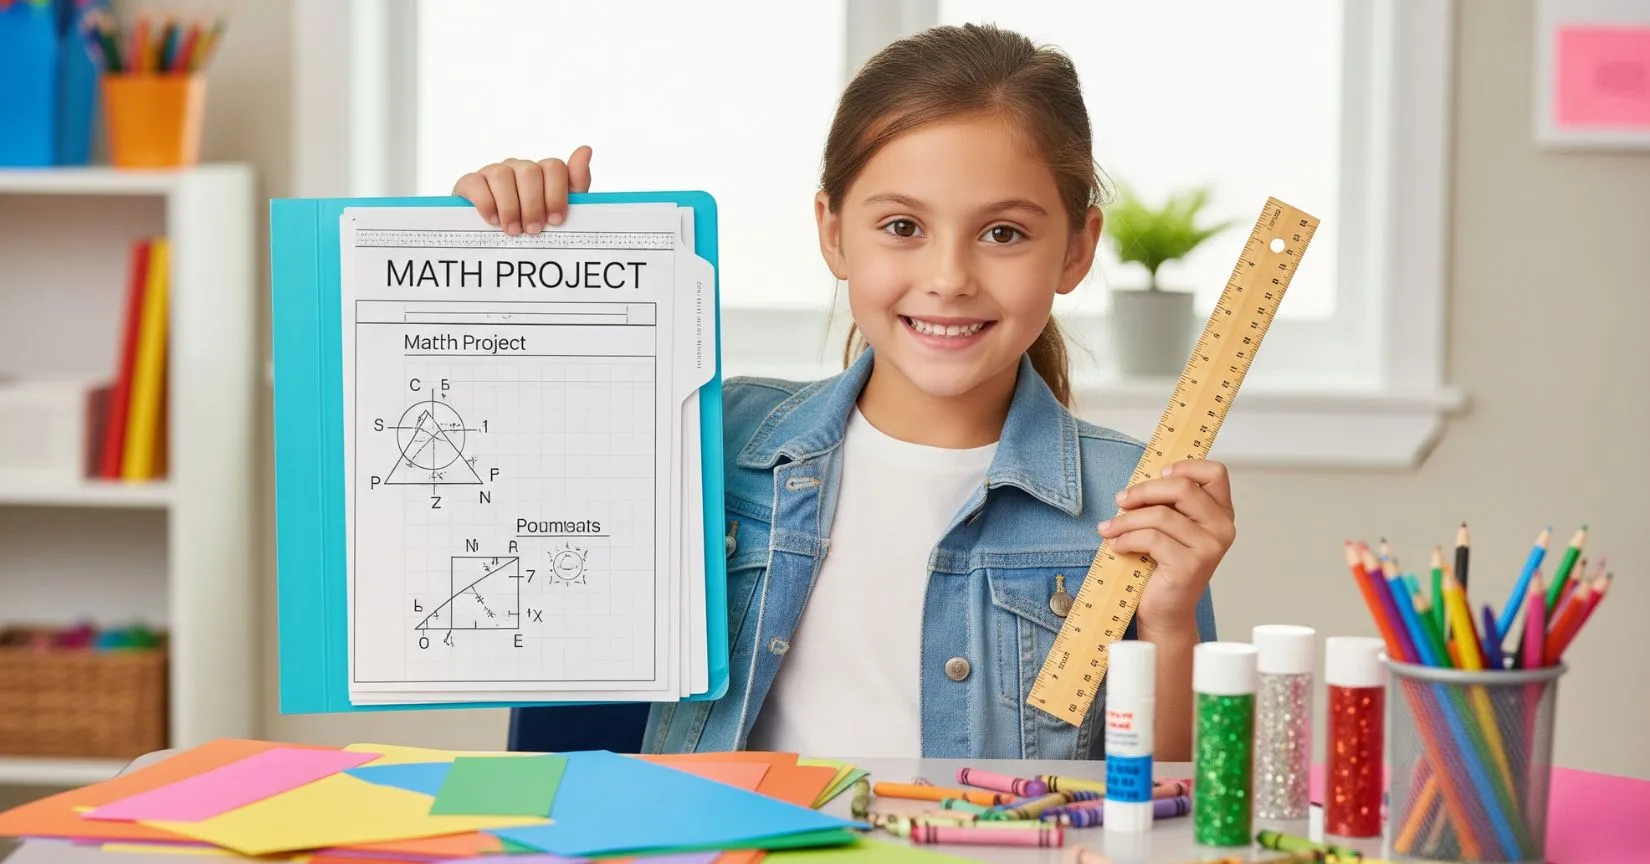
Summer vacations are here, and with it comes the dreaded holiday homework! If you're a parent staring at your child's math project about measuring perimeters and areas, don't panic. This is actually one of the most fun and practical math projects your kid can do. Let's break it down into simple, manageable steps that will help your child create an amazing project.
What You’ll Need
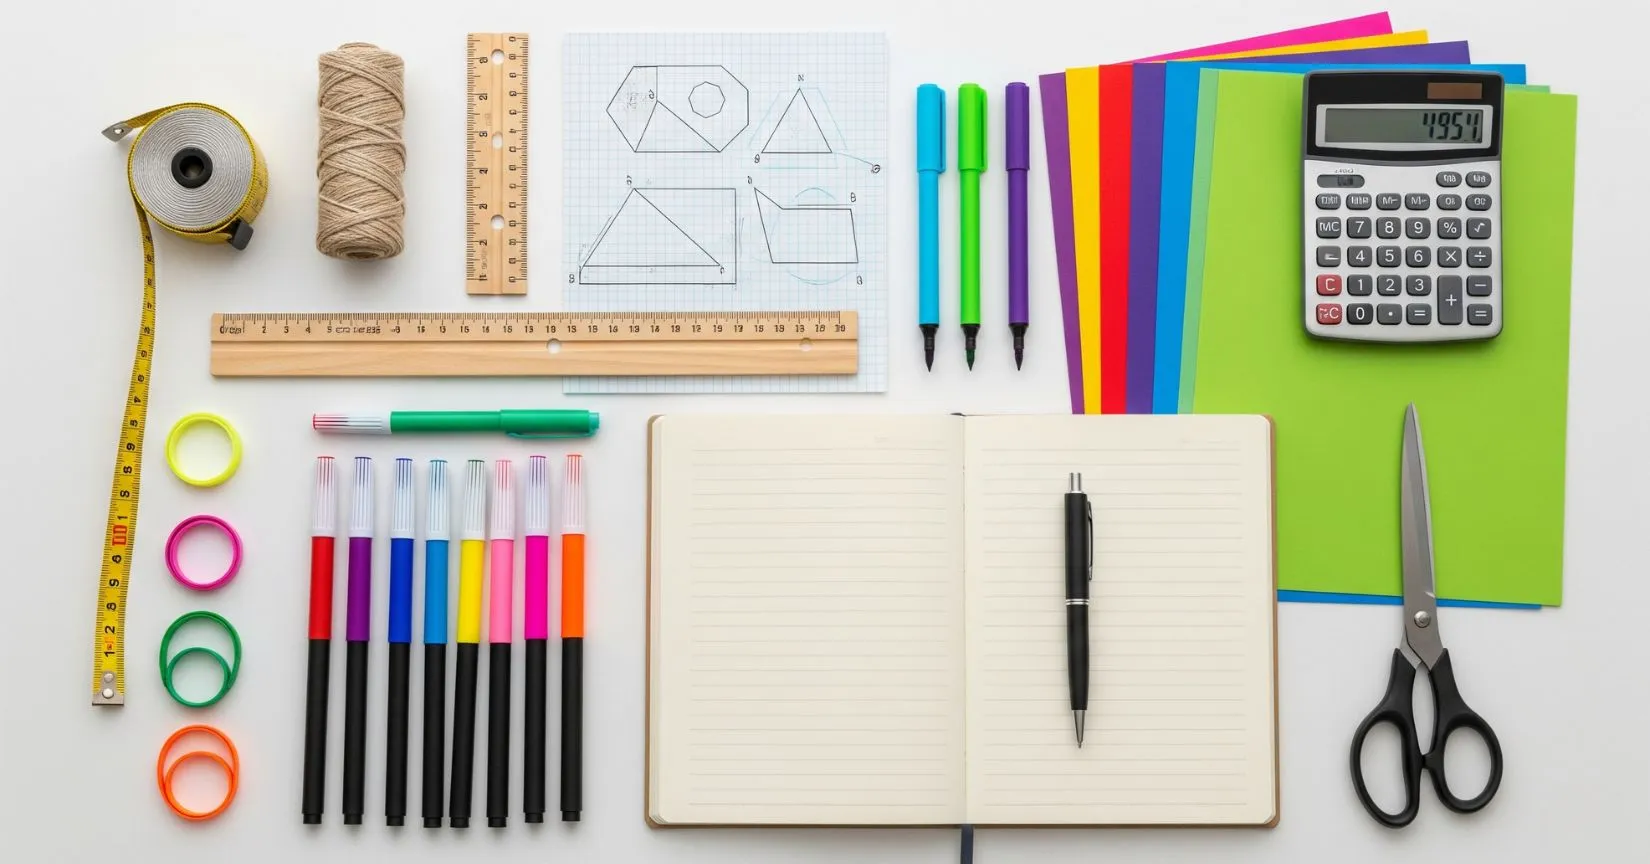
Before you start, gather these materials. You don’t need to buy expensive things—most of these are easily found at home:
Basic Supplies:
- Measuring tape or ruler
- String or yarn
- Colored paper and chart paper
- Markers, crayons, or colored pencils
- Calculator (for older kids)
- Camera or phone for taking pictures
- Glue stick and scissors
- Grid paper or graph paper
- Small notebook for recording measurements
Optional Decorative Items:
- Stickers and borders
- Washi tape
- Printed photos
- Laminating sheets (for a professional finish)
Understanding Perimeter and Area
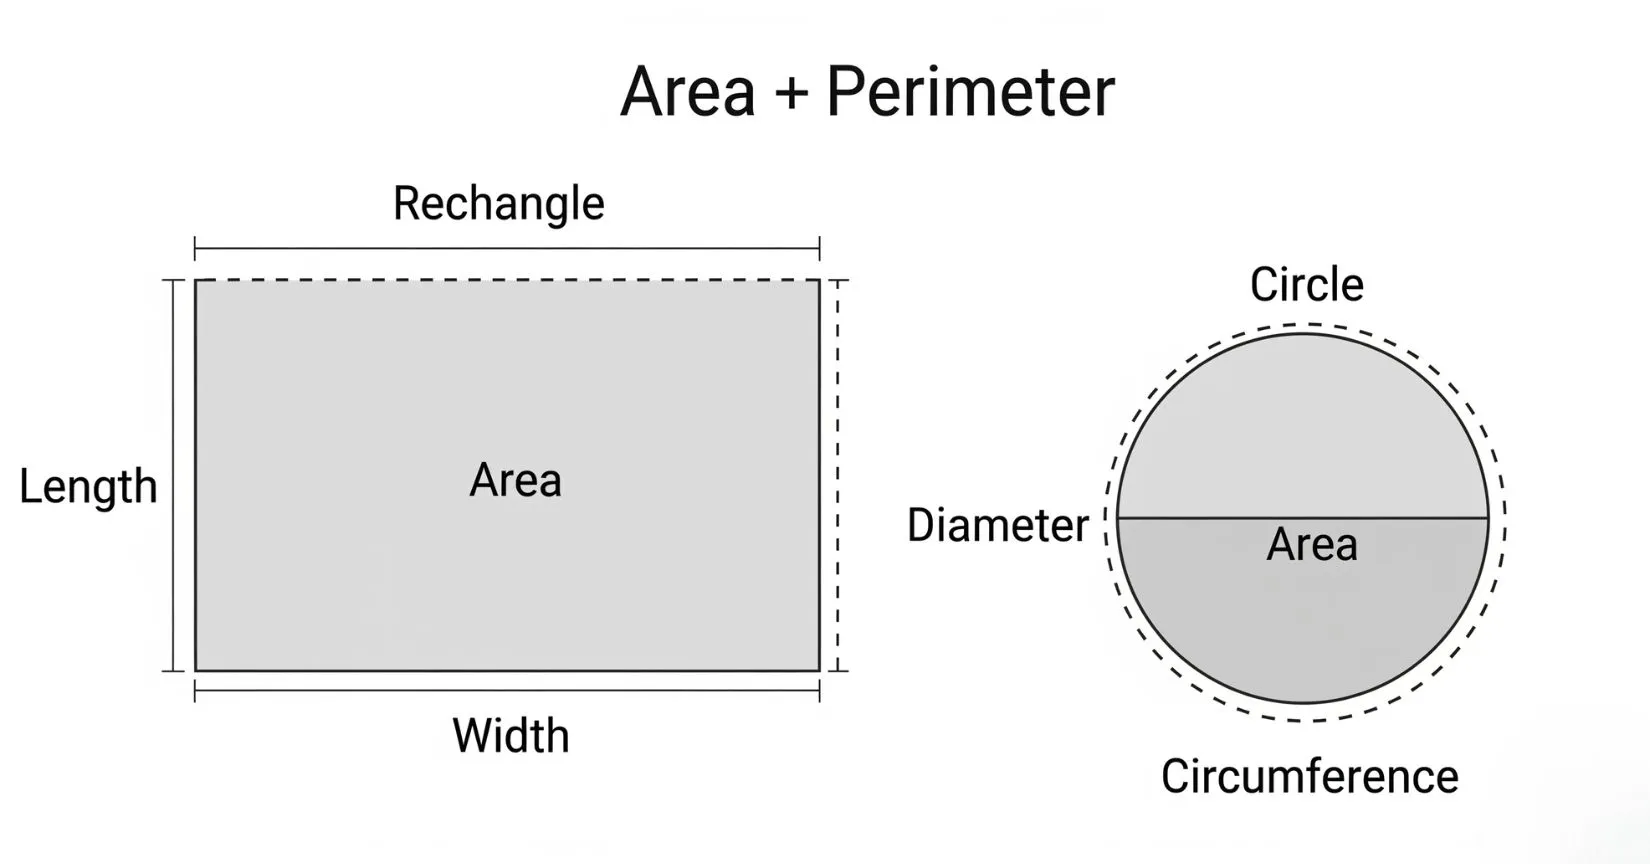
Perimeter is just the distance around the outside of a shape – like walking around your garden. Area is the space inside a shape – like how much carpet you'd need to cover your bedroom floor.
For example, if you have a rectangle, the perimeter is the sum of all four sides, and the area is the length multiplied by the width.
Step-by-Step Project Guide
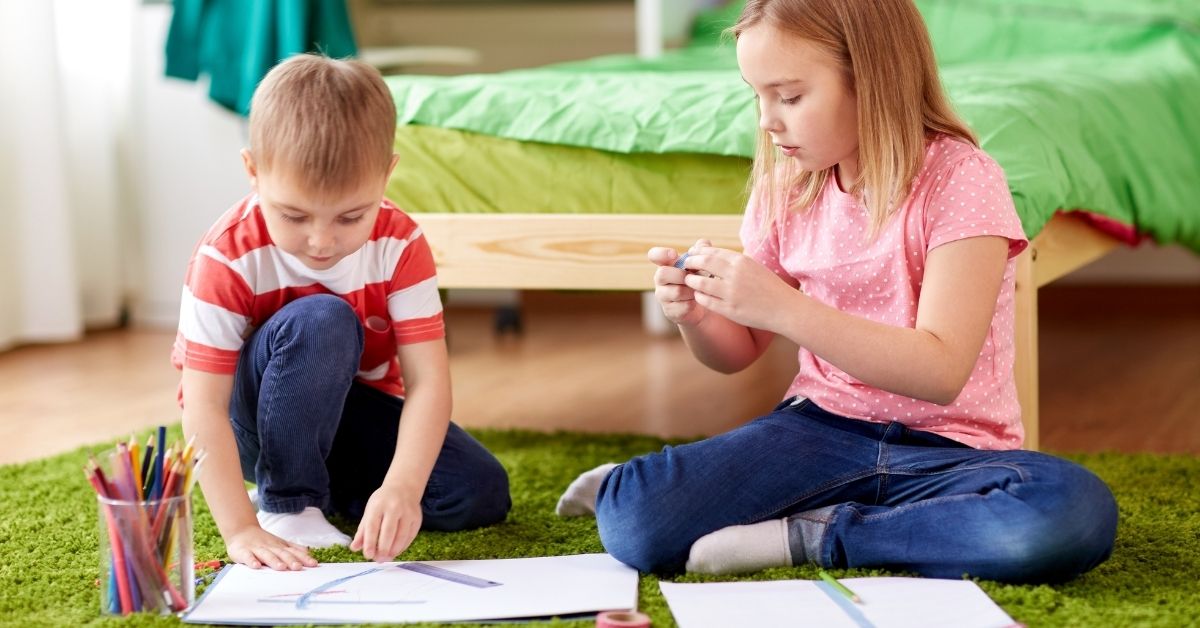
Step 1: Choose Your Shapes and Objects
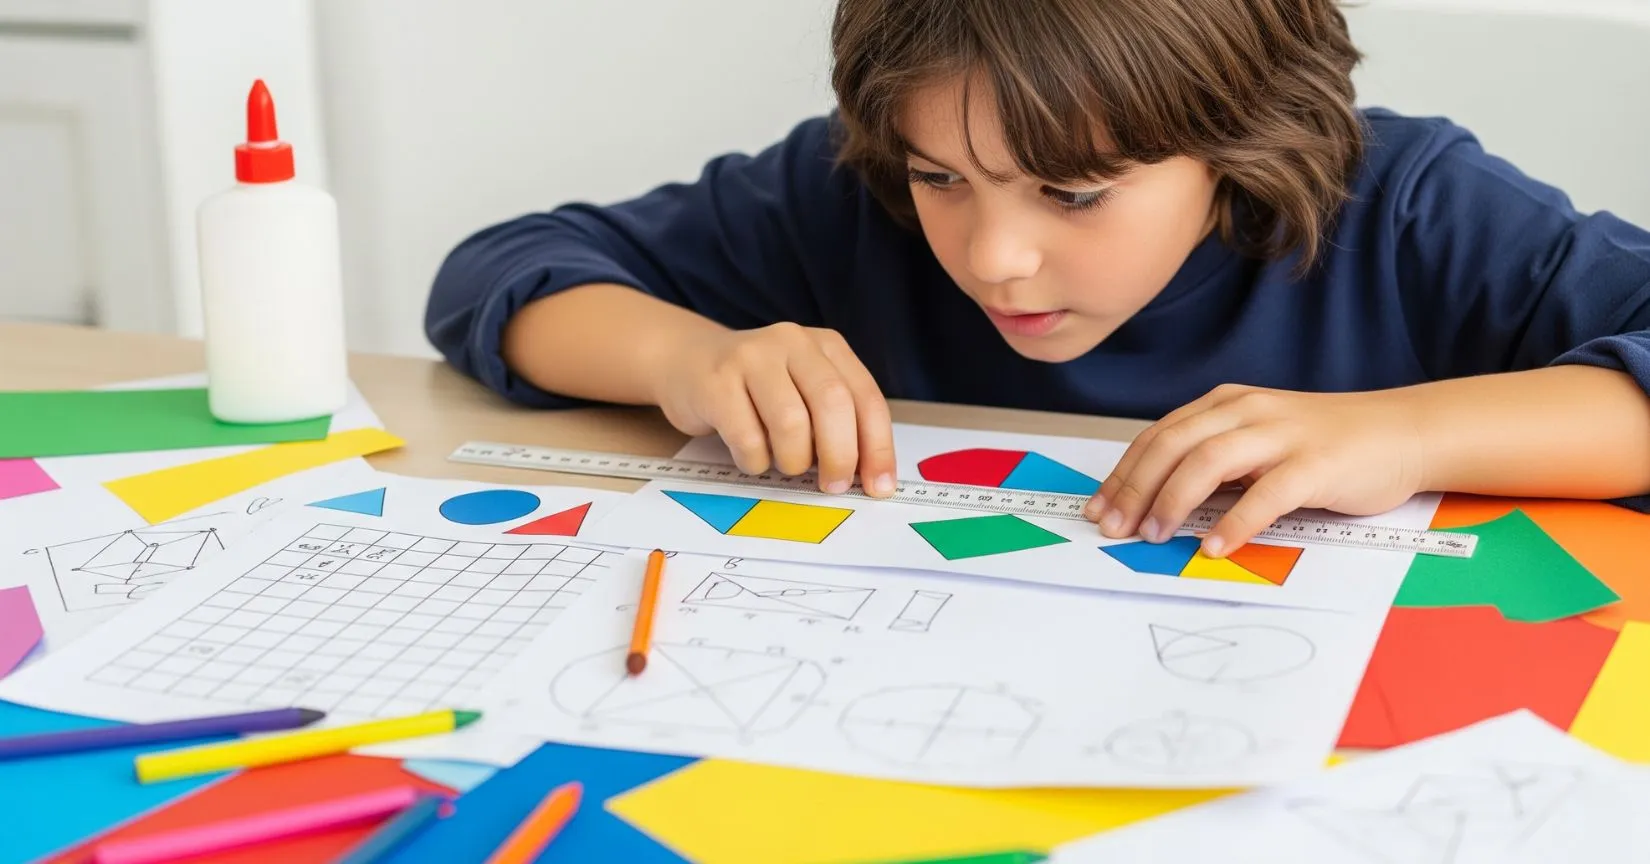
Start by selecting 8-10 different objects or areas around your house and garden. Here are some great ideas:
For Younger Kids (3rd-5th Grade):
- Rectangular objects: books, picture frames, tables
- Square items: tiles, windows, small rugs
- Circular objects: plates, clocks, flower pots
For Older Kids (6th-8th Grade):
- Complex shapes: garden beds, irregular rugs
- Room measurements: bedrooms, kitchen counters
- Outdoor spaces: parking areas, patios
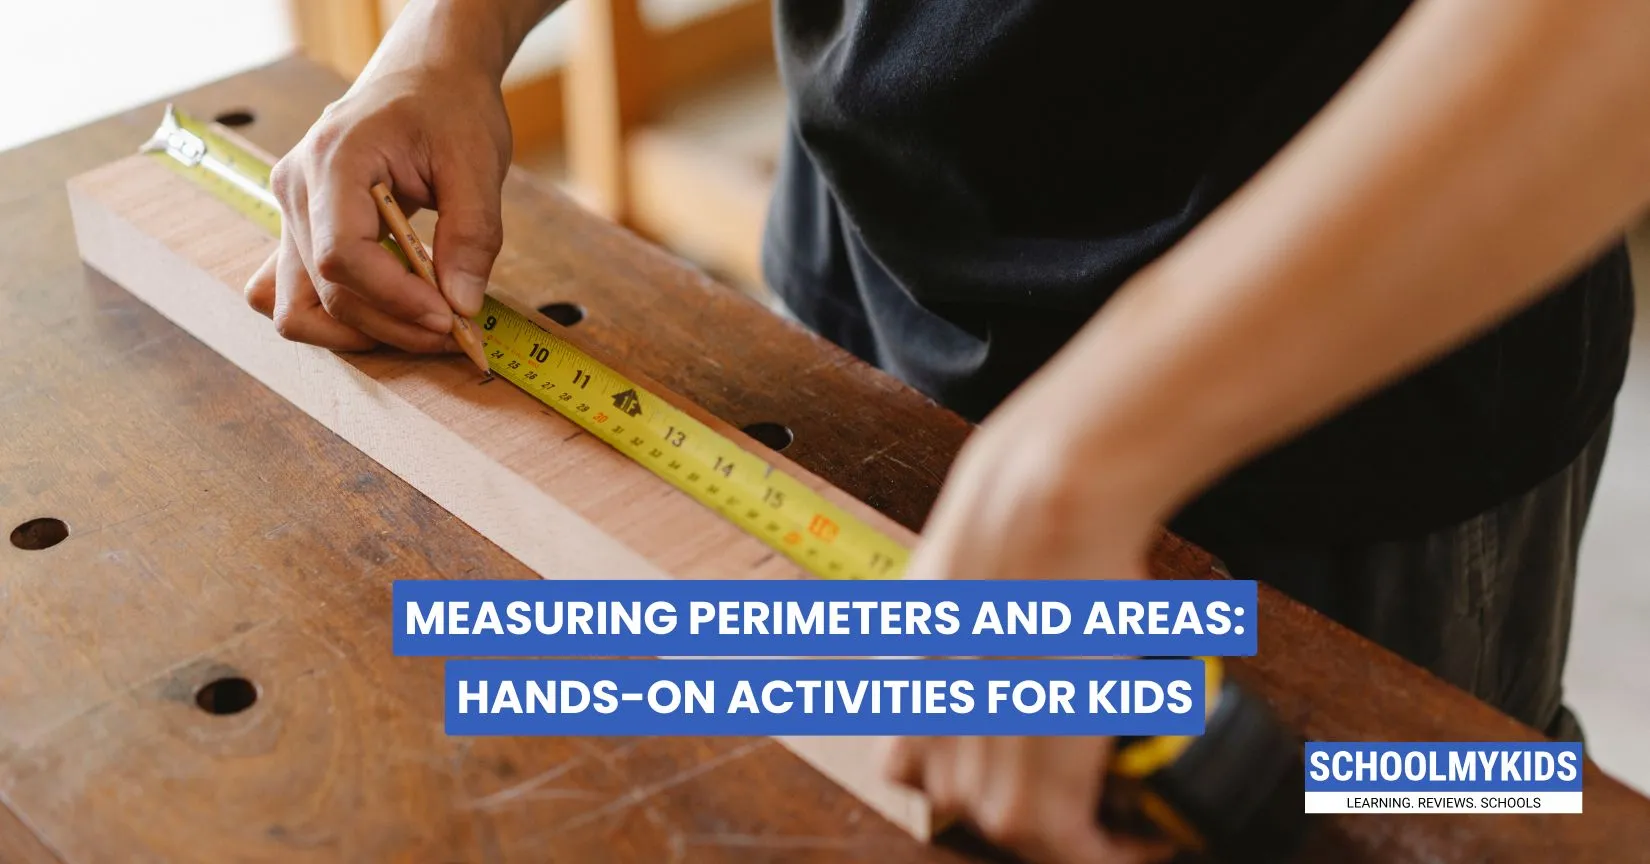
Step 2: Measuring Like a Pro
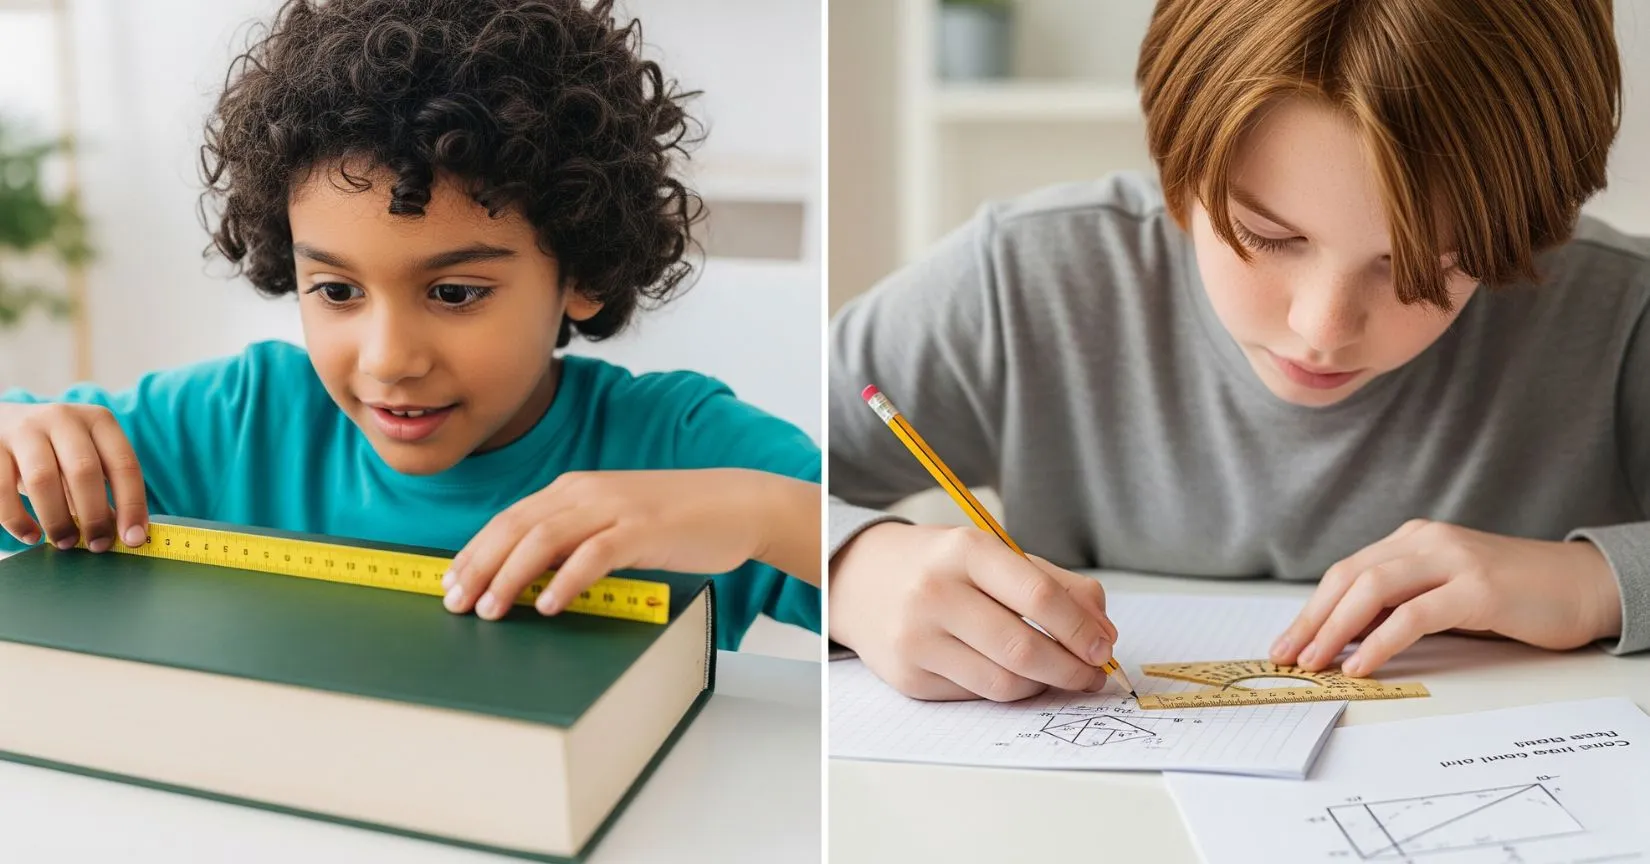
For Rectangles and Squares:
- Measure length and width carefully
- Perimeter = 2 × (length + width)
- Area = length × width
- Take a photo while measuring for documentation
For Circles:
- Measure across the middle (diameter)
- Use string to measure around the edge for the perimeter
- Perimeter = π × diameter (use 3.14 for π)
- Area = π × radius × radius
Pro Tip: Always measure twice to make sure you're accurate!
Step 3: Create Your Documentation Table

Make a neat table to record all your findings. Here's a sample format:
| Objects | Shape | Length | Width | Perimeter | Area | Photo |
| Dining Table | Rectangle | 150 cm | 90 cm | 480 cm | 13,500 cm² | ✓ |
| Wall Clock | Circle | 30 cm diameter | - | 94.2 cm | 706.5 cm² | ✓ |
Step 4: Document Everything
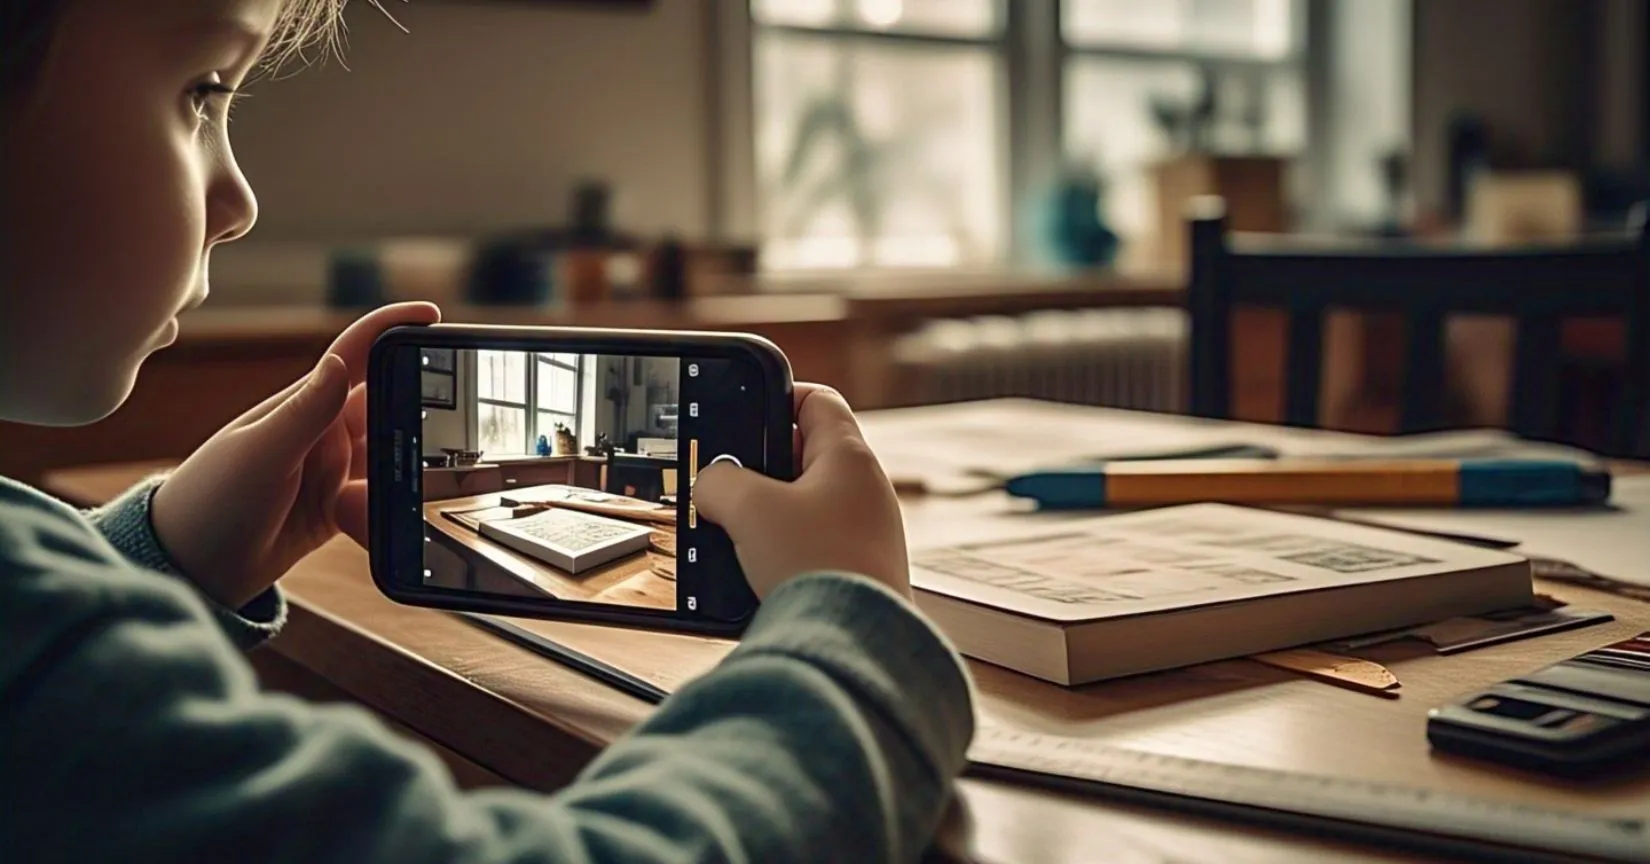
Take clear photos of each item you're measuring. Show the measuring tape or ruler in action. This proves you actually did the work and makes your project more authentic.
Photography Tips:
- Take photos from different angles
- Make sure measurements are clearly visible
- Include yourself in some photos to show the scale
- Print photos in good quality for your project
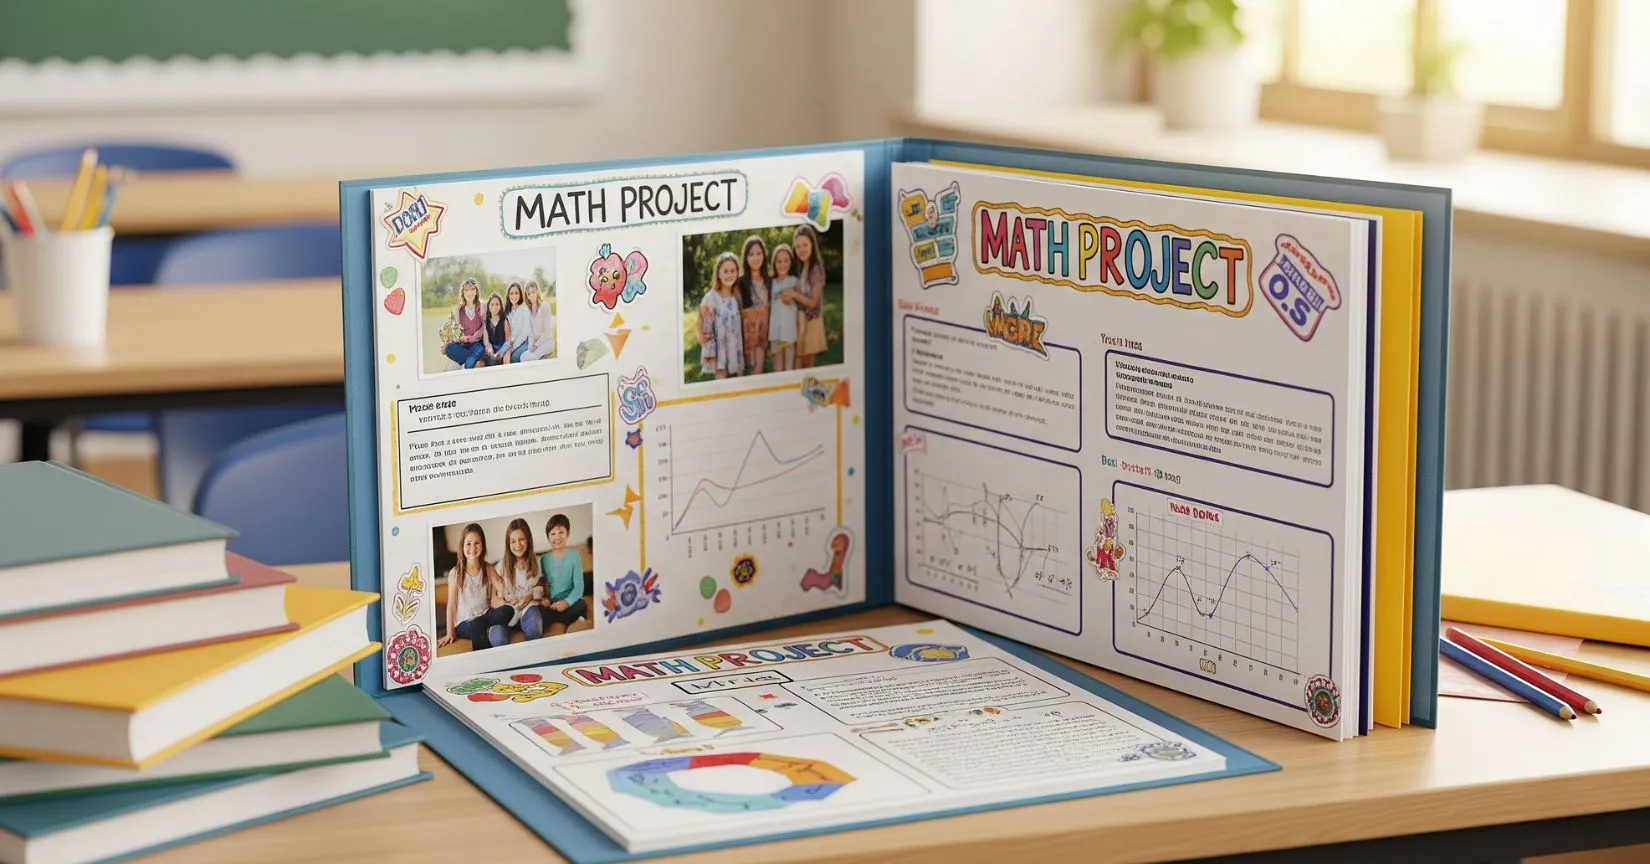
Making It Presentation-Ready
Design and Layout
Cover Page Ideas:
- Create a colorful title with your name and class
- Add some geometric shapes as decorations
- Include a small collage of your measurement photos
Inside Pages Organization:
- Introduction page explaining perimeter and area
- Materials used page
- Individual pages for each measured object
- Results summary page
- What you learned conclusion
Decoration Tips
For Elementary Students:
- Use bright colors and fun stickers
- Draw cartoon characters holding measuring tapes
- Create borders with geometric patterns
- Add fun facts about shapes
For Middle School Students:
- Keep it clean and professional-looking
- Use consistent fonts and colors
- Add graphs comparing different measurements
- Include real-world applications of your findings
Class-Specific Adaptations
3rd-5th Grade Level
- Focus on simple rectangular and square objects
- Use basic formulas with lots of visual aids
- Include hands-on activities like creating shapes with string
- Add a "fun facts" section about each measured object
- Use larger, clearer handwriting and simple language
6th-8th Grade Level
- Include more complex shapes and irregular areas
- Add calculations for composite shapes (shapes made of multiple rectangles)
- Include unit conversions (cm to meters, etc.)
- Add analysis comparing different objects
- Include error analysis and measurement accuracy discussion
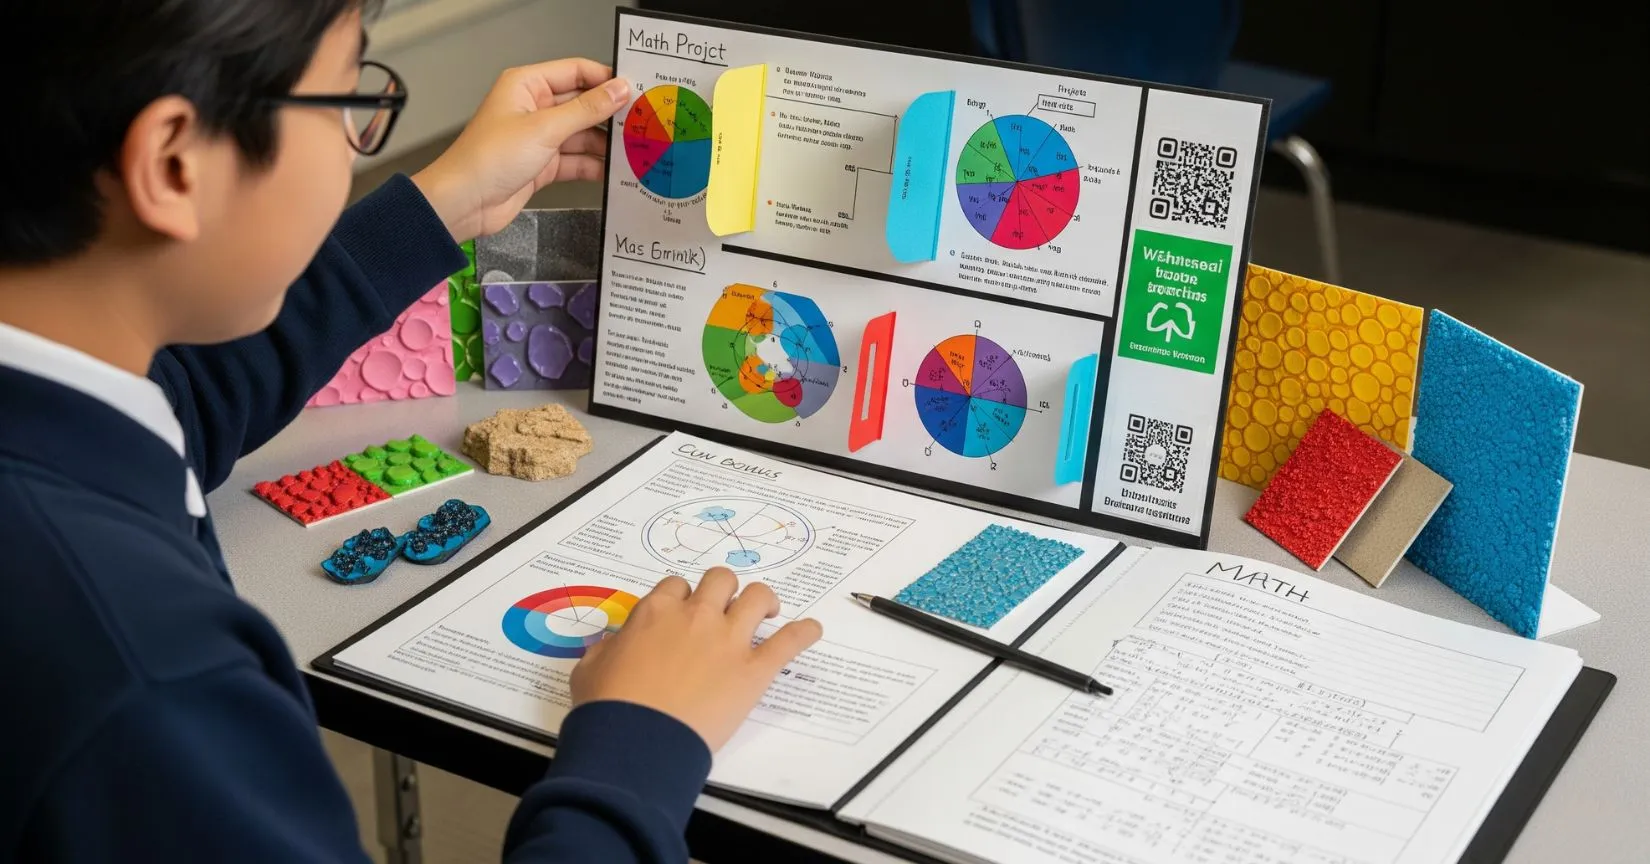
Creative Ideas to Stand Out
Interactive Elements:
- Create fold-out flaps showing before/after measurements
- Add QR codes linking to videos of you measuring (if allowed)
- Include texture samples of measured surfaces
Real-World Connections:
- Calculate how much paint is needed for a wall
- Figure out carpet costs for measured rooms
- Compare your measurements to famous landmarks
Math Extensions:
- Create scale drawings of measured objects
- Calculate ratios between different measurements
- Graph your results in bar charts or pie charts
Final Presentation Tips
Making It Grade-Worthy
Organization Checklist:
- Clear table of contents
- Numbered pages
- Consistent formatting
- All calculations shown step-by-step
- Photos properly labeled and captioned
Quality Touches:
- Laminate important pages
- Use a nice folder or binder
- Include a bibliography if you researched formulas
- Add a reflection page about what was challenging or surprising
Common Mistakes to Avoid
- Don't rush the measuring: accuracy matters
- Don't forget to include units (cm, m, etc.)
- Don't make your project too text-heavy: use visuals
- Don't wait until the last minute: good projects take time
Conclusion
Remember, this project isn't just about getting good grades – you're learning practical skills you'll use throughout life. Whether you're buying carpet, planning a garden, or just trying to figure out if that new furniture will fit in your room, you'll be using these same concepts. Most importantly, have fun with it!


Be the first one to comment on this story.