Ho ho ho! It’s the Christmas season and all of us want dear Santa to visit us with exciting gifts! He comes riding on a sleigh! So our dear snowman is the one who stays up all night to watch out for dear Santa visiting us with loads of gifts!
So today let’s make a beautiful paper 3d snowman card and hang it on our doors to welcome dear Santa and our friends this Christmas! Let’s get started to make one beautiful fun-filled snowman card.
Follow the instructions to know how to make handmade 3D snowman Christmas card for kids.
Materials Required to Make 3D Snowman Card
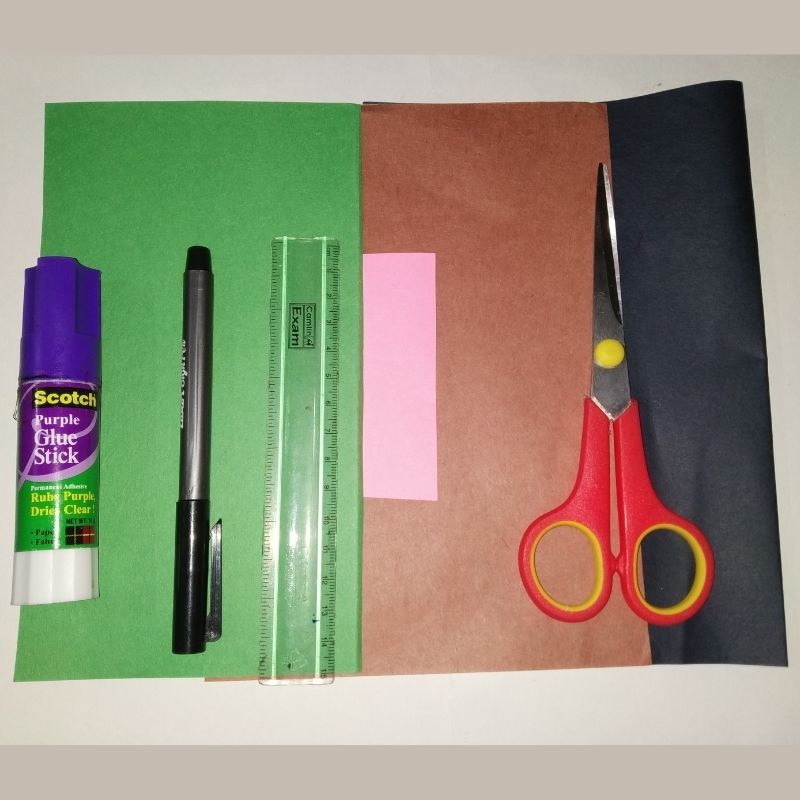
Green paper
Pink paper
White paper
Orange paper
Black paper
Brown paper
Sketch pens
Pencil
Scissors
Glue
How to Make 3D Snowman Card Step by Step
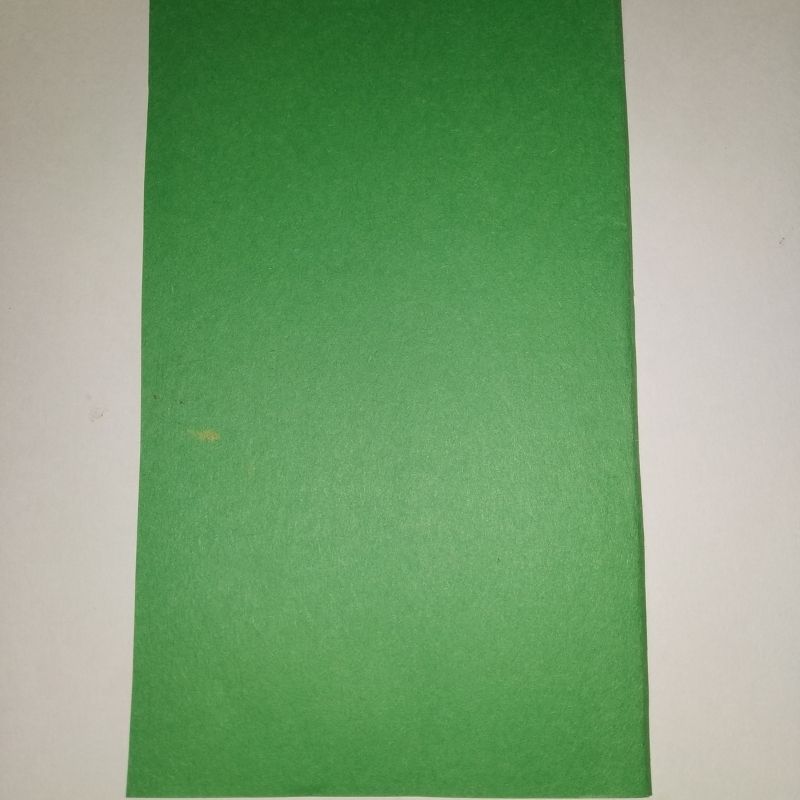
We need an A4 sized green paper which is our card base.
Keep it vertical.
Now take a white sheet of paper and cut rectangular thick strips from this.
Size of the strips should be around 15cms by 9cms. We need two such strips
Next, we need another rectangular strip of 12cms by 3cms.
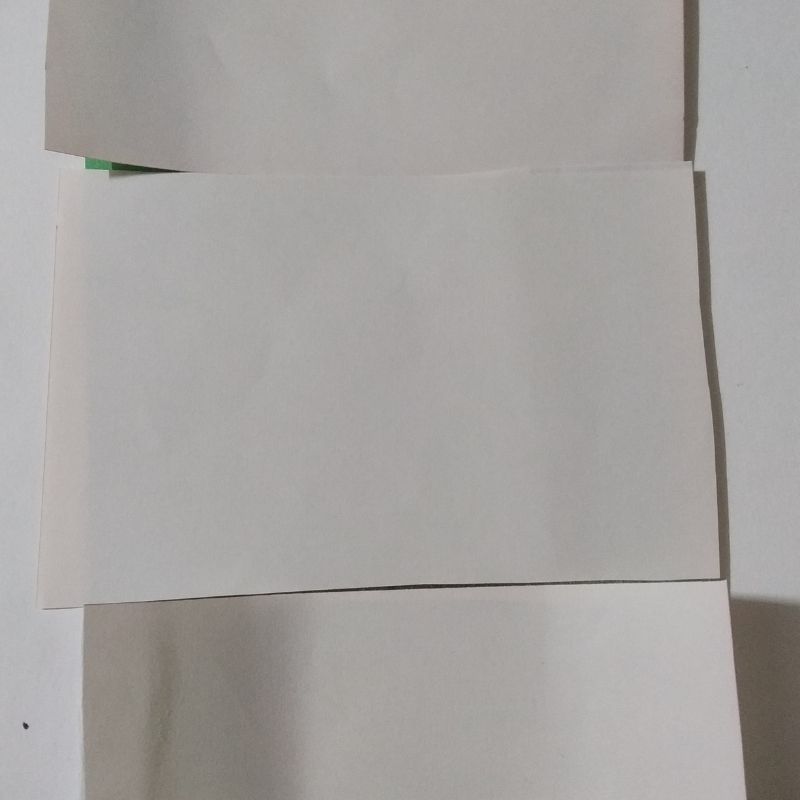
Now roll these strips into a cylinder.
Arrange the latest strip on the top horizontally on the green card, followed by other two strips till the end of the card.
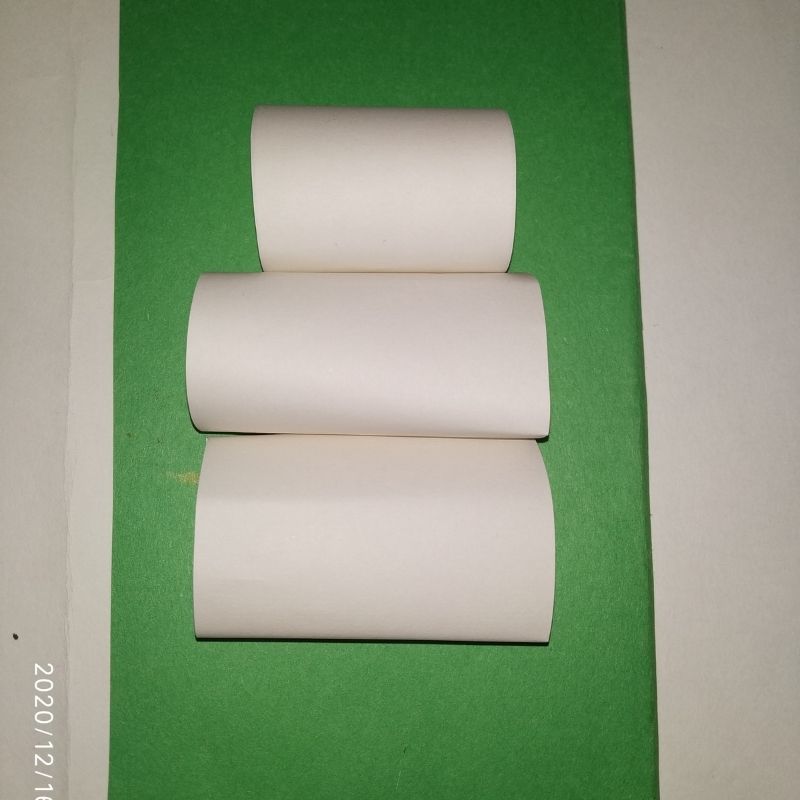
Stick these in a line one below the other in a horizontal fashion.
This is the framework of our dear snowman.
Next, take a black paper and cut a small rectangle and stick it on top of the first cylinder which is the face of the snowman
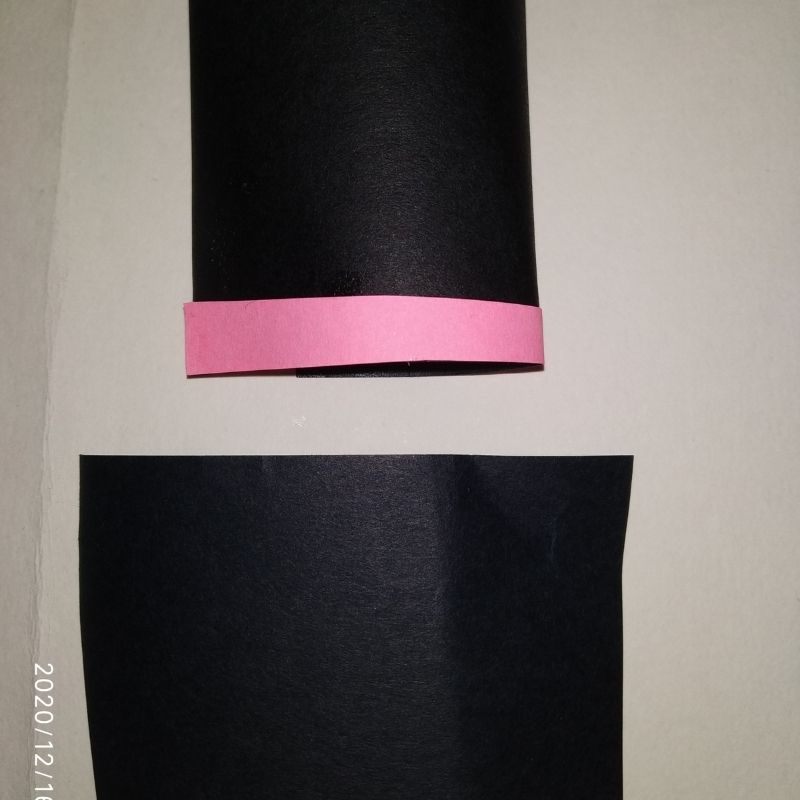
Next, cut a strip of 12cm by 3cm using the same black sheet and roll it into a cylinder.
Hold this roll vertically and stick a small pink stripe on the end of this roll.
Now stick it vertically over the black rectangle just above the face of the snowman
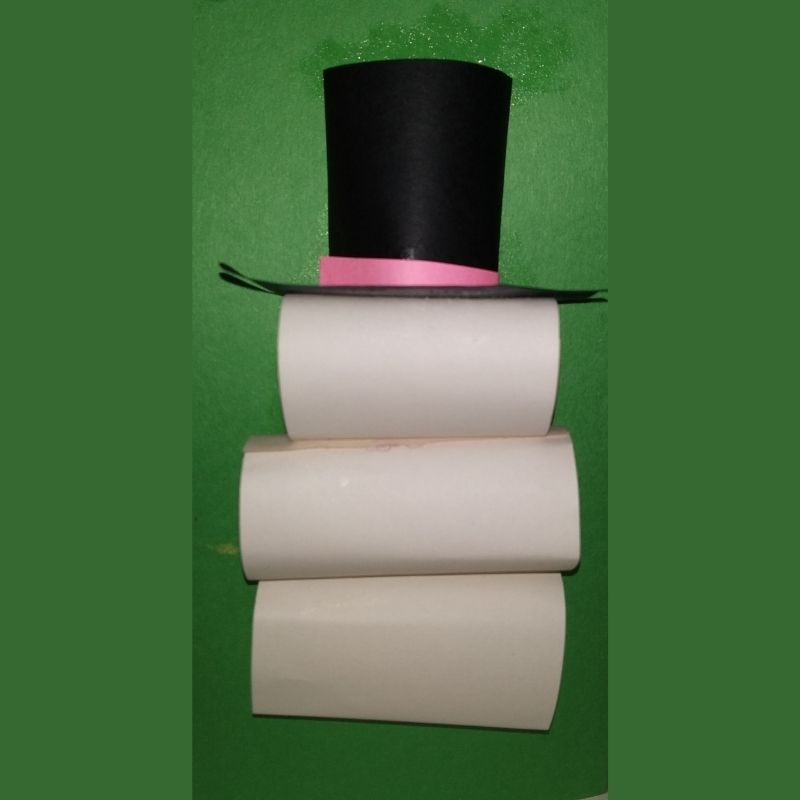
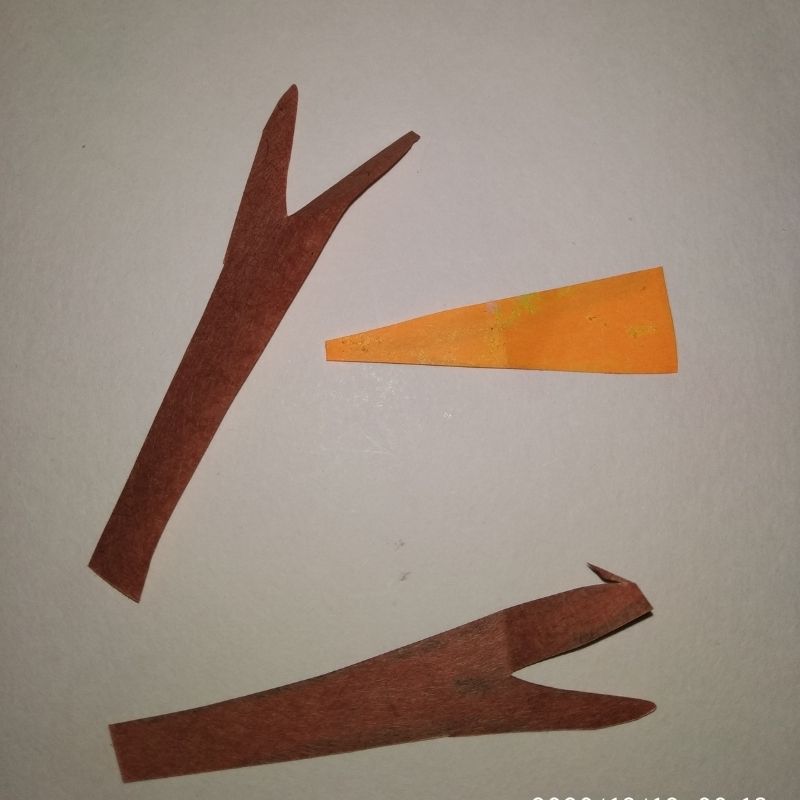
Next, take a brown sheet and cut two arms of the snowman like a twig. Stick them on the side of the snowman’s body.
That’s it kids your snowman is all ready
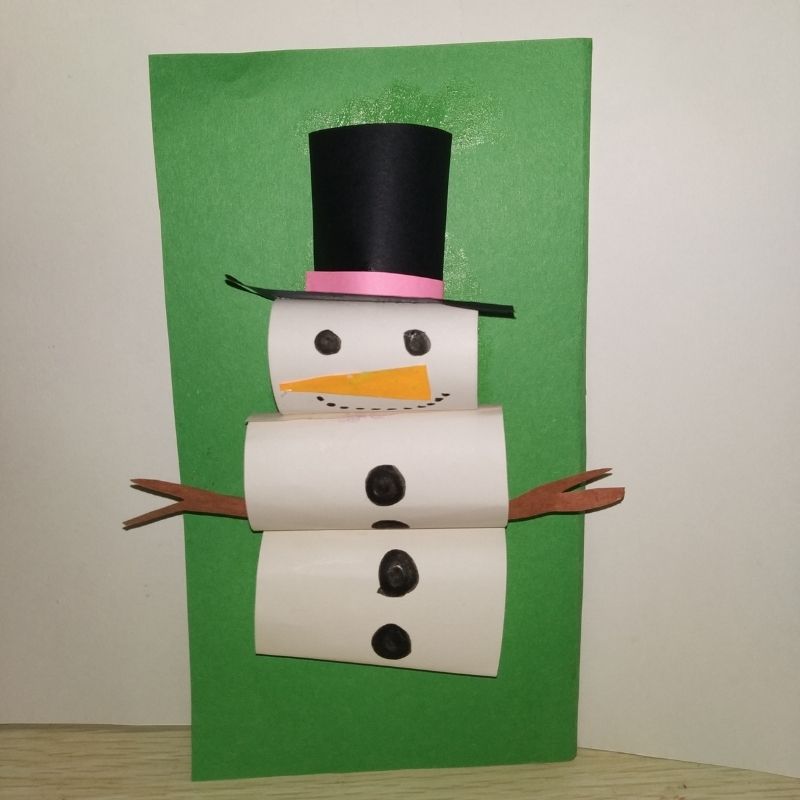
Next, use an orange sheet of paper to cut a carrot-shaped nose of the snowman and stick it on the face.
Add details using a black sketch pen to the face like eyes, smile, buttons etc.
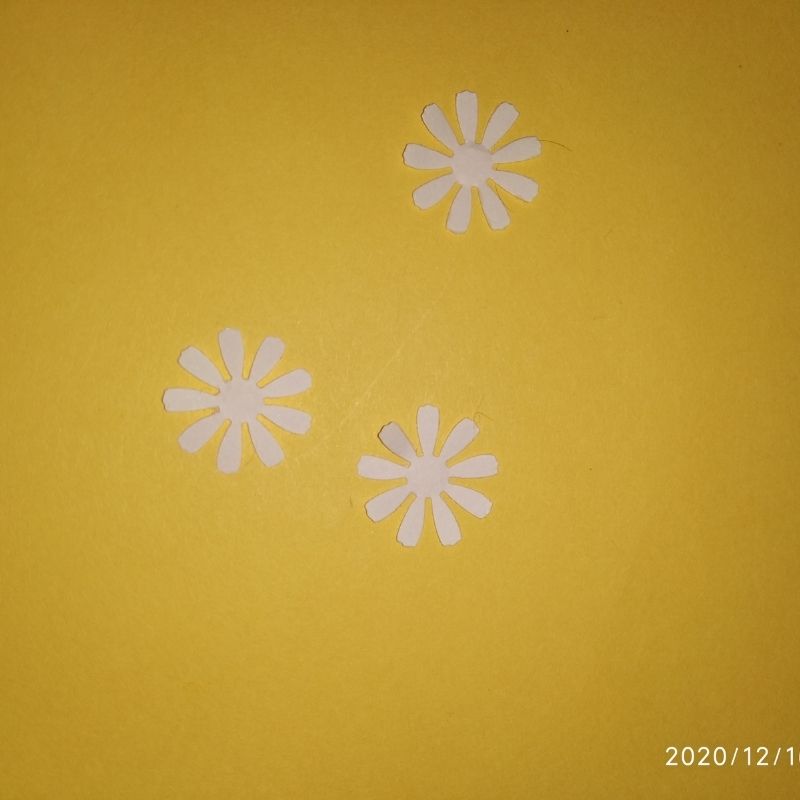
Next, take a white sheet of paper and cut small snowflakes and stick them around the snowman on the green card.
That’s it, kids. Your beautiful 3D snowman card is all ready!
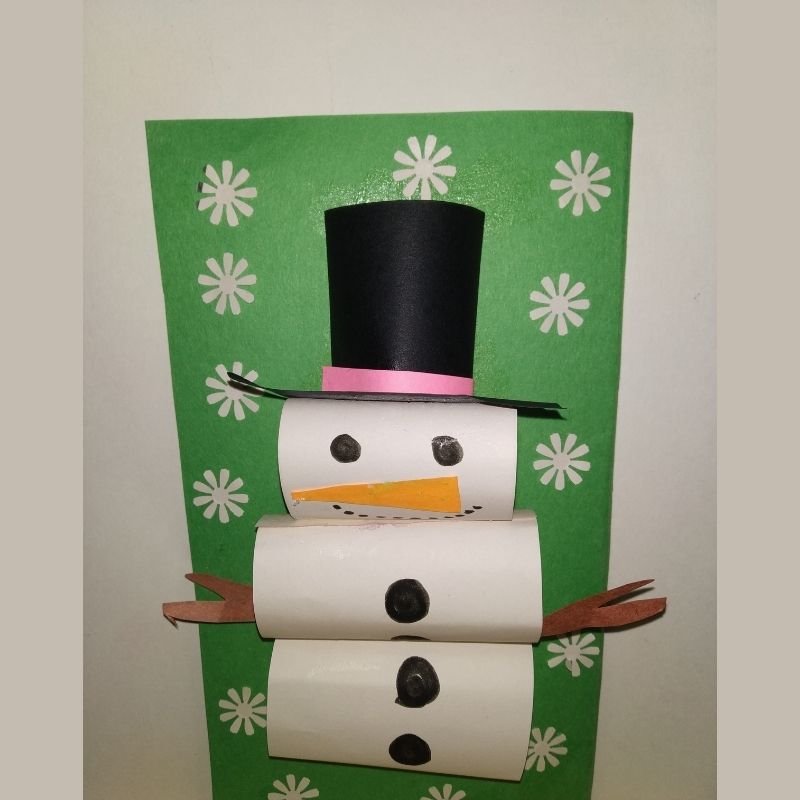
Try for yourself! Enjoy this amazing craft.