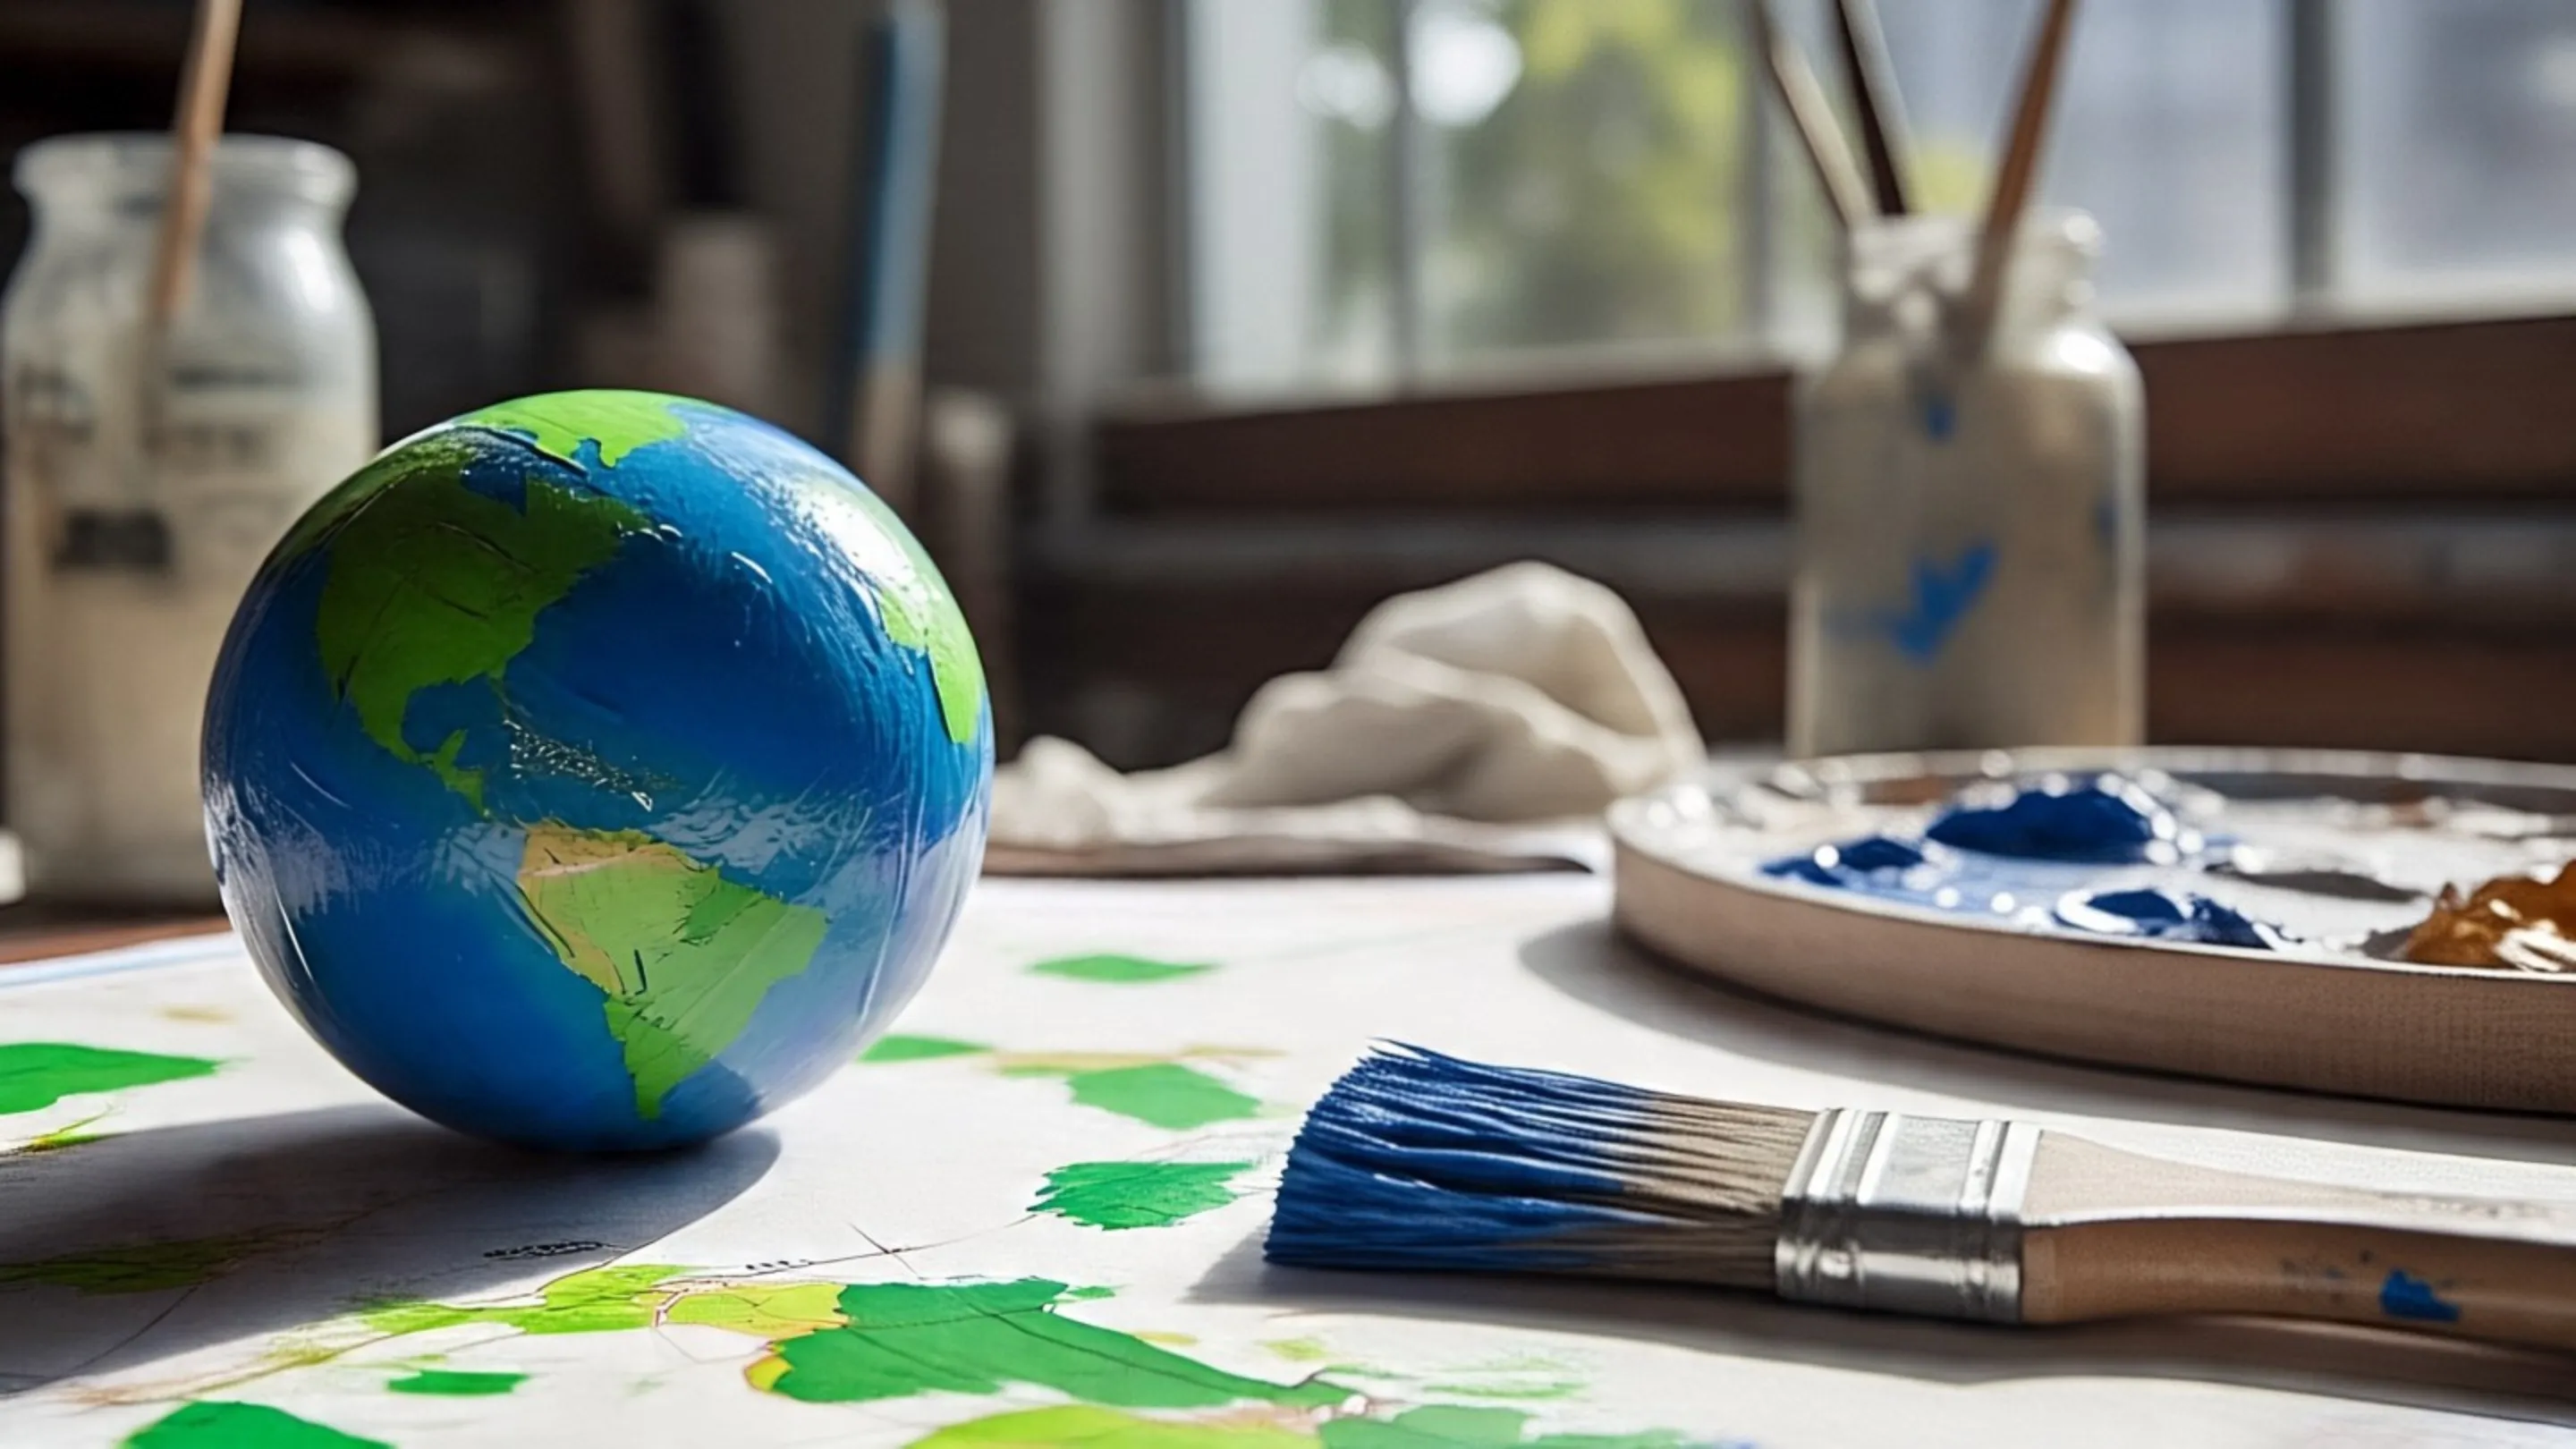
Today, we are going to cover one of the most common models that schools and Social Science teachers seem to love—the 3D Globe.
Just like we covered the DIY Solar System Model in our previous blog, this globe project is another favorite among teachers. But don't worry - this one might actually be easier!
With the right materials and some patience, you can create an awesome globe that will definitely impress your teacher and get you those good grades you're aiming for.
What You’ll Need
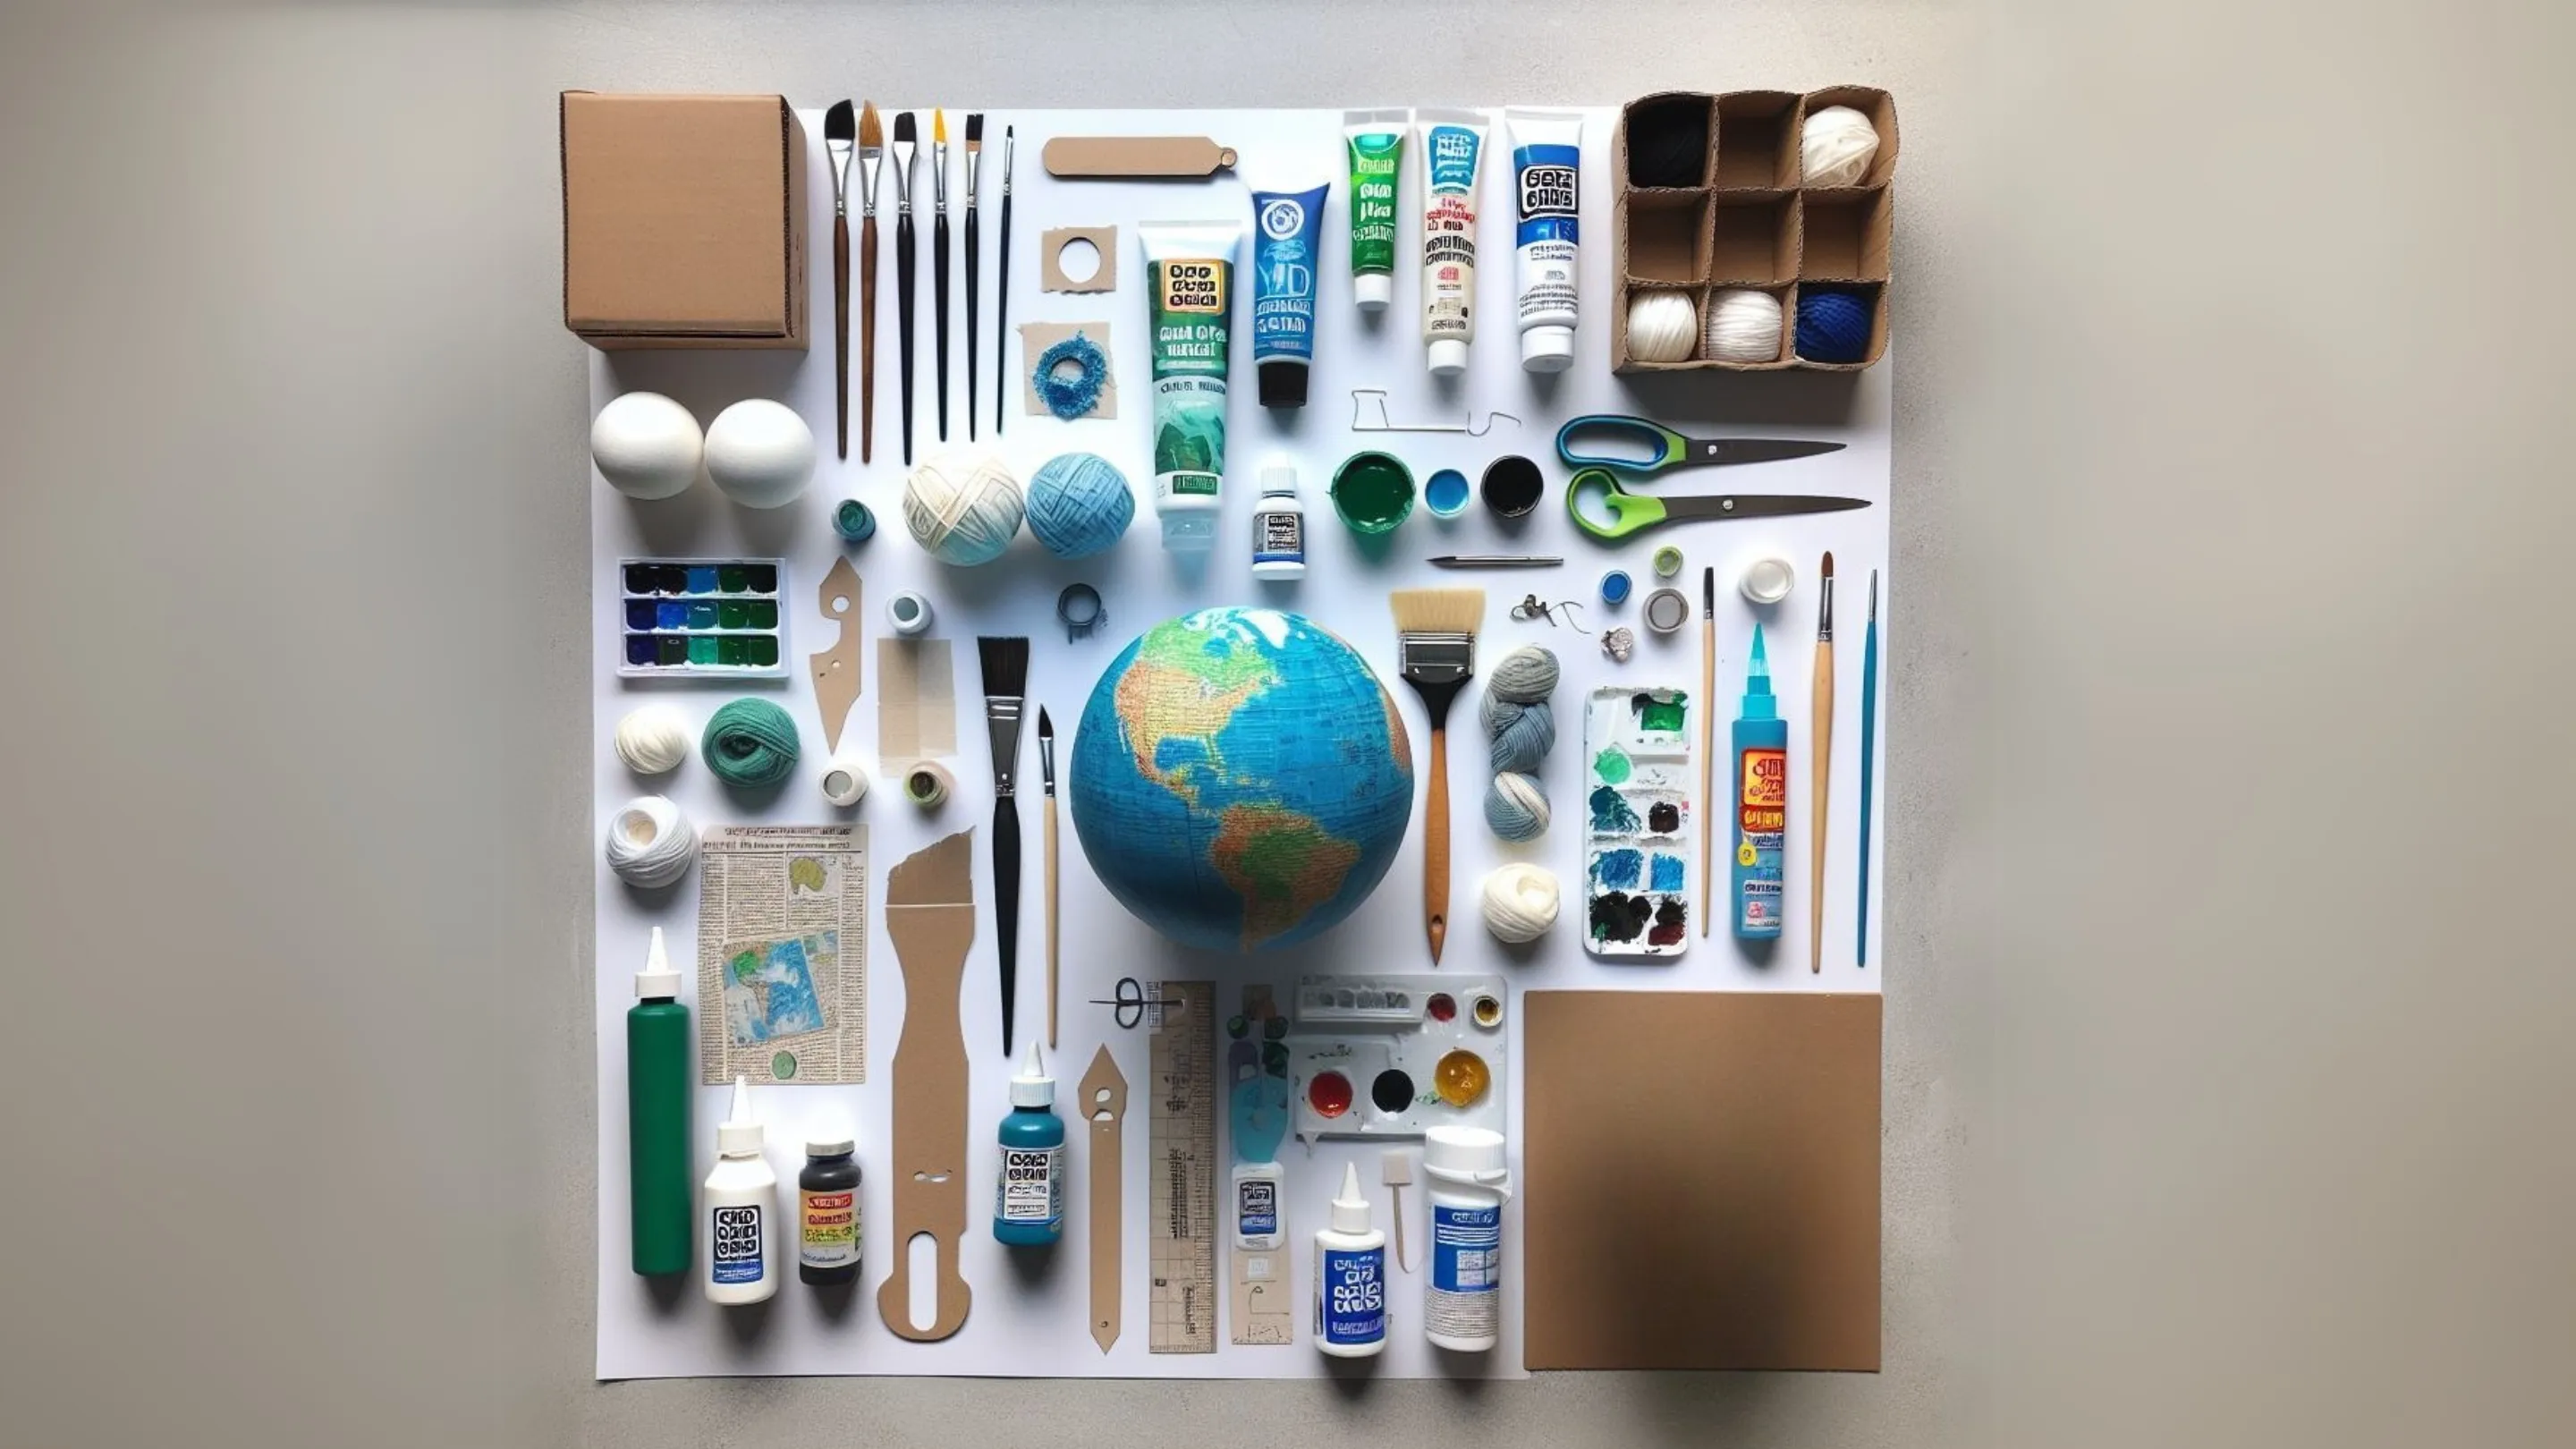
Before you begin, gather all the materials. You don’t have to buy expensive things; most items are easily found at home or in a stationery shop:
- A round ball (Styrofoam, plastic, or even a balloon)
- Blue and green paint (for oceans and continents)
- Paintbrushes (thick and thin)
- White marker or white paint (for drawing borders or clouds)
- Reference world map (to guide your painting)
- Glue (white glue or Mod Podge)
- Tissue paper or newspaper strips (optional for paper mache)
- Scissors
- Cardboard or an old CD box (for the base/stand)
- String or thread (if you want to hang your globe)
- Toothpick or skewer (for holding or spinning the globe)
- Decorative items (stickers, glitter, etc., optional)
Step-by-Step Guide to Making a 3D Globe
1. Prepare the Base
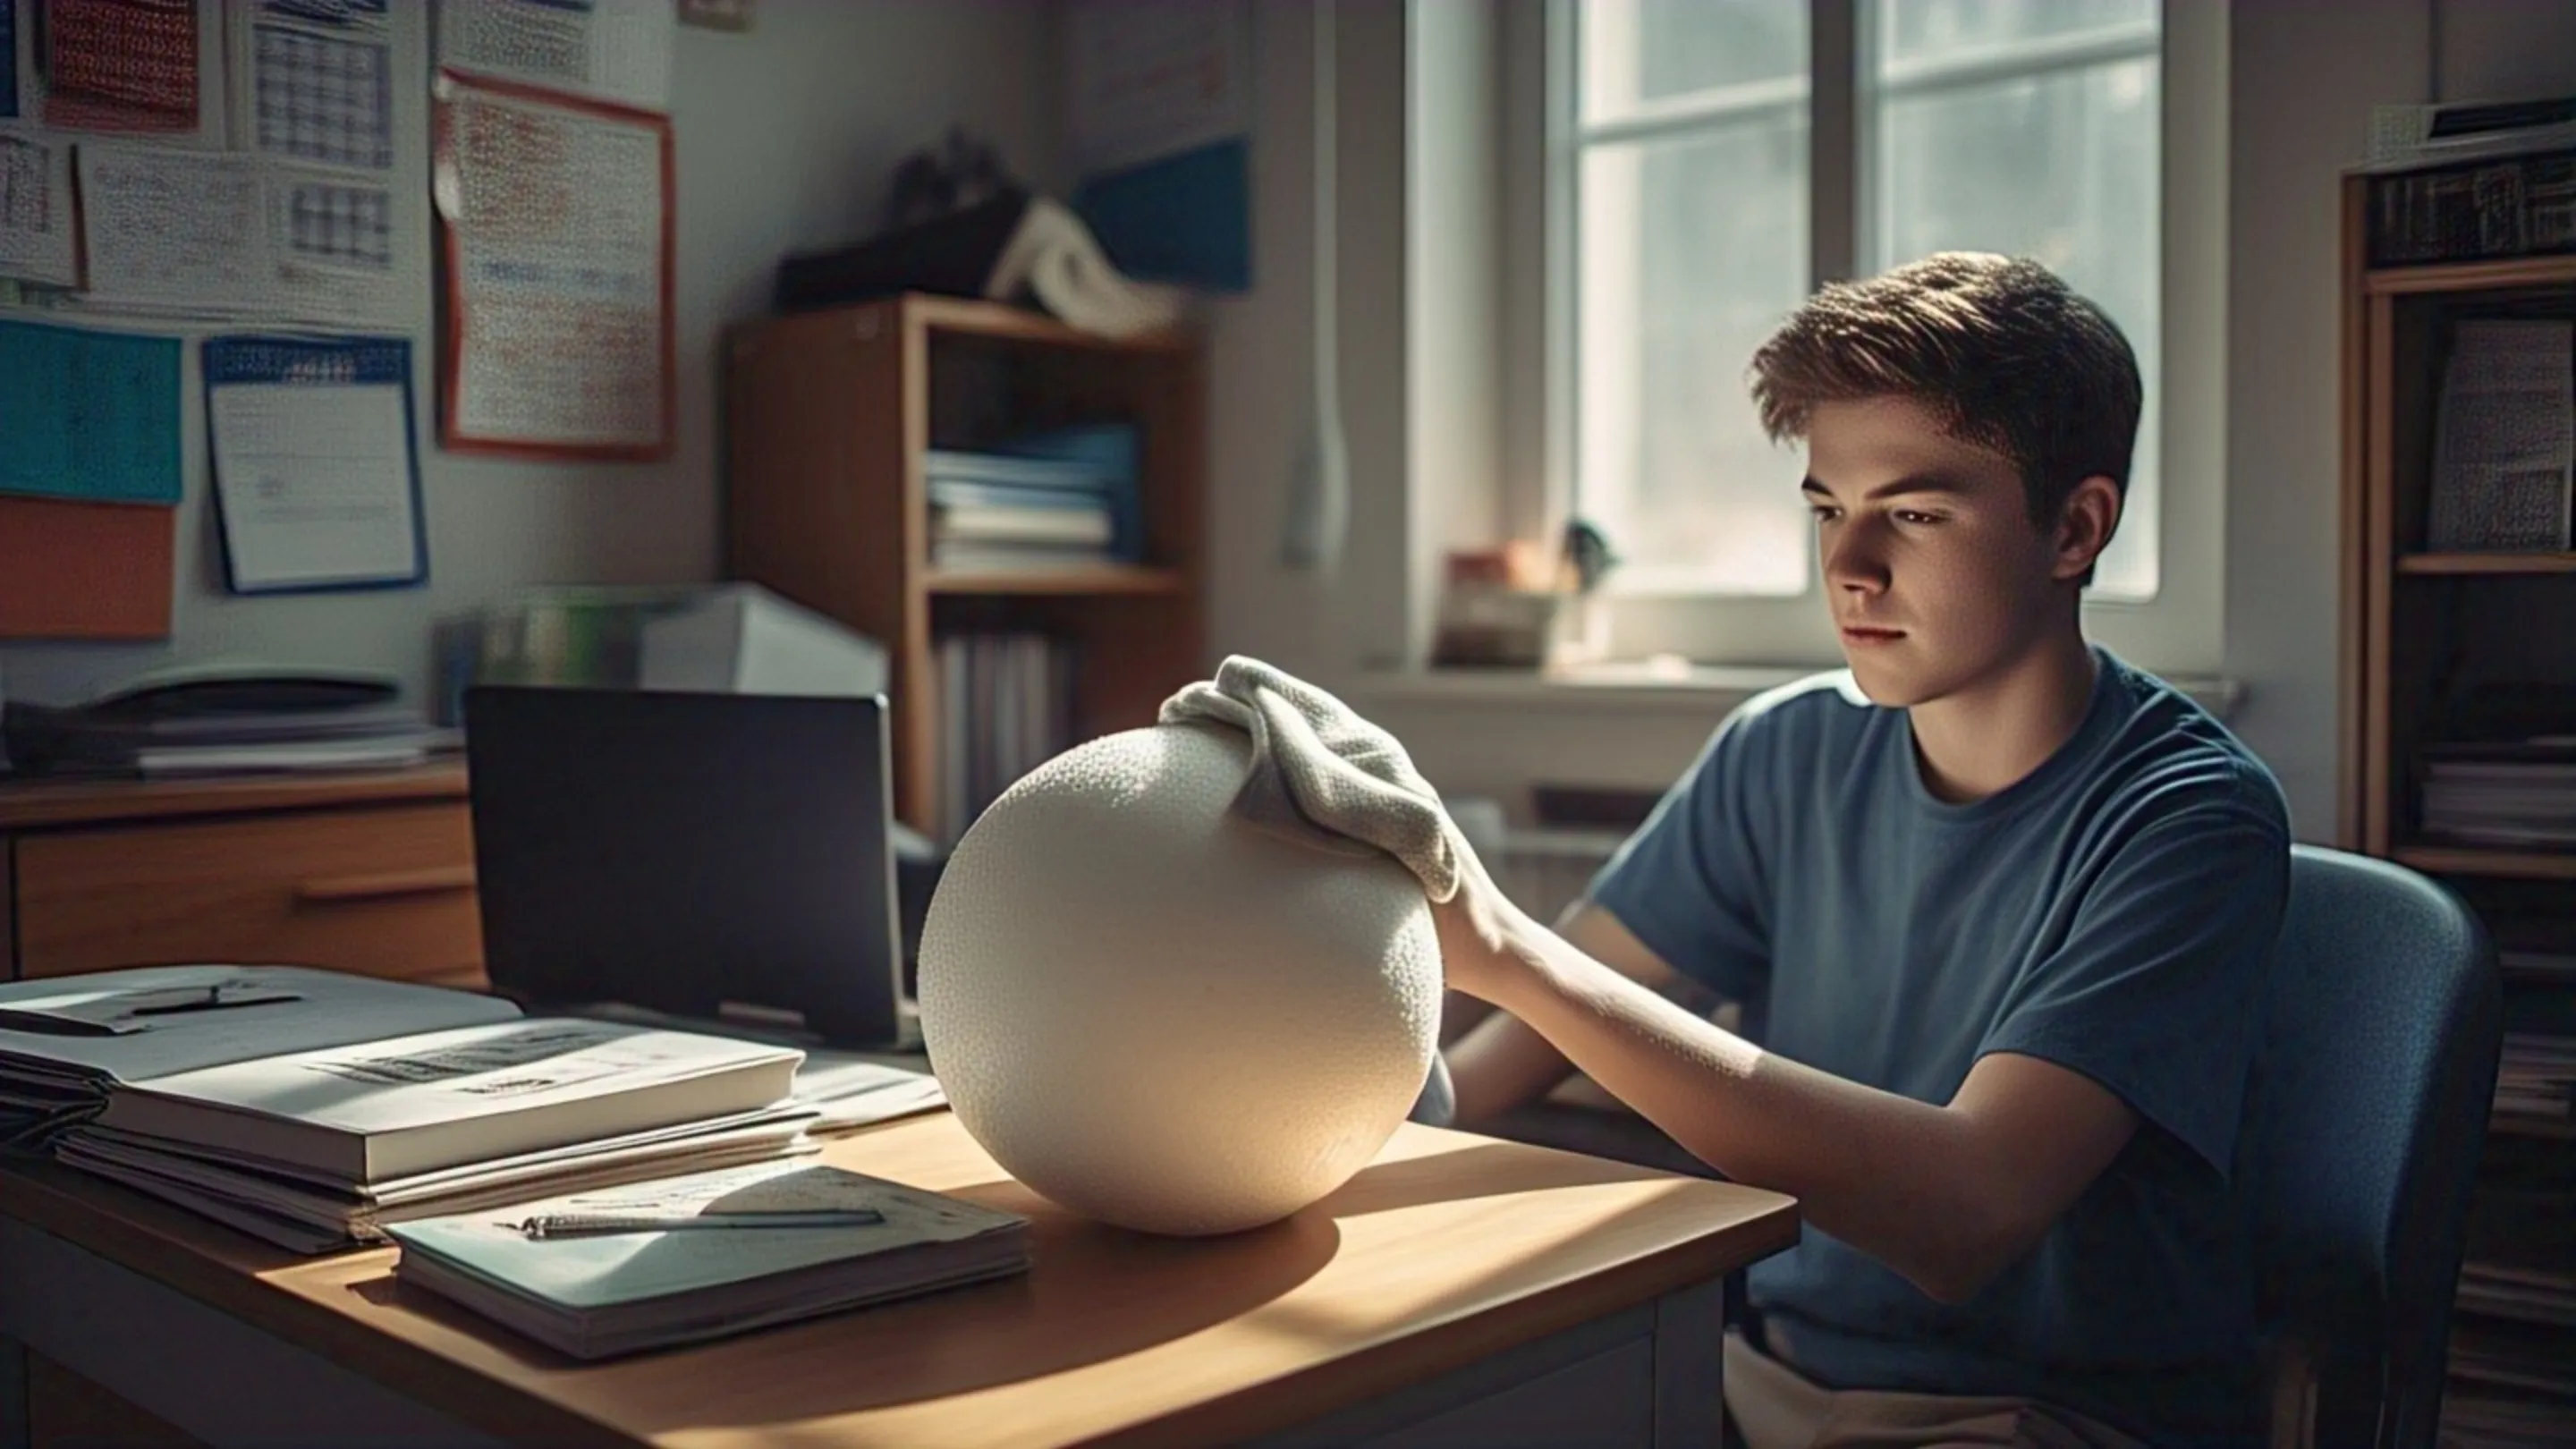
- If you’re using a plastic or Styrofoam ball, clean it first.
- If you’re using a balloon, blow it up to the size you want your globe to be.
- For a paper mache globe, cover the balloon with layers of newspaper strips dipped in glue and water mix. Let it dry completely before popping the balloon inside.
2. Paint the Oceans
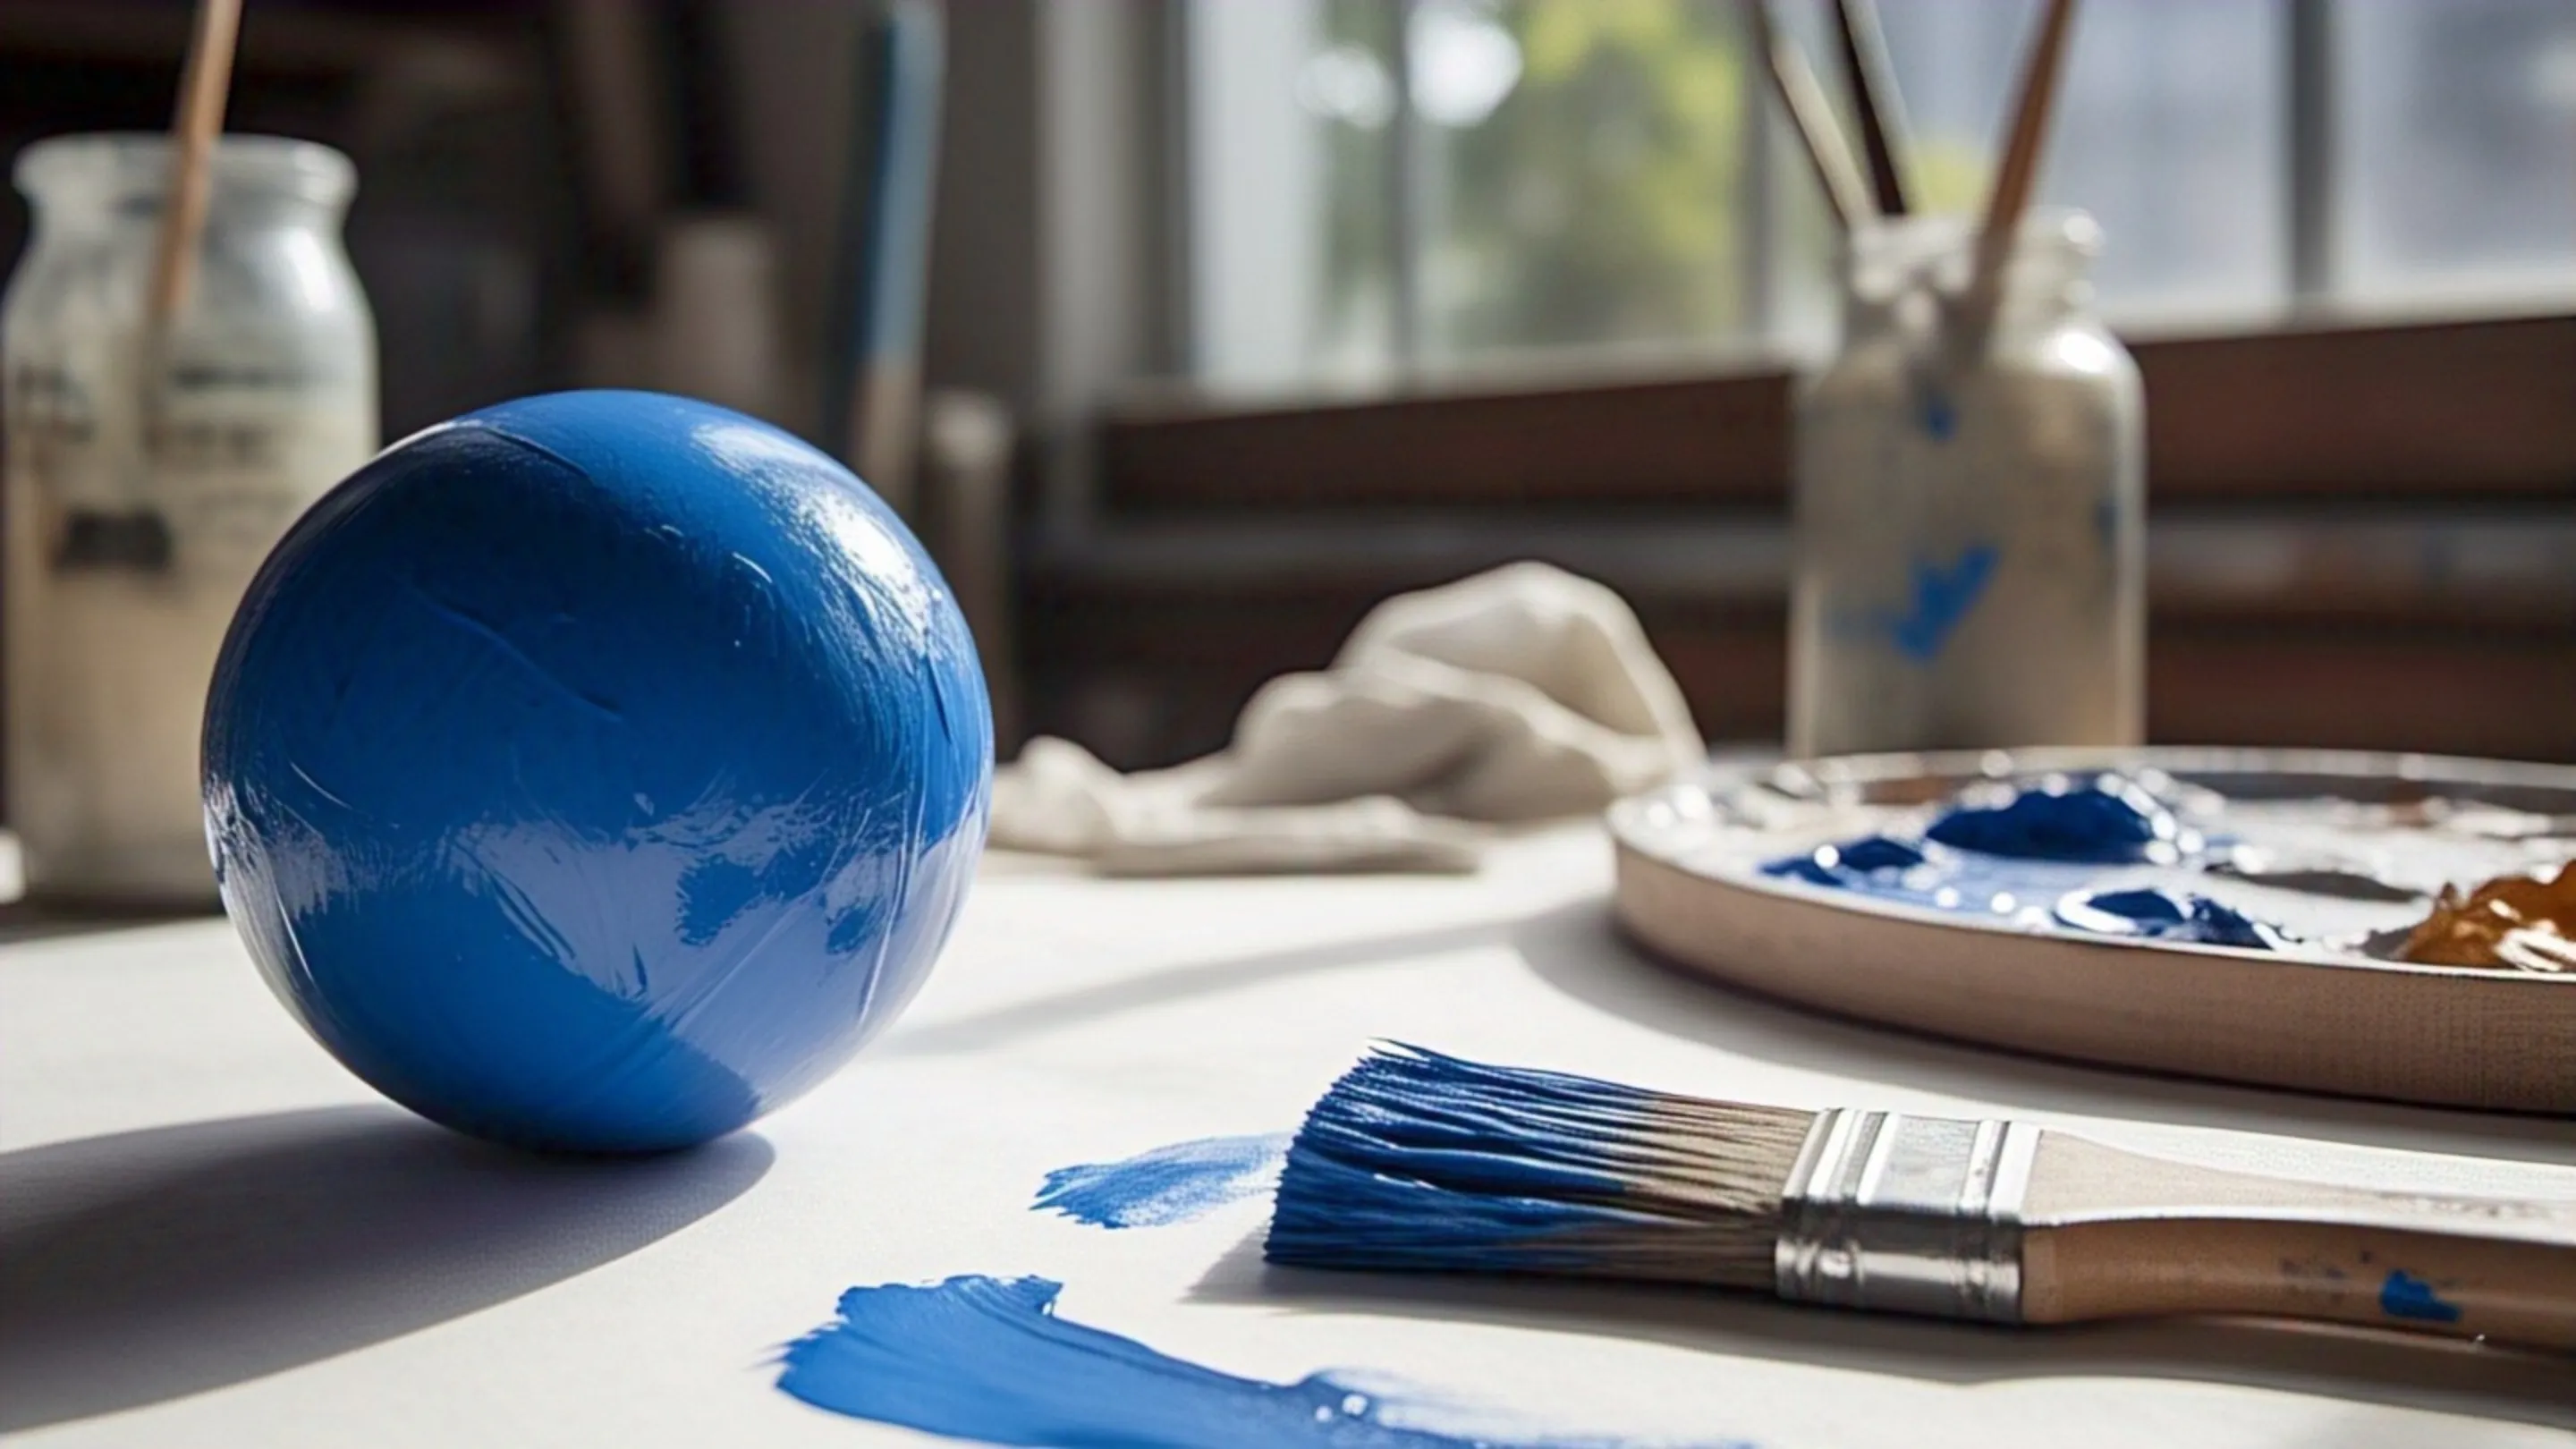
- Paint the entire ball blue. This will represent the Earth’s oceans.
- Let the first coat dry, then apply a second coat for a smooth and bright finish.
3. Draw or Paint the Continents
- Use your reference map to sketch the continents with a pencil first.
- Paint the continents green (or use green tissue paper or colored paper for a textured look).
- For younger kids, you can cut out rough shapes of continents from green tissue paper and stick them on with glue.
- For older kids, try to be more accurate with the shapes and locations of the continents.
4. Add Details
- Use a white marker or paint to add country borders, major rivers, or even clouds.
- You can also use a thin brush for details like the Arctic and Antarctic ice caps or to highlight important countries or cities.
- For extra creativity, add stickers or mark places you’ve visited or want to visit.
5. Make a Stand or Hanger
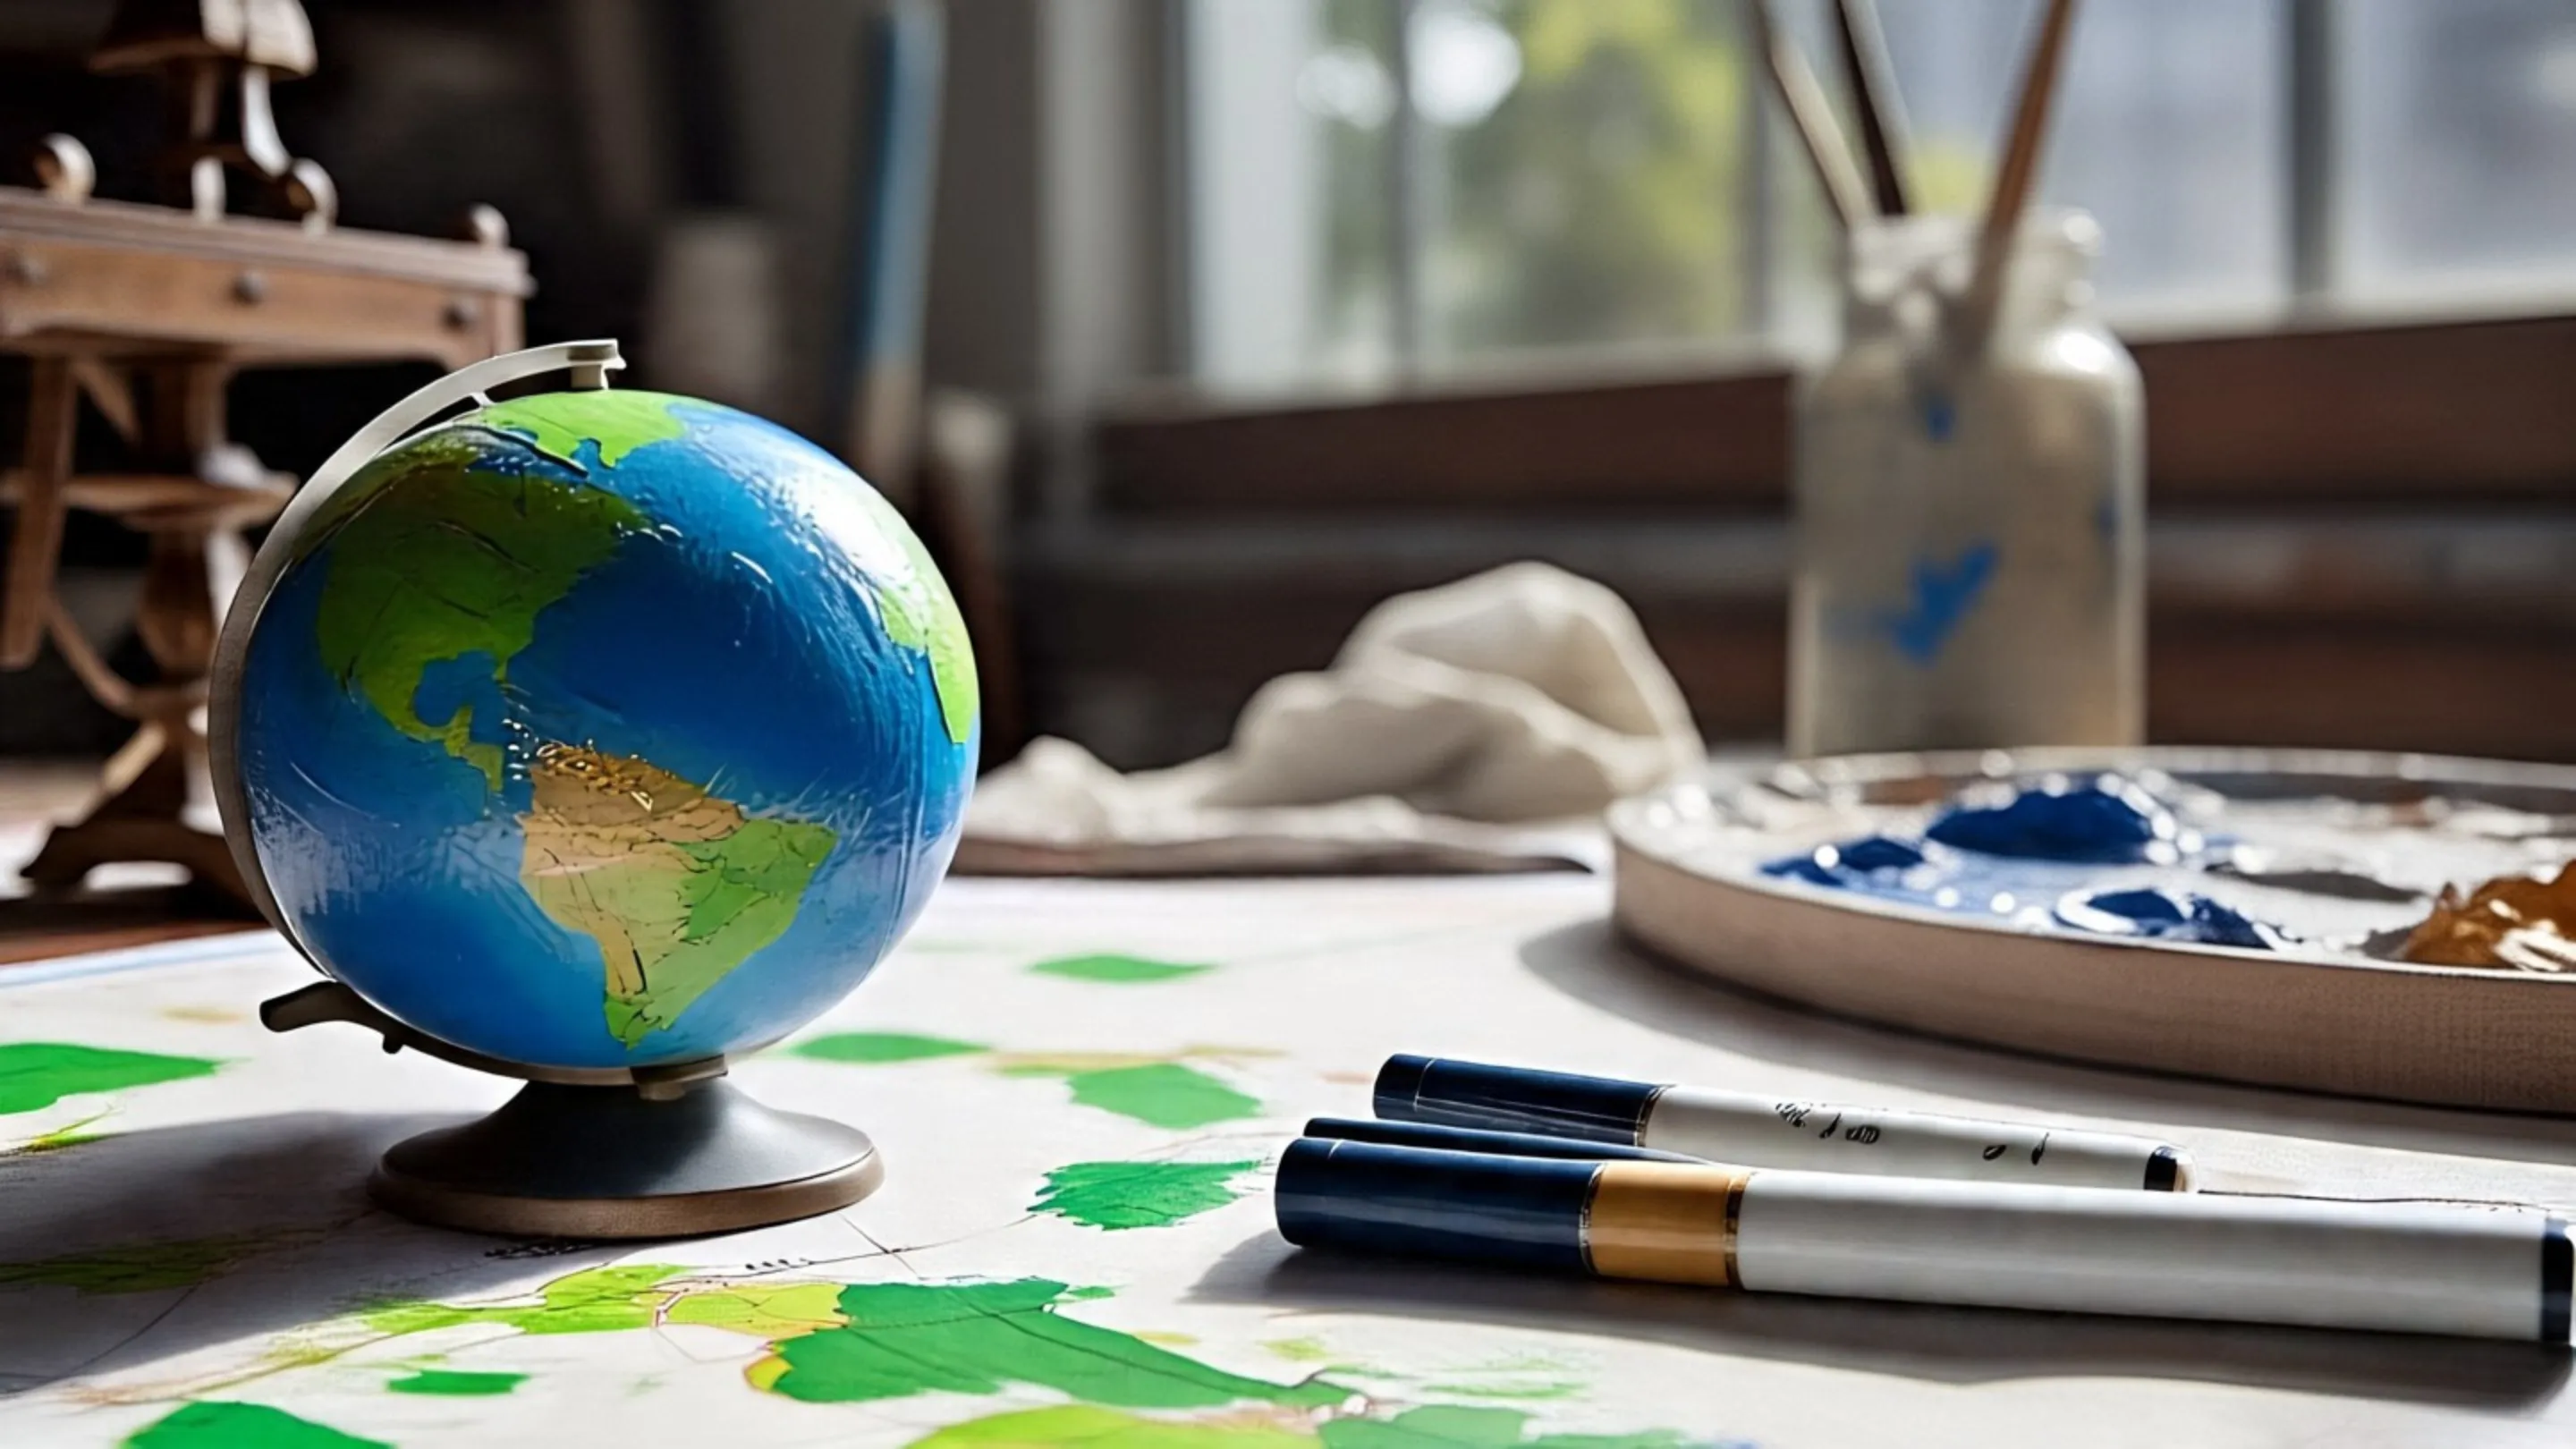
- To display your globe, make a stand using cardboard or an old CD box. You can poke a skewer or cycle spoke through the globe and fix it to the base for a spinning effect.
- If you want to hang your globe, screw a small hook or tie a string at the top and hang it from the ceiling.
6. Finishing Touches
- Let your globe dry completely.
- Clean up any paint smudges or glue marks.
- Add a label or a small flag with your name and class.
Cool Ideas to Make It Stand Out
Texture Ideas:
- Use sand mixed with glue for desert areas.
- Add small pieces of green sponge for forests.
- Use cotton balls for polar ice caps.
Creative Additions:
- Draw tiny airplanes with dotted lines for flight paths.
- Add small flags on toothpicks for different countries.
- Create a legend explaining different colors and symbols.
- Make small labels for oceans and continents.
Advanced Touch:
- Paint the North and South Poles white.
- Add tiny dots for major cities.
- Draw ocean currents with wavy blue lines.
Making It Look Professional
Presentation Tips:
- Clean Finish: Apply a thin coat of clear varnish to make it shine and protect the paint.
- Proper Labeling: Create neat labels for continents, oceans, and important features.
- Information Card: Make a small card explaining interesting facts about your globe.
- Stable Base: Make sure your stand is sturdy and the globe spins smoothly.
Color Coordination:
- Keep your color scheme consistent.
- Don't use too many bright colors; it can look messy.
- Make sure there's a good contrast between land and water.
Common Mistakes to Avoid
Paint Problems:
- Don't apply paint too thick, as it will drip.
- Let each layer dry completely before adding the next.
- Don't paint when it's too humid; the paint won't dry properly.
Shape Issues:
- Don't make continents too big or too small compared to each other.
- Keep the proportions somewhat realistic.
- Don't forget about smaller islands and countries.
Conclusion
Building a 3D globe is a fun way to learn about geography and show off your creativity. With some basic materials and a little patience, you can make a globe that’s not only a great holiday homework project but also something you’ll be proud to display.


Be the first one to comment on this story.