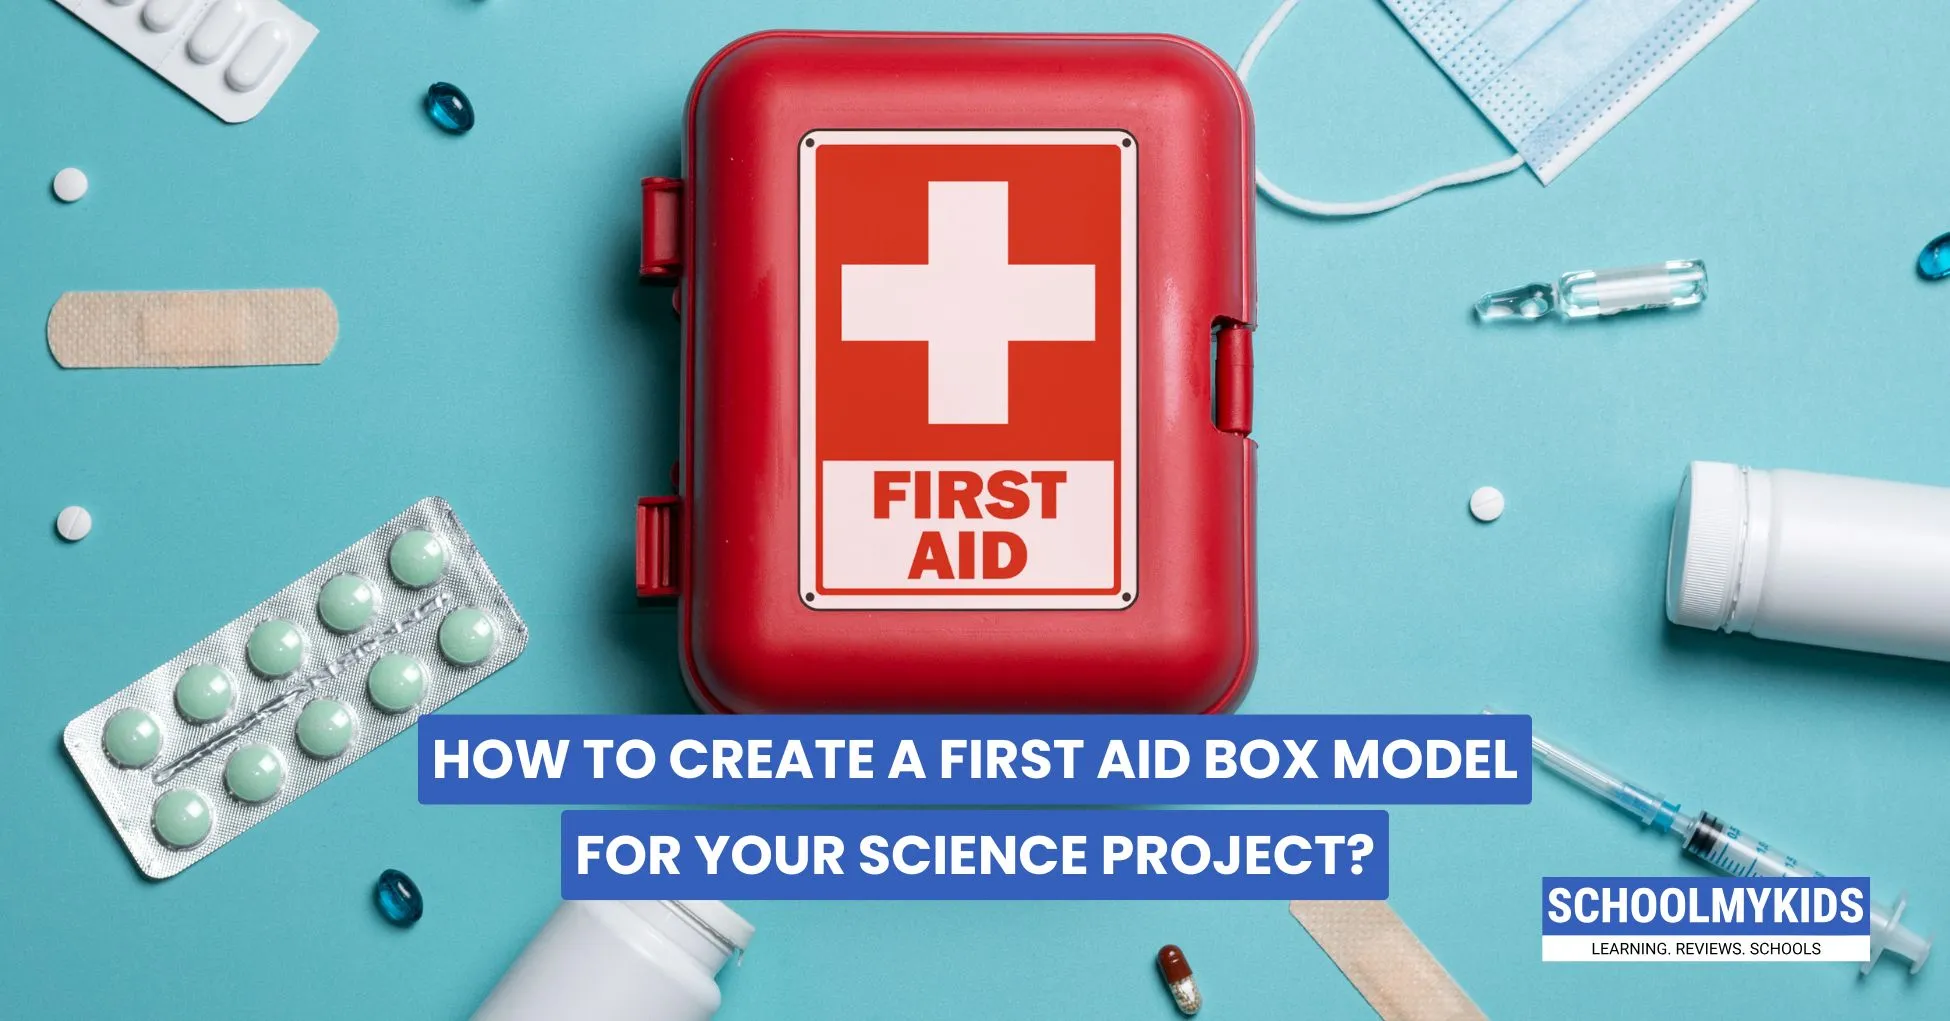
Did you get a science project about making a first aid box model? Don't worry - we've got you covered! This is actually one of the most common holiday homework projects, and it's pretty fun once you get started. Let us guide you through everything you need to know to create an effective first-aid box model that'll definitely help you earn good grades.
Step 1: Gather Your Materials
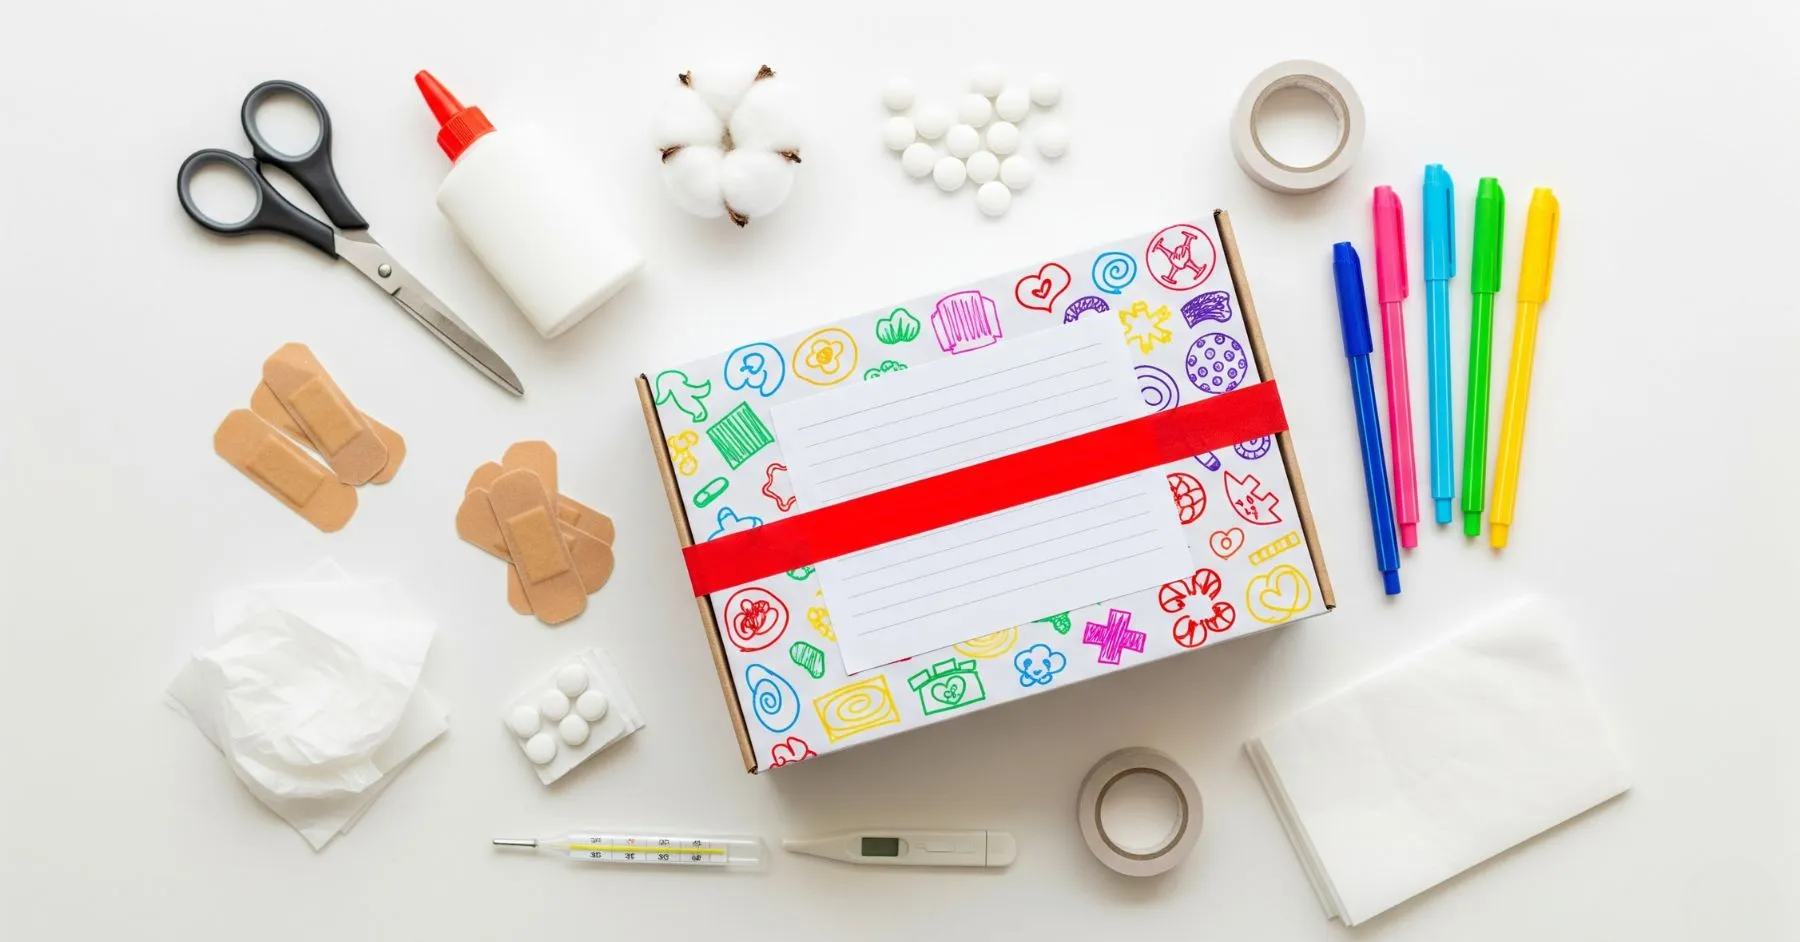
Before you begin, gather all the necessary items. You don’t have to buy expensive items; you can use things easily found at home.
You will need:
- An empty shoe box or any small cardboard box
- White chart paper
- Red electrical tape or red paper
- Glue or tape
- Scissors
- Sketch pens or markers
For the contents of your model first aid box:
- Cotton
- Band-aids (adhesive bandages)
- Dettol or any antiseptic liquid (empty bottle for the model)
- Betadine ointment (empty tube or a label)
- Paracetamol tablets (empty strip for the model)
- Surgical tape
- Cotton bandage (a small roll)
- Thermometer (a toy or a drawing)
- Pain relief tablets (empty strip)
- Tweezers (optional, can be made from cardboard)
- Sterile gauze pads (can use folded tissue paper)
- Scissors (a toy or a safe, blunt pair for the model)
- Emergency contact card (write down important phone numbers)
You can add more items if you want, but these are the basic things every first aid box should have.
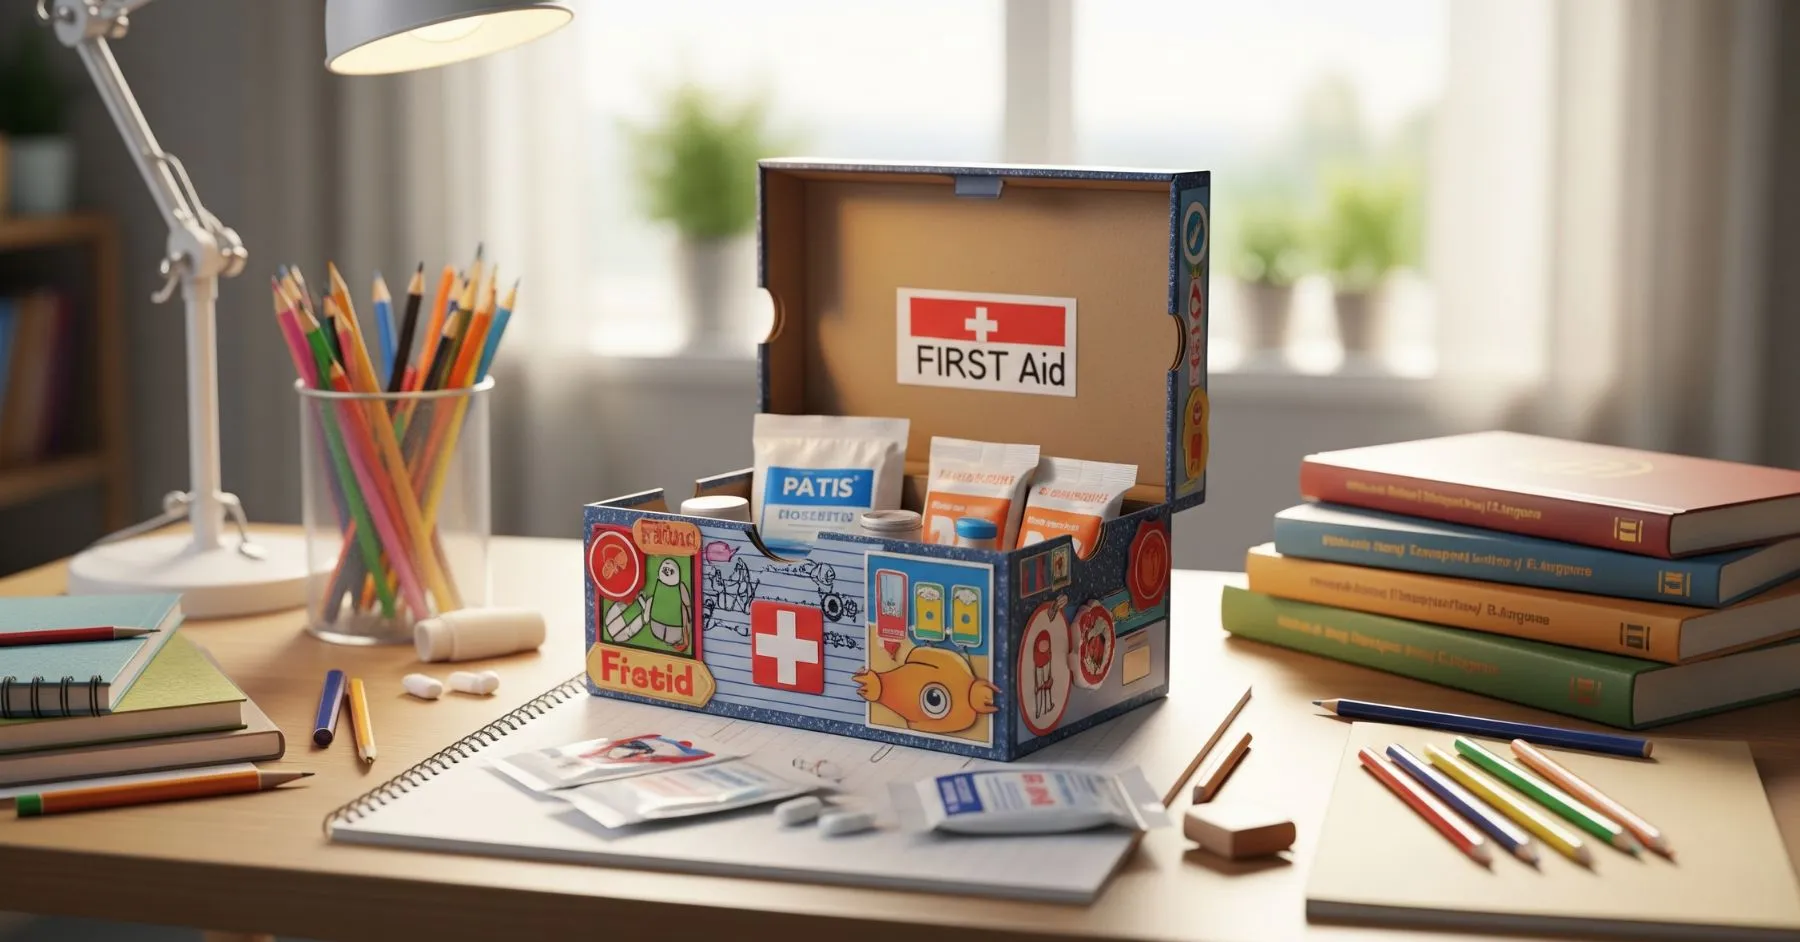
Step 2: Prepare and Decorate the Box
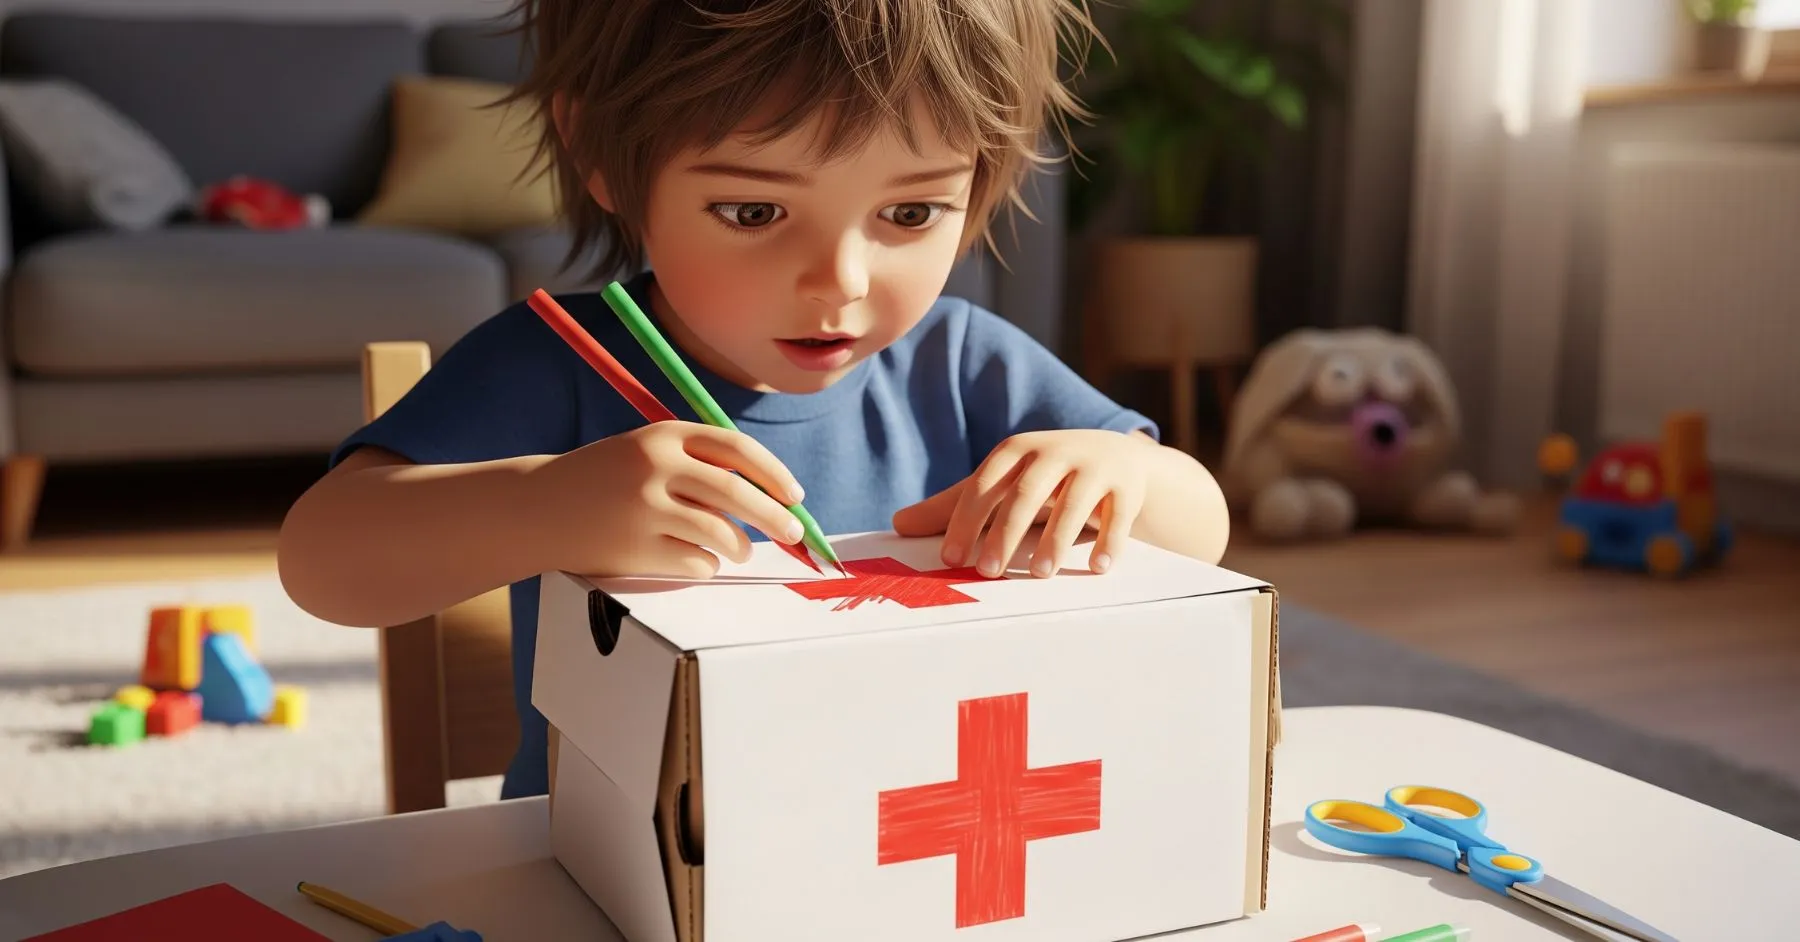
Now, let’s make your box look like a real first aid kit.
- Cover the shoe box with white chart paper using glue or tape. Make sure it’s neat and smooth.
- Use red electrical tape or red paper to make a big cross (the first aid symbol) on the lid of the box.
- With a sketch pen, write “First Aid Box” clearly on the top.
- You can also decorate the sides with drawings of bandages, a heart, or anything related to health.
This step is important because a neat and creative box will catch the teacher’s eye and show your effort. Try to keep the design simple but tidy.
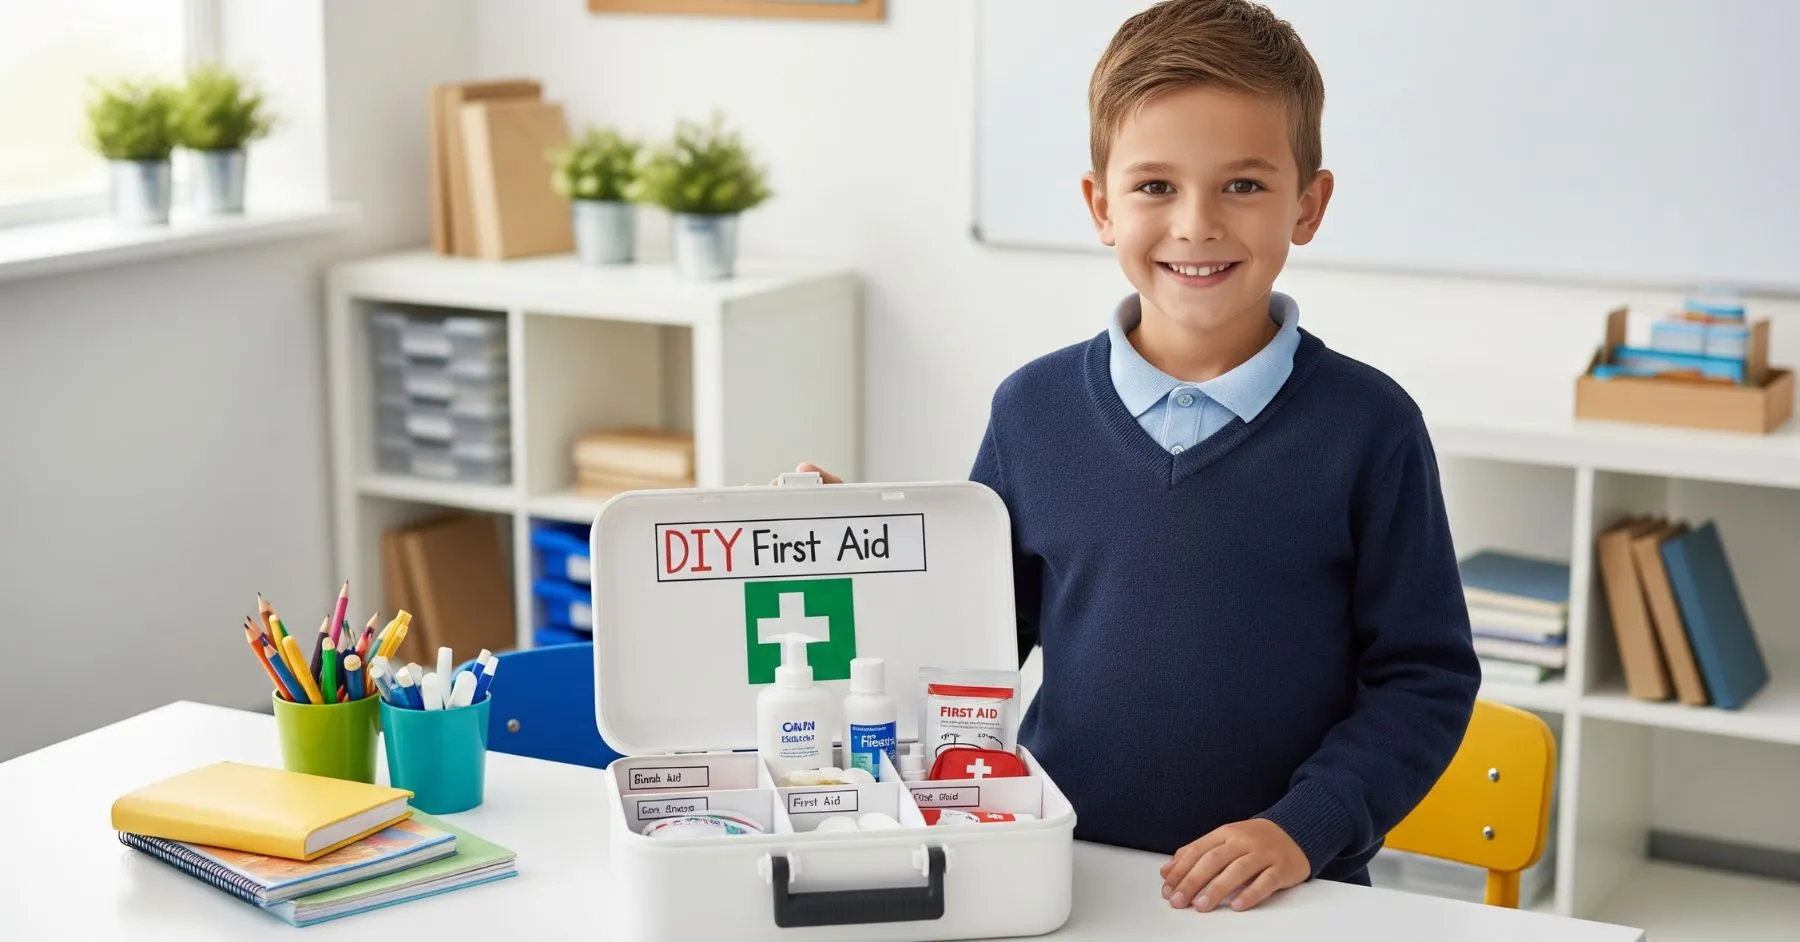
Step 3: Arrange the Contents Inside
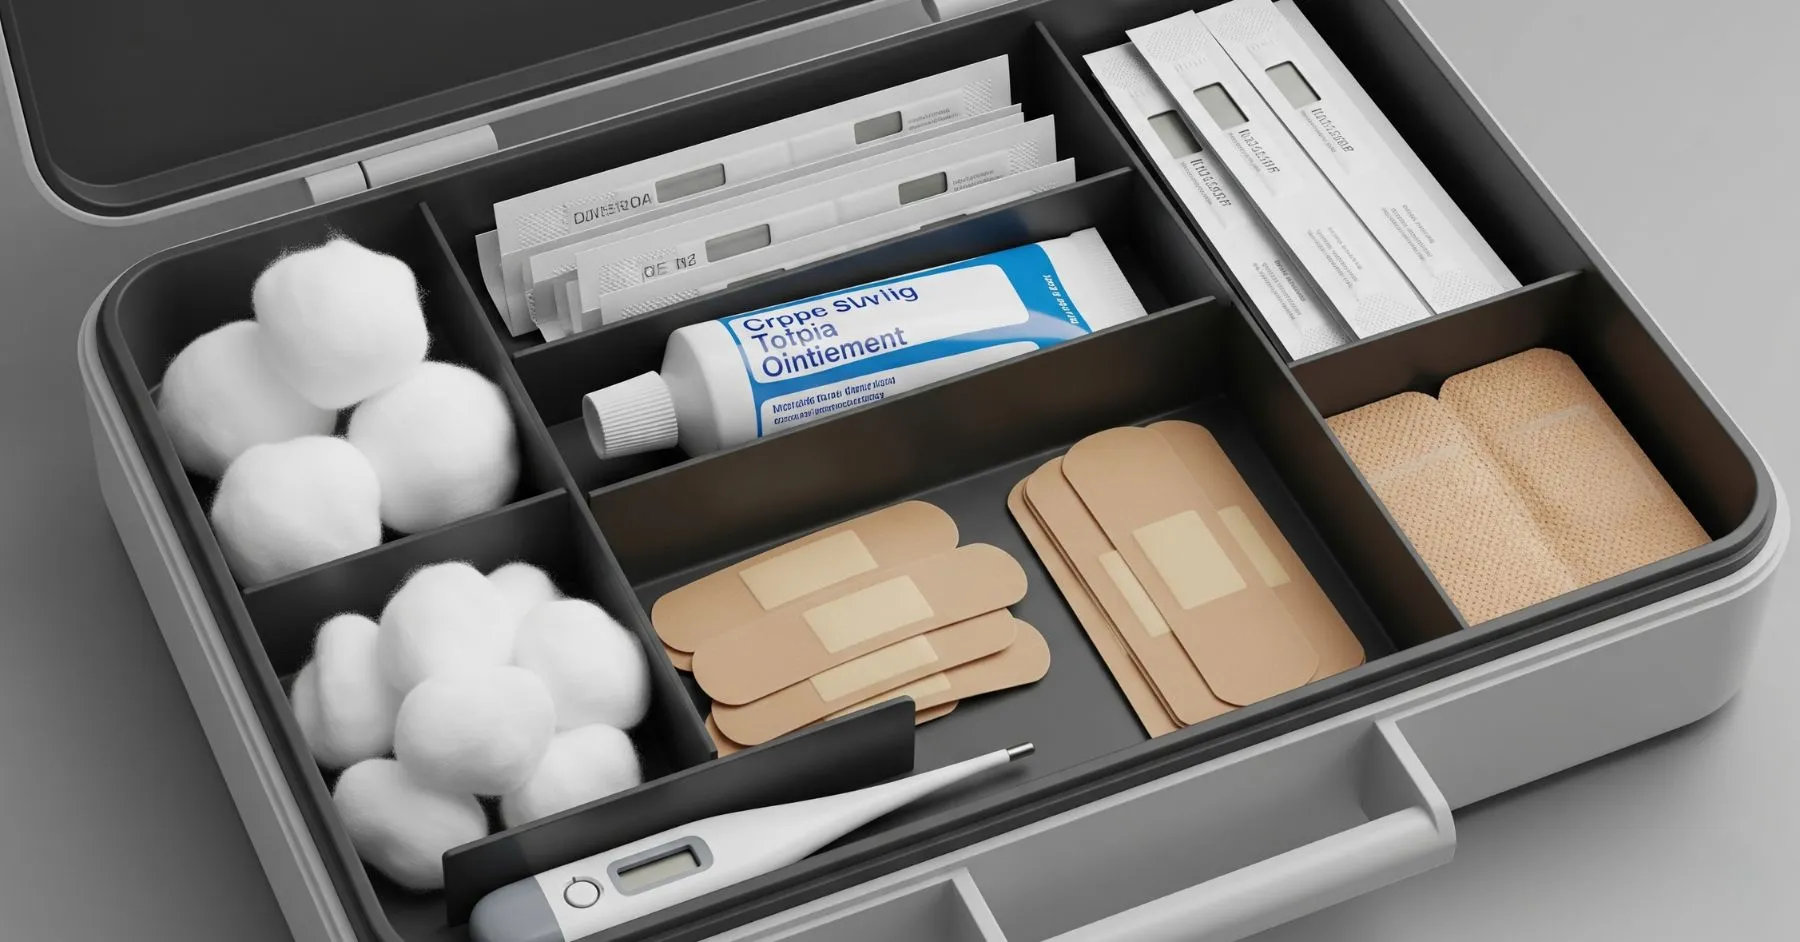
Open your box and arrange all the items neatly inside.
- Use small boxes or paper cups to separate different items.
- Label each item with a small piece of paper. For example, “Cotton,” “Band-aids,” “Antiseptic,” etc.
- If you don’t have some items, you can make small packets or draw them on paper and label them.
Make sure everything is easy to see and reach. This shows that you understand the use of each item and helps you explain your model better.
Step 4: Make an Information Sheet of Medical Supplies
To get extra marks, add a simple information sheet or chart with your project.
- Write a few lines about what a first aid box is and why it is important.
- List all the items in your box and their uses. For example, “Band-aid: For covering small cuts,” “Paracetamol: For fever and pain,” etc.
- Add emergency phone numbers (like ambulance, parents, doctor).
You can stick this sheet inside the lid of your box or make a small booklet to keep inside. This shows your understanding and makes your project complete and informative.
Step 5: Practice Your Explanation
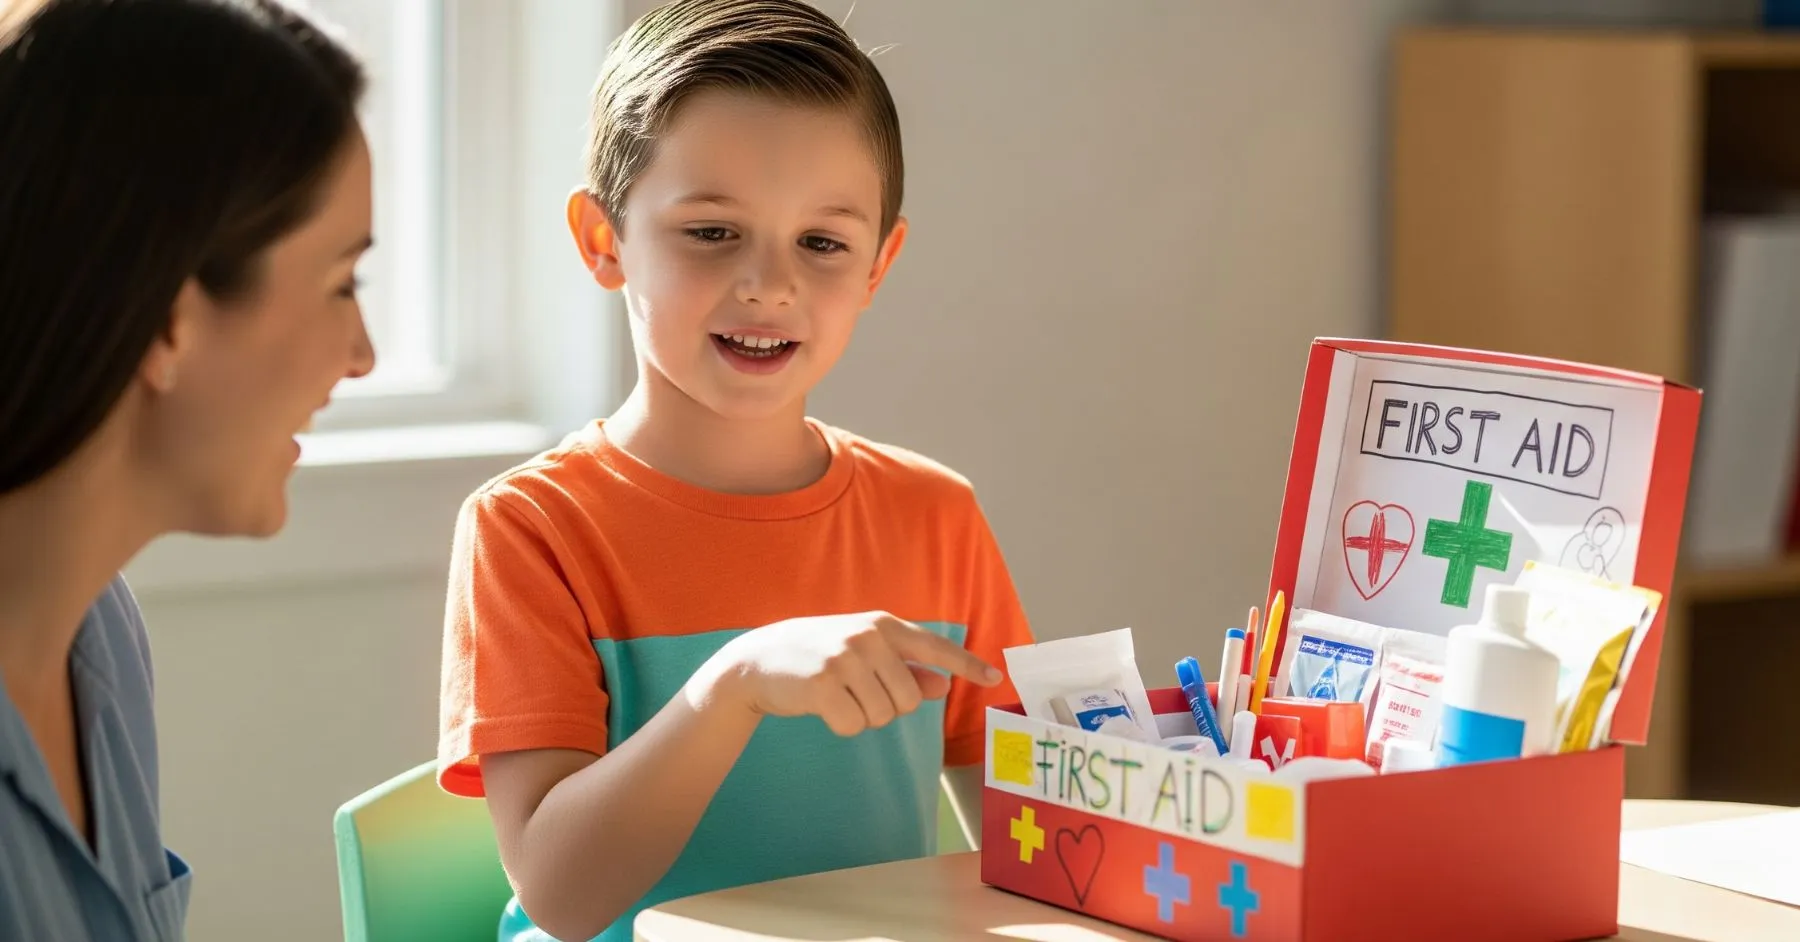
Before you submit your project, practice explaining it. Imagine your teacher or classmates asking you questions like:
- Why do we need a first aid box?
- What is the use of each item?
- How did you make your model?
If you can answer confidently, you’ll make a great impression. You can even write down a short speech or explanation to help you remember.
Tips to Get Good Grades
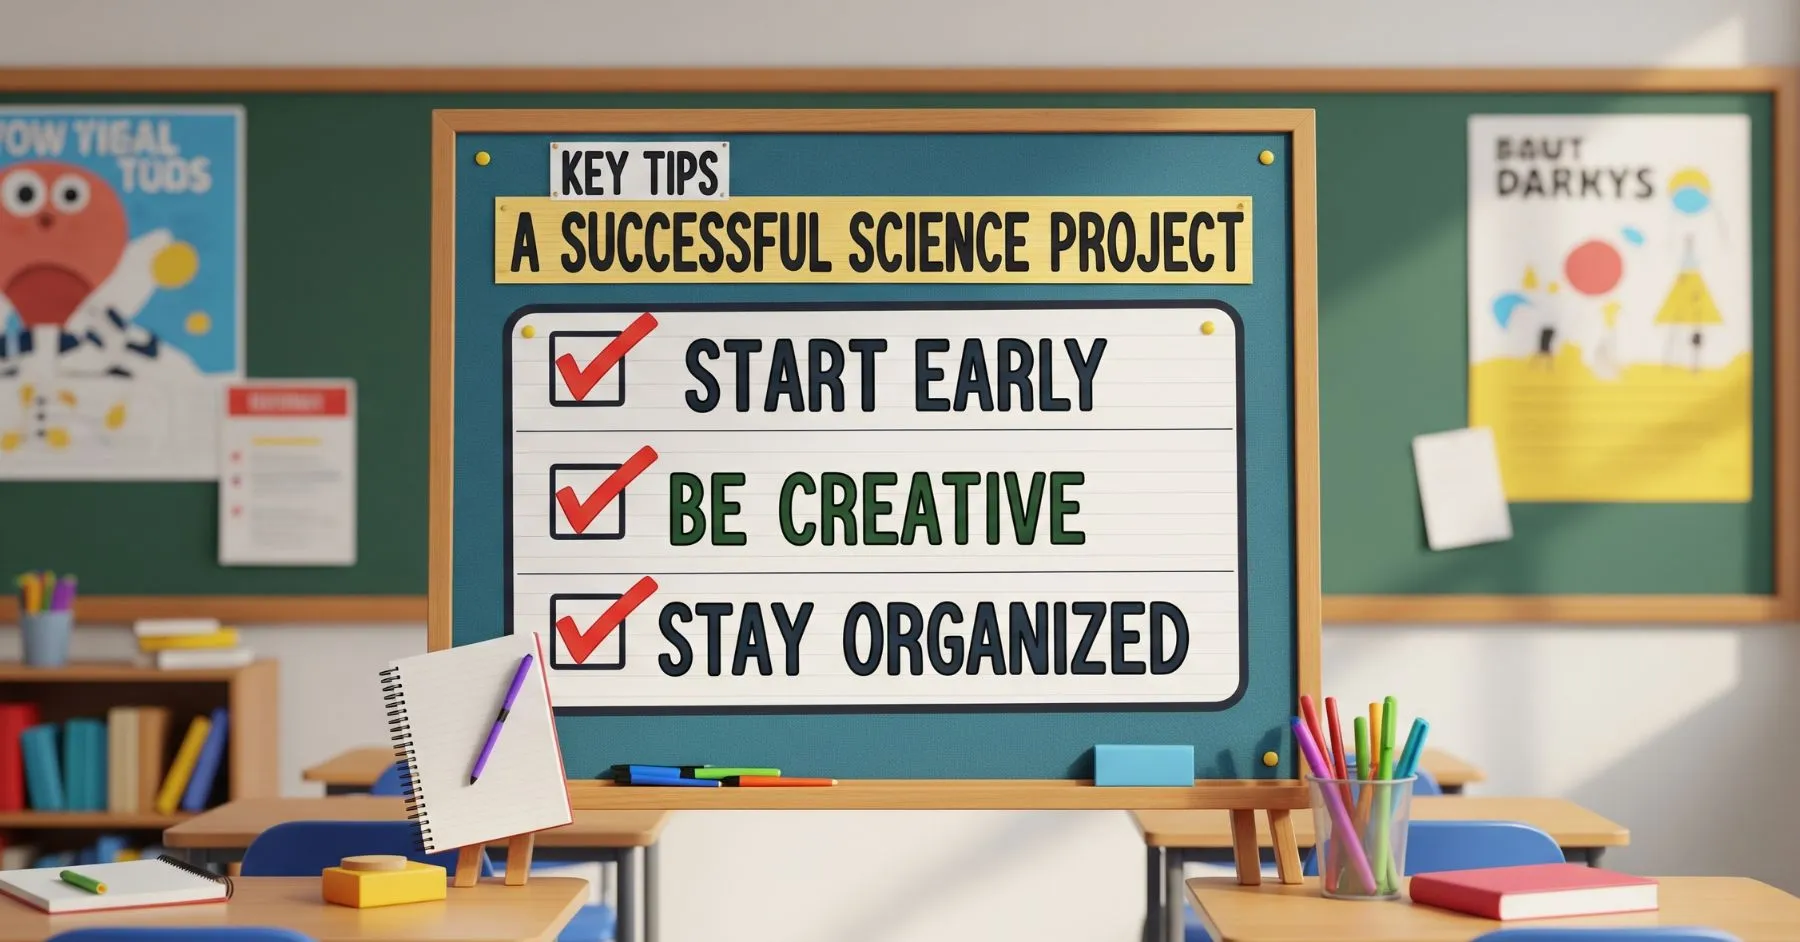
- Start early: Don’t wait until the last minute. Give yourself time to make everything neat and correct.
- Be creative: Use colors, drawings, and labels to make your project stand out.
- Work independently: Try to do as much as possible by yourself. Teachers like to see your own effort.
- Be thorough: Include all important items and information. Don’t leave anything out.
- Stay organized: Keep your work area and project tidy.
Conclusion
Making a first aid box model is not just a science project—it’s a lesson in being prepared and helping others. By following these five steps, you’ll have a project that is creative, useful, and sure to get you good marks. Remember, the best projects are the ones you enjoy making and can explain with confidence.
Good luck with your holiday homework!


Be the first one to comment on this story.