Summer vacations are finally here, and that means it’s time for holiday homework! One project that almost every middle schooler gets at least once is the classic solar system model. Teachers love it because it’s fun, creative, and helps you learn about the planets. If you’re looking for a step-by-step guide to making a DIY solar system model that’s sure to impress your teachers (and maybe even get you top marks), you’re in the right place. Let’s break down everything you need to know, from gathering materials to decorating and presenting your masterpiece.
What You’ll Need
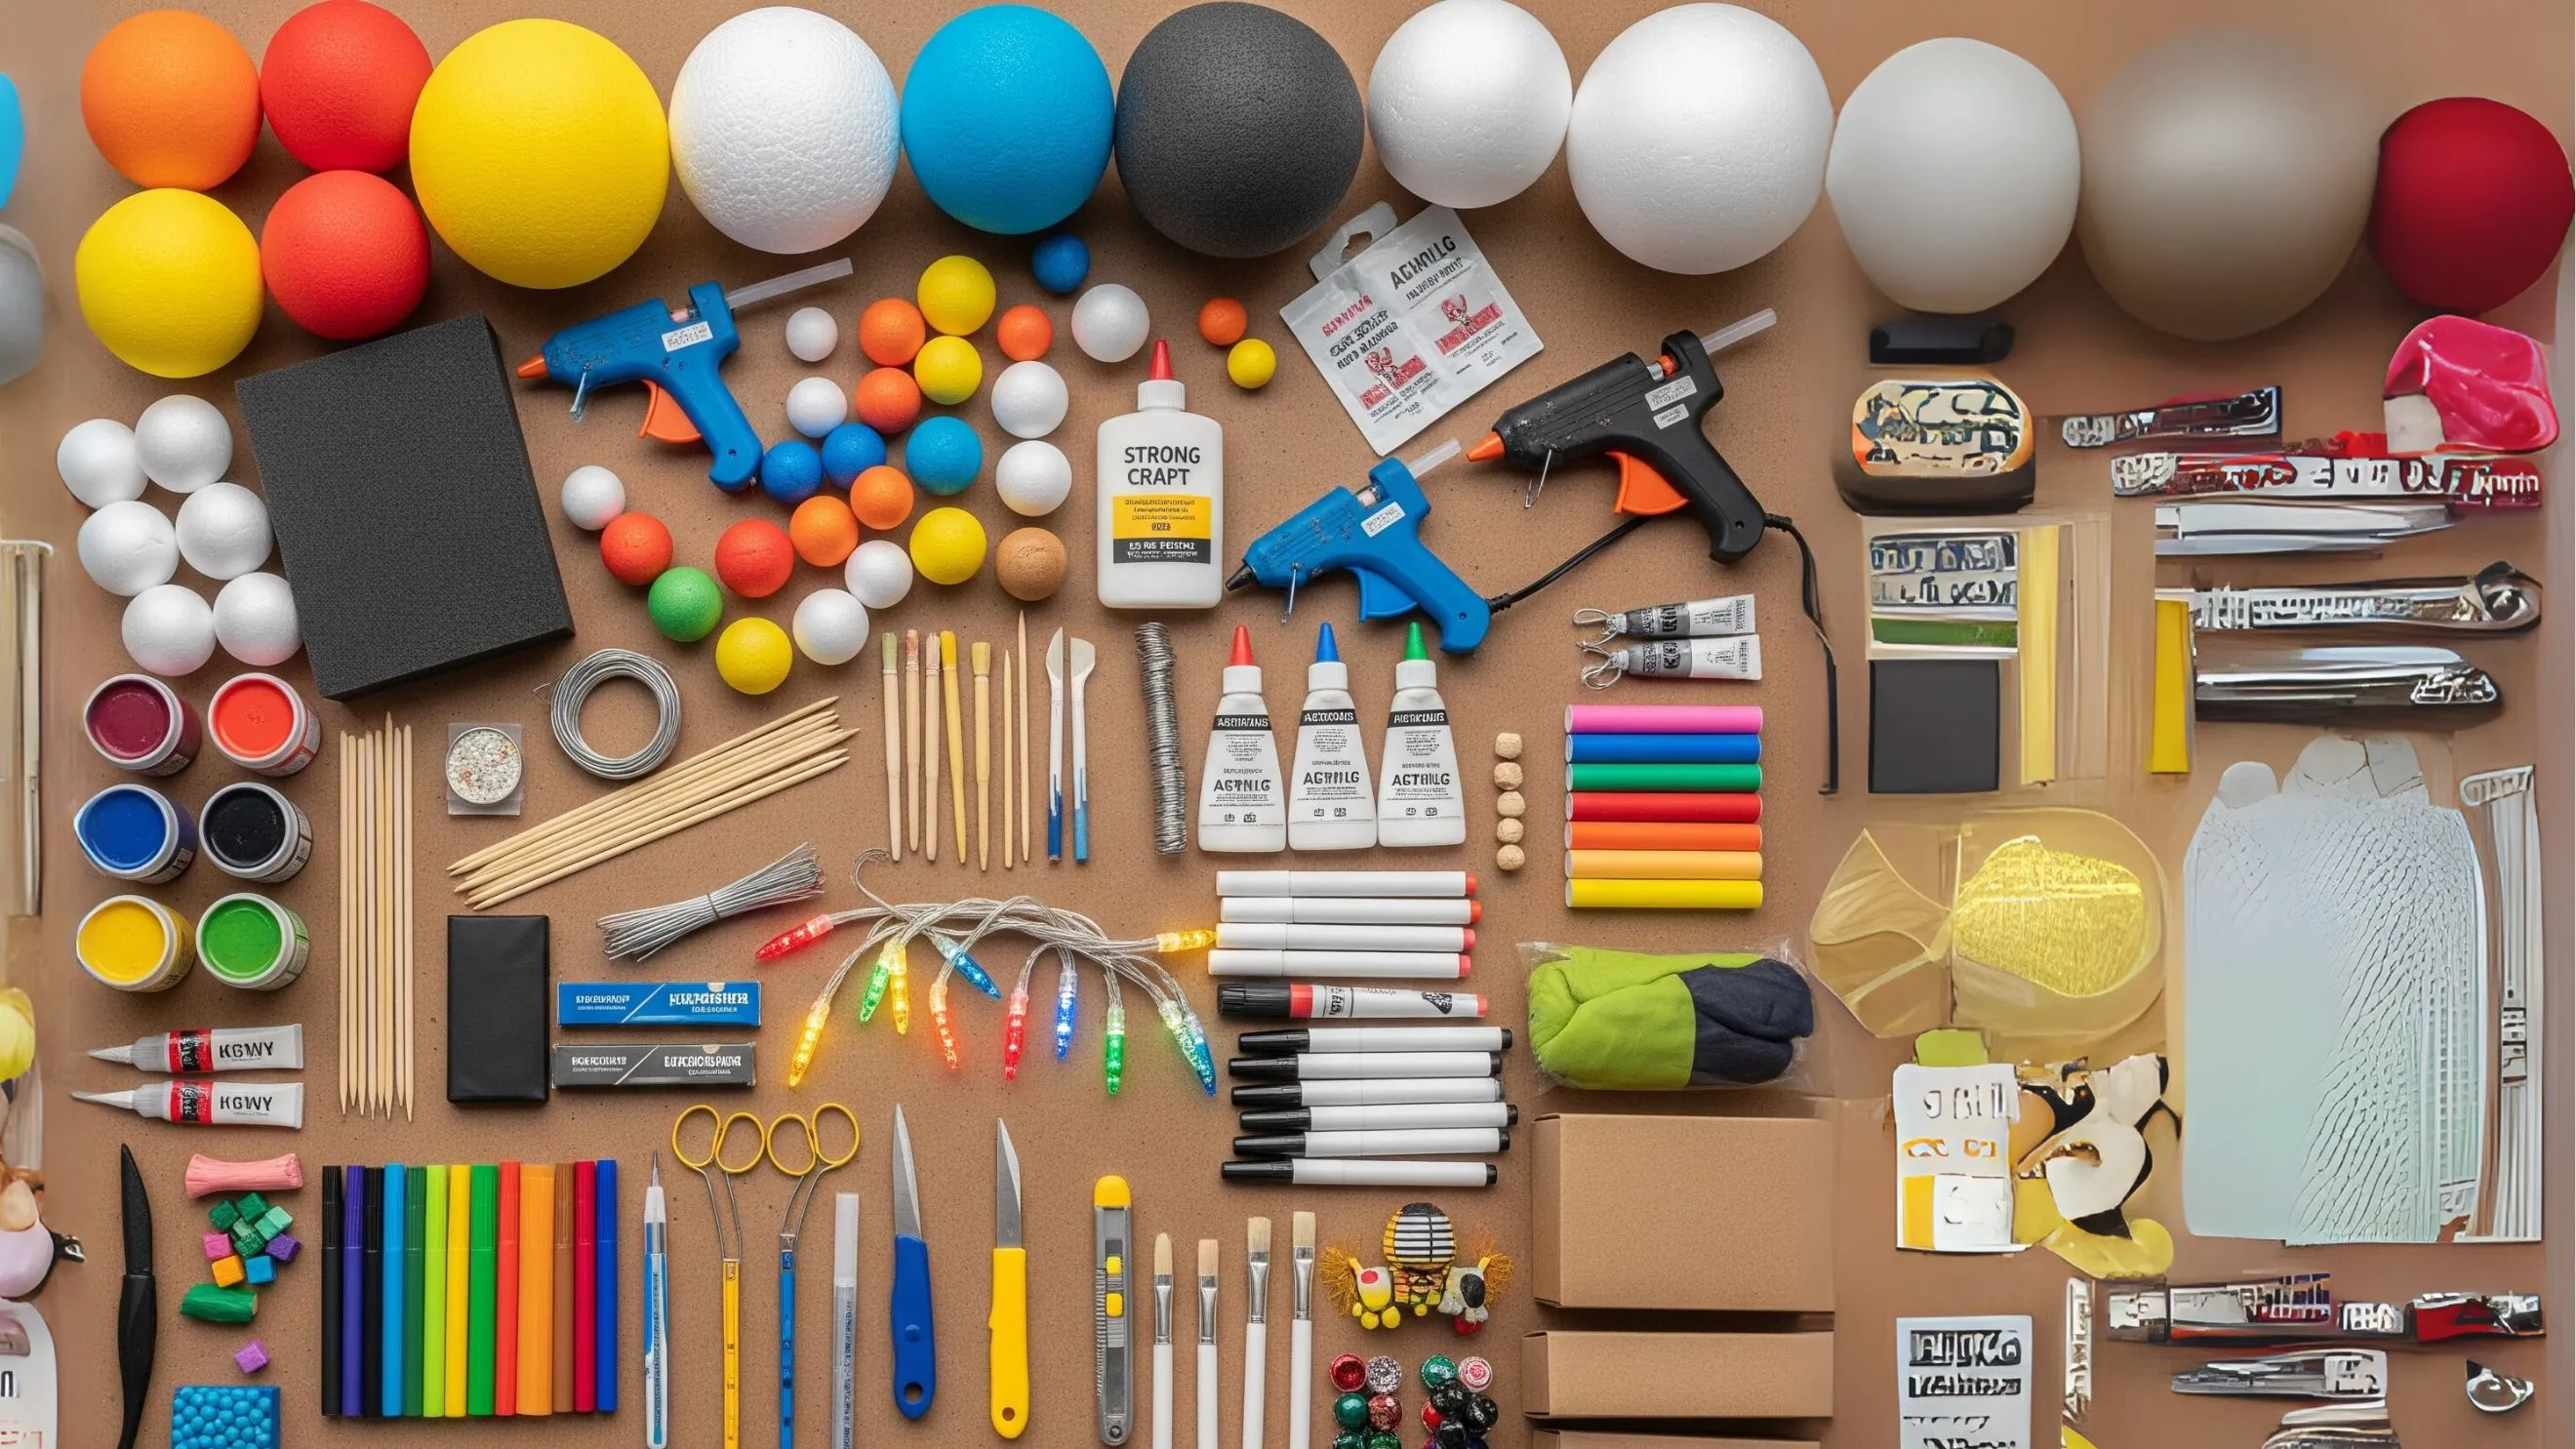
Before you start building, make sure you have all your materials ready. Here’s a detailed list of what you might need. You don’t have to use everything—pick what works best for you and what you have at home:
- Foam balls or Styrofoam balls (different sizes for the Sun and each planet)
- Acrylic paints (yellow, orange, blue, green, red, black, white, and more for details)
- Paintbrushes (various sizes)
- Black foam board or cardboard (for the base and background)
- Hot glue gun or strong craft glue
- Skewers, wooden dowels, or wire (for attaching planets)
- Scissors or a craft knife (be careful and ask an adult for help)
- Markers or colored paper (for labels and extra decorations)
- Glitter, LED lights, or beads (optional for extra sparkle)
- White chalk or silver paint (to draw orbits)
- Old boxes (like cereal or snack boxes, if you want to make a recycled model)
- Air-dry clay or play dough (as an alternative to foam balls)
- Small rocks or beads (for the asteroid belt)
Step-by-Step Guide
Let’s get started on building your solar system model!
1. Plan Your Model
- Decide if you want a 2D (flat) or 3D (hanging or standing) model.
- Sketch out your design on paper. Mark where each planet and the Sun will go, and plan the order: Sun, Mercury, Venus, Earth, Mars, Jupiter, Saturn, Uranus, Neptune.
2. Make the Planets and Sun
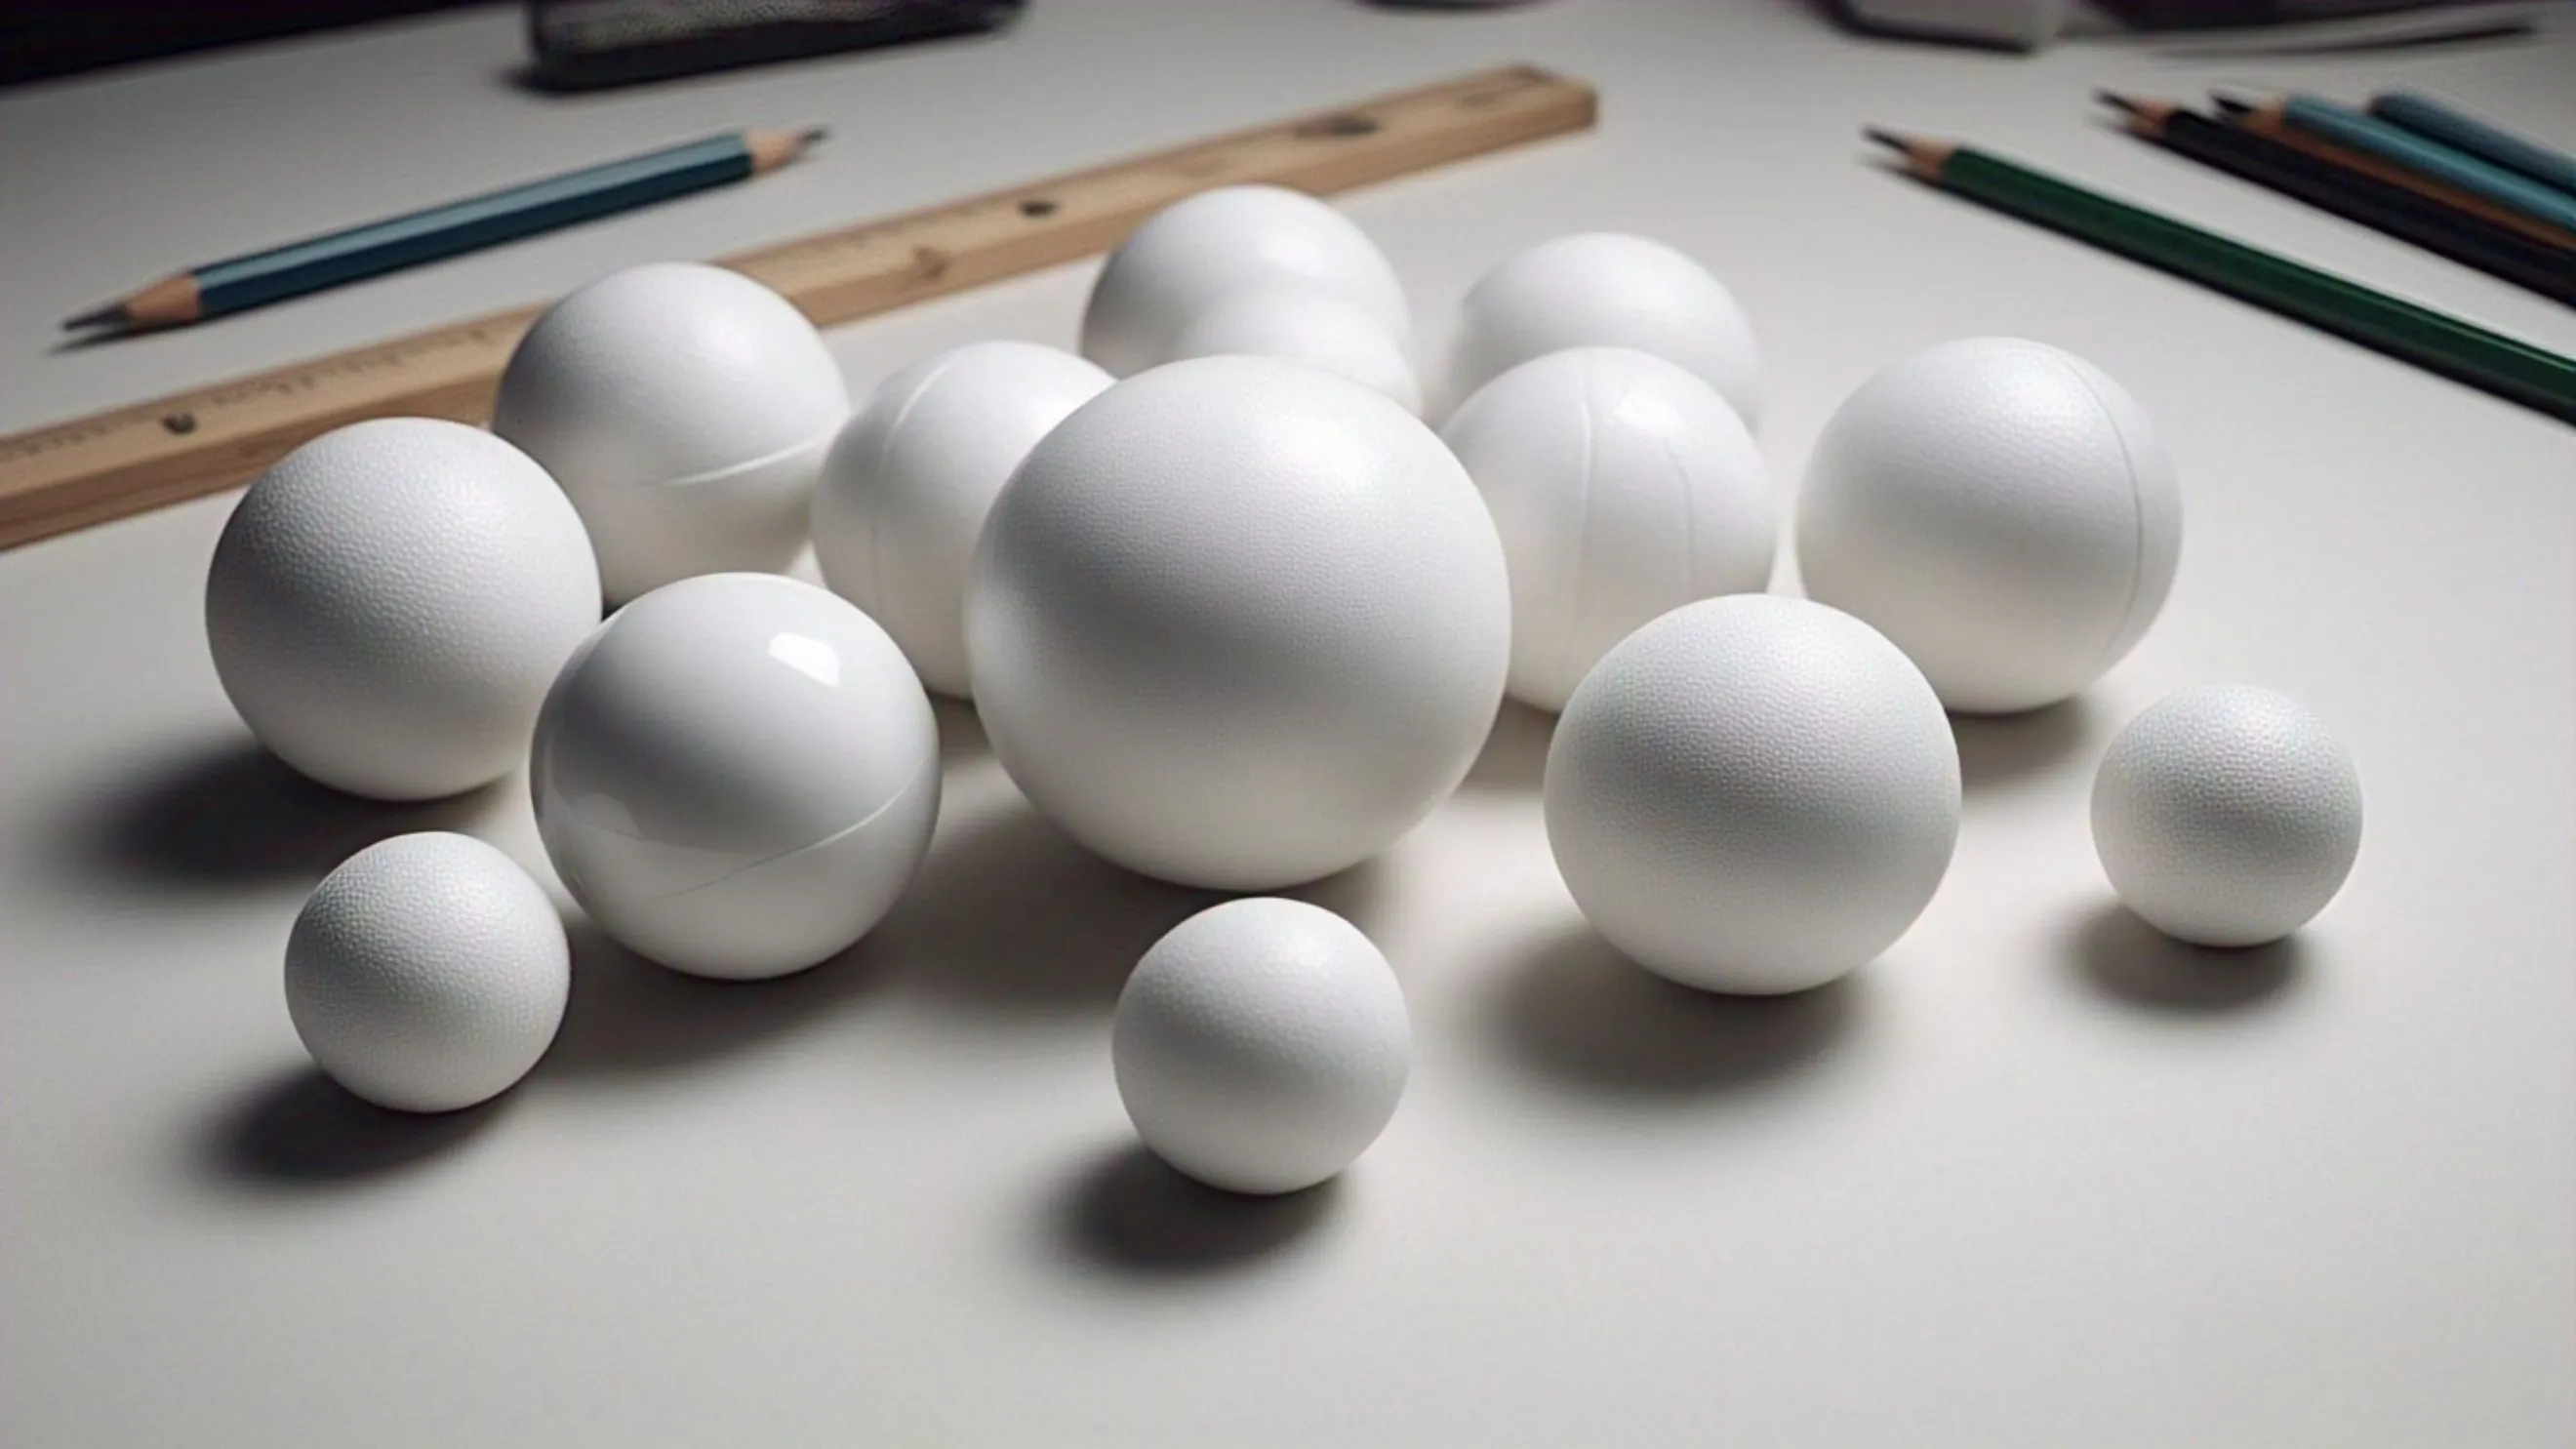
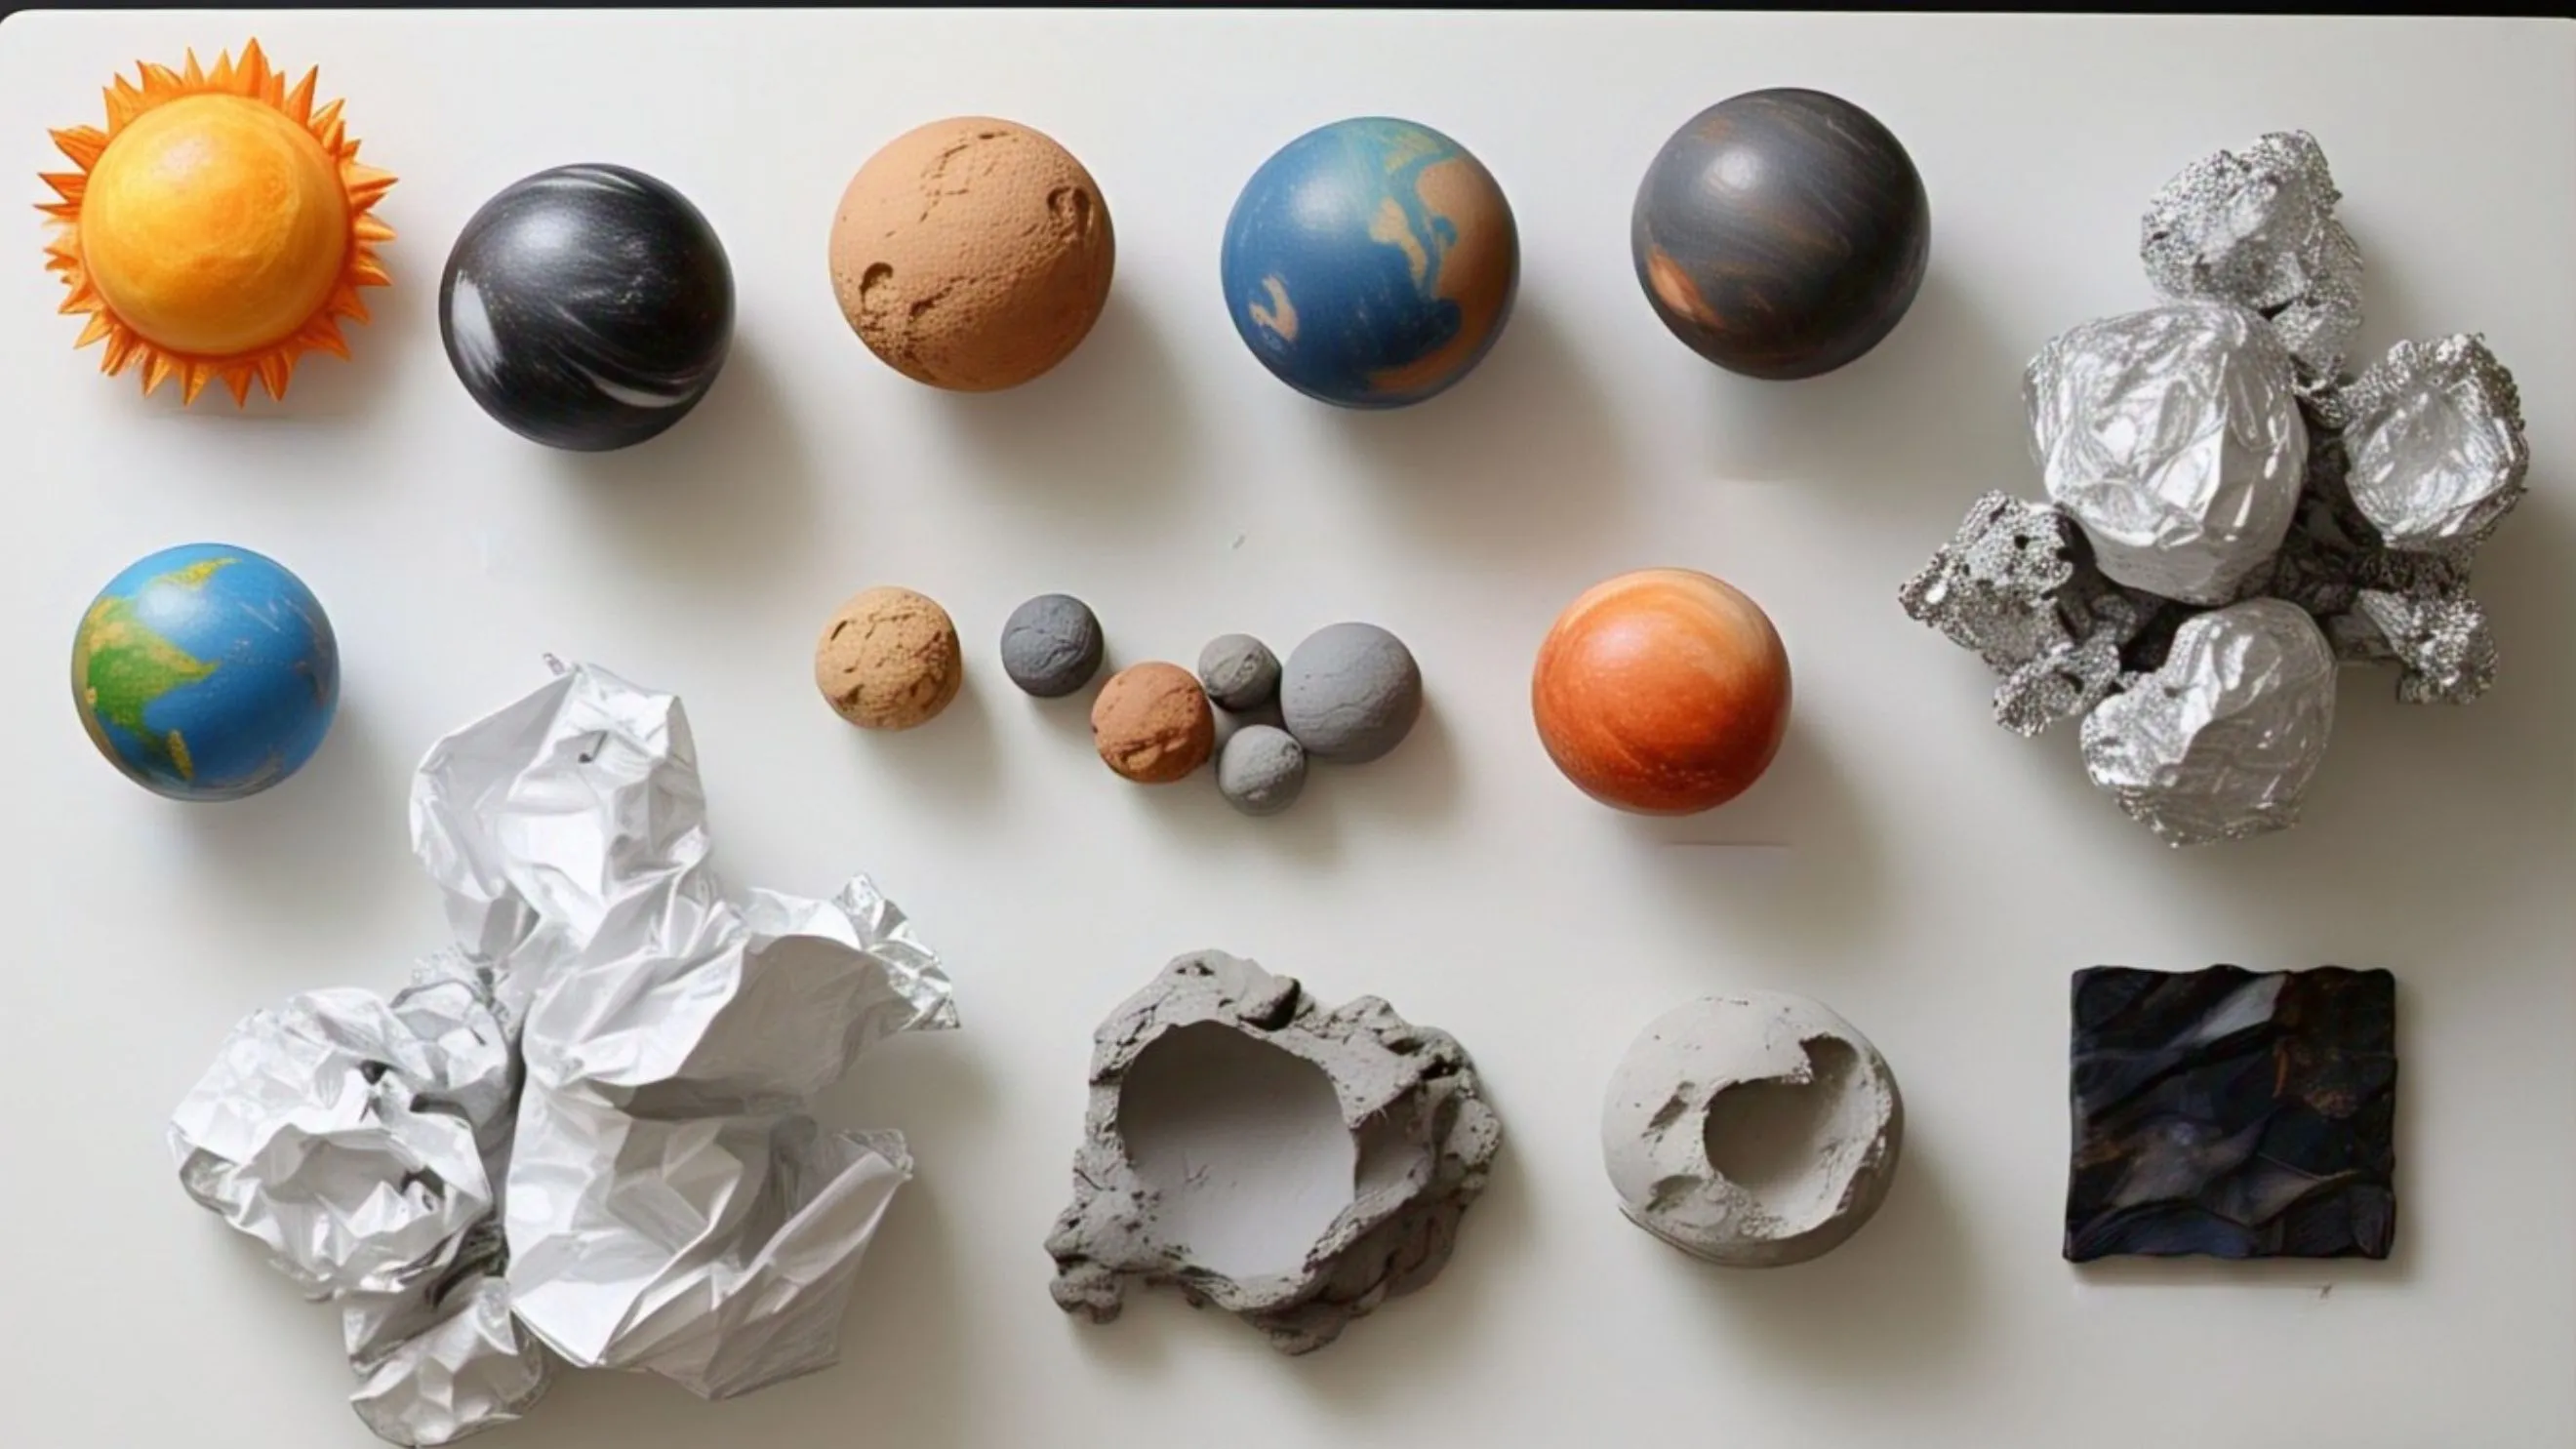
- Use foam balls, clay, or even crumpled aluminum foil to make the Sun and planets. The Sun should be the biggest, and Mercury the smallest. Here's a quick size guide for your planets. You don't need to be super exact, but try to keep the proportions somewhat realistic:
- Paint each planet the right color. Pro tip: Let each coat dry completely before adding details. It's tempting to rush, but patience makes a huge difference!
- For Saturn’s rings, cut a ring from a foam sheet or cardboard, paint it, and glue it around Saturn.
- Let the paint dry completely before moving on.
3. Prepare the Base
- If you’re making a standing model, use a sturdy piece of black foam board or cardboard as your base.
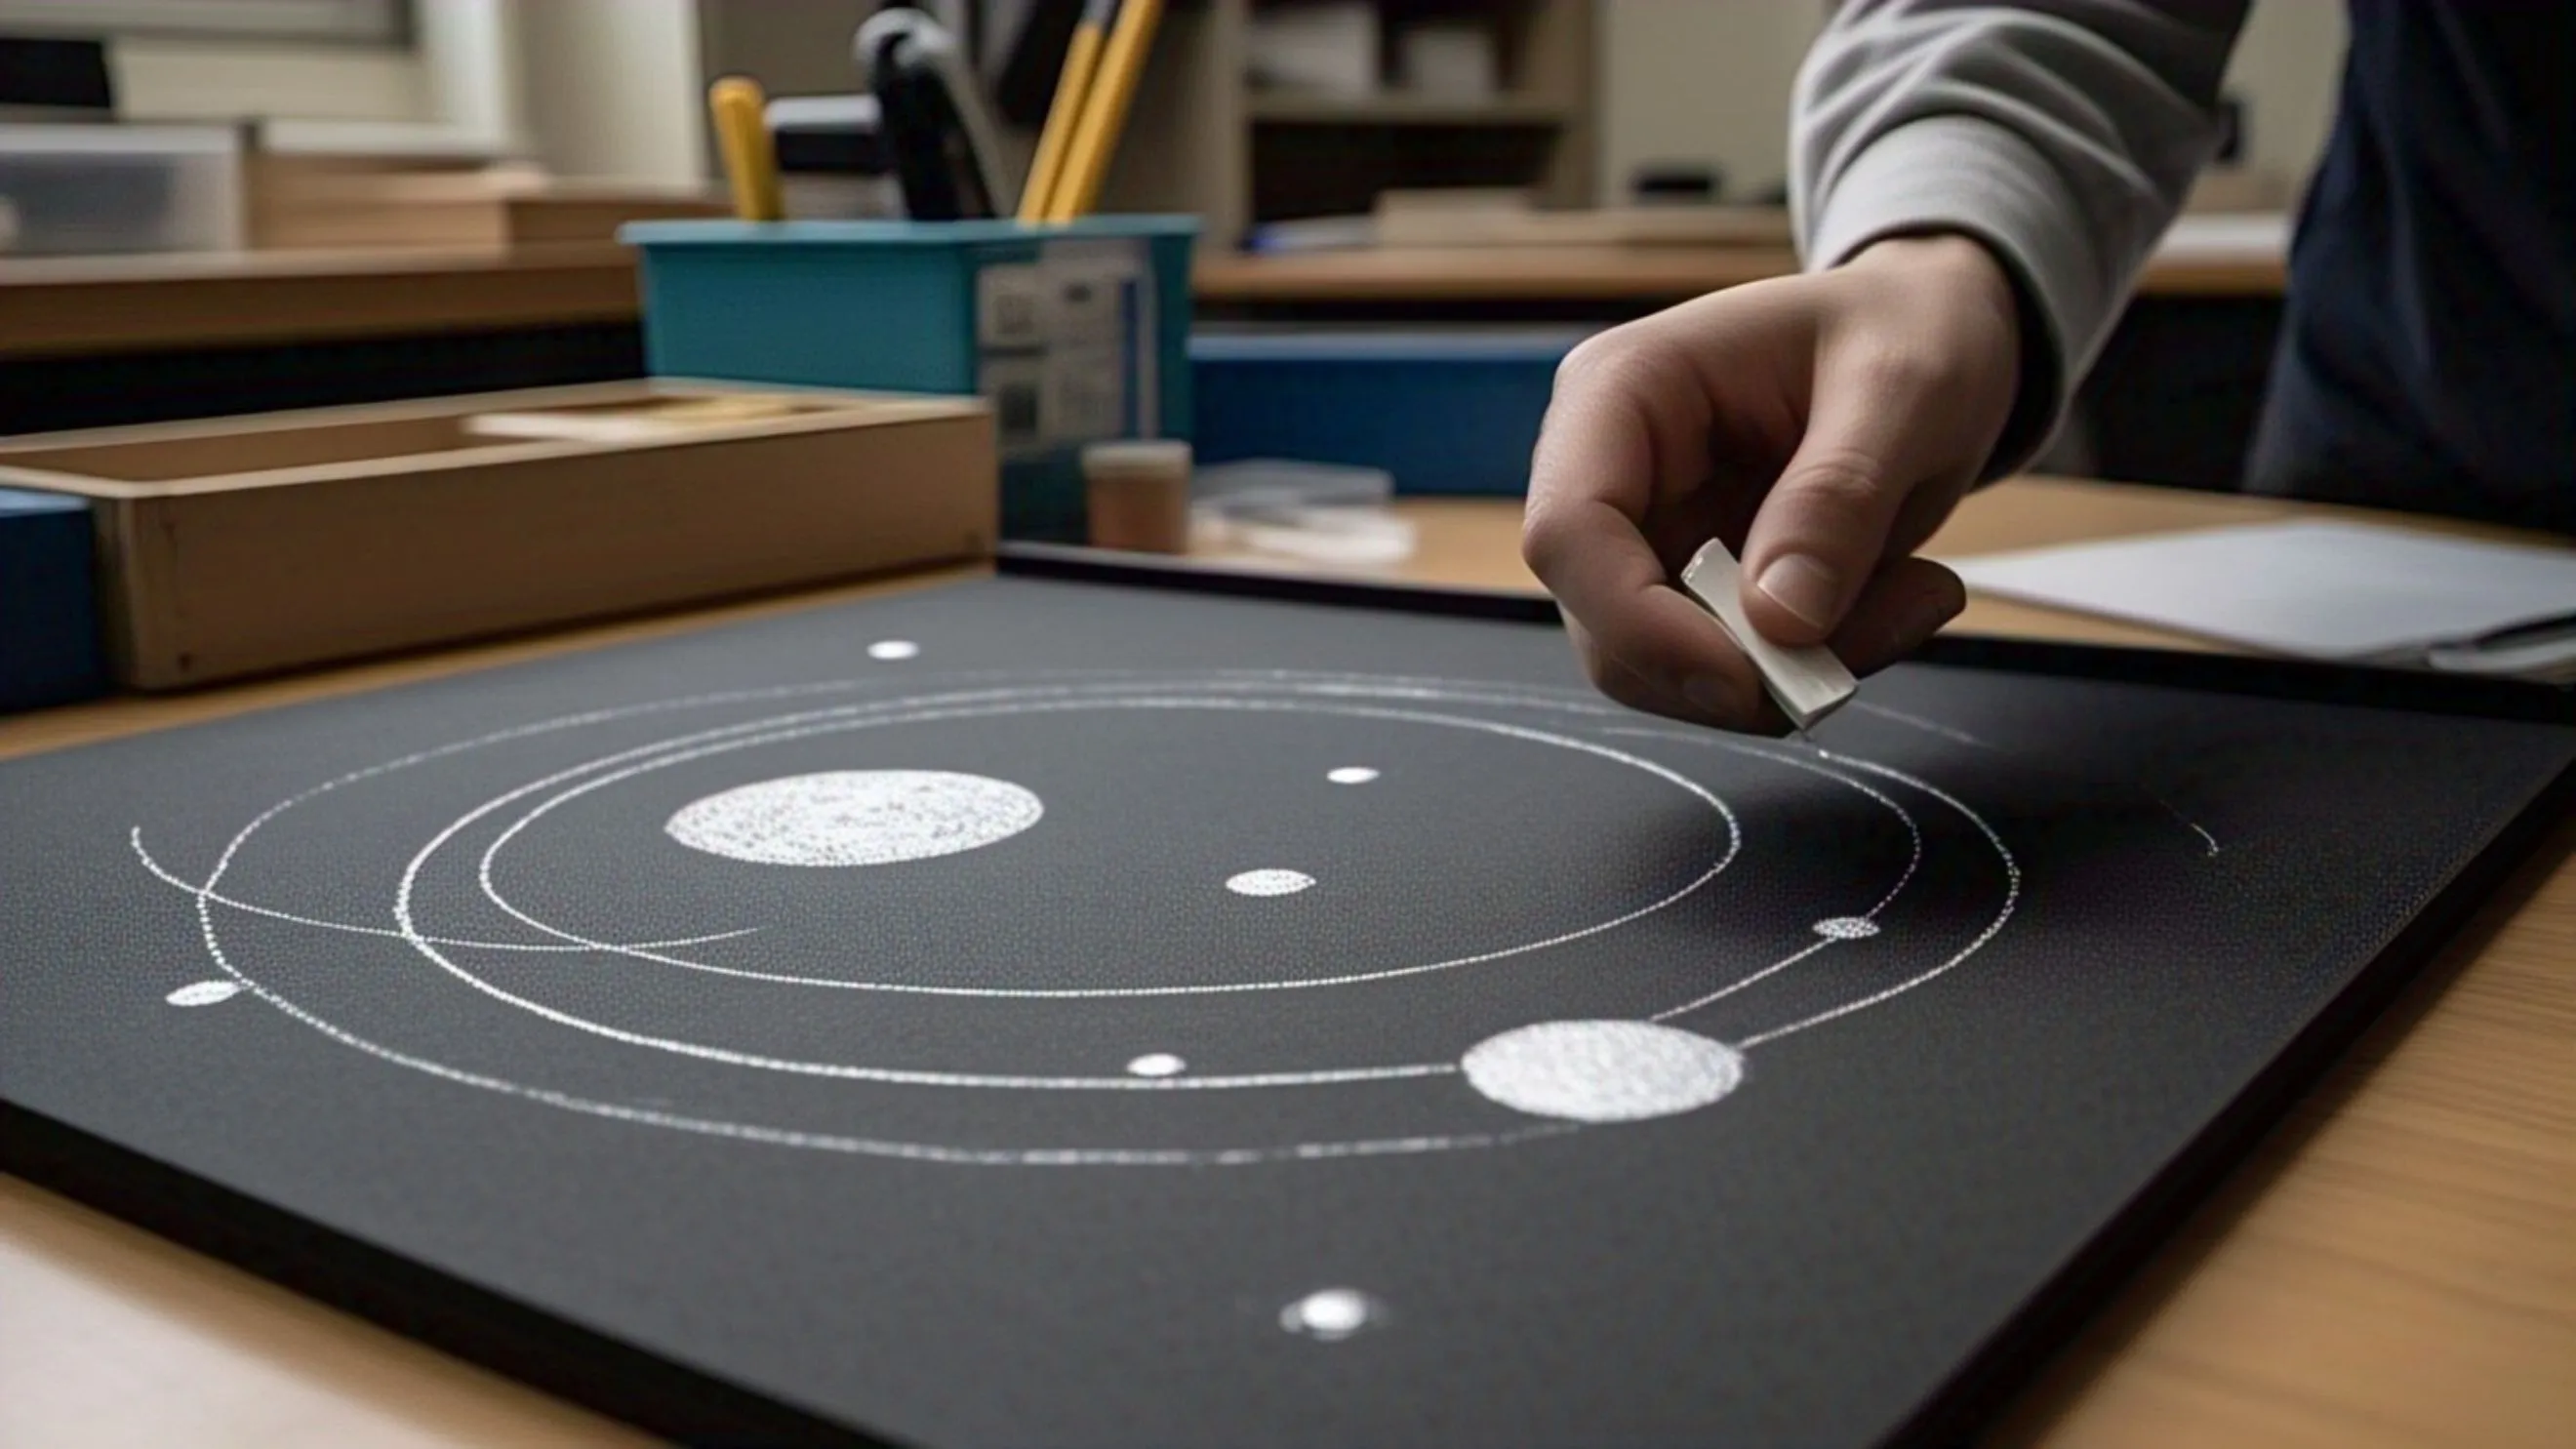
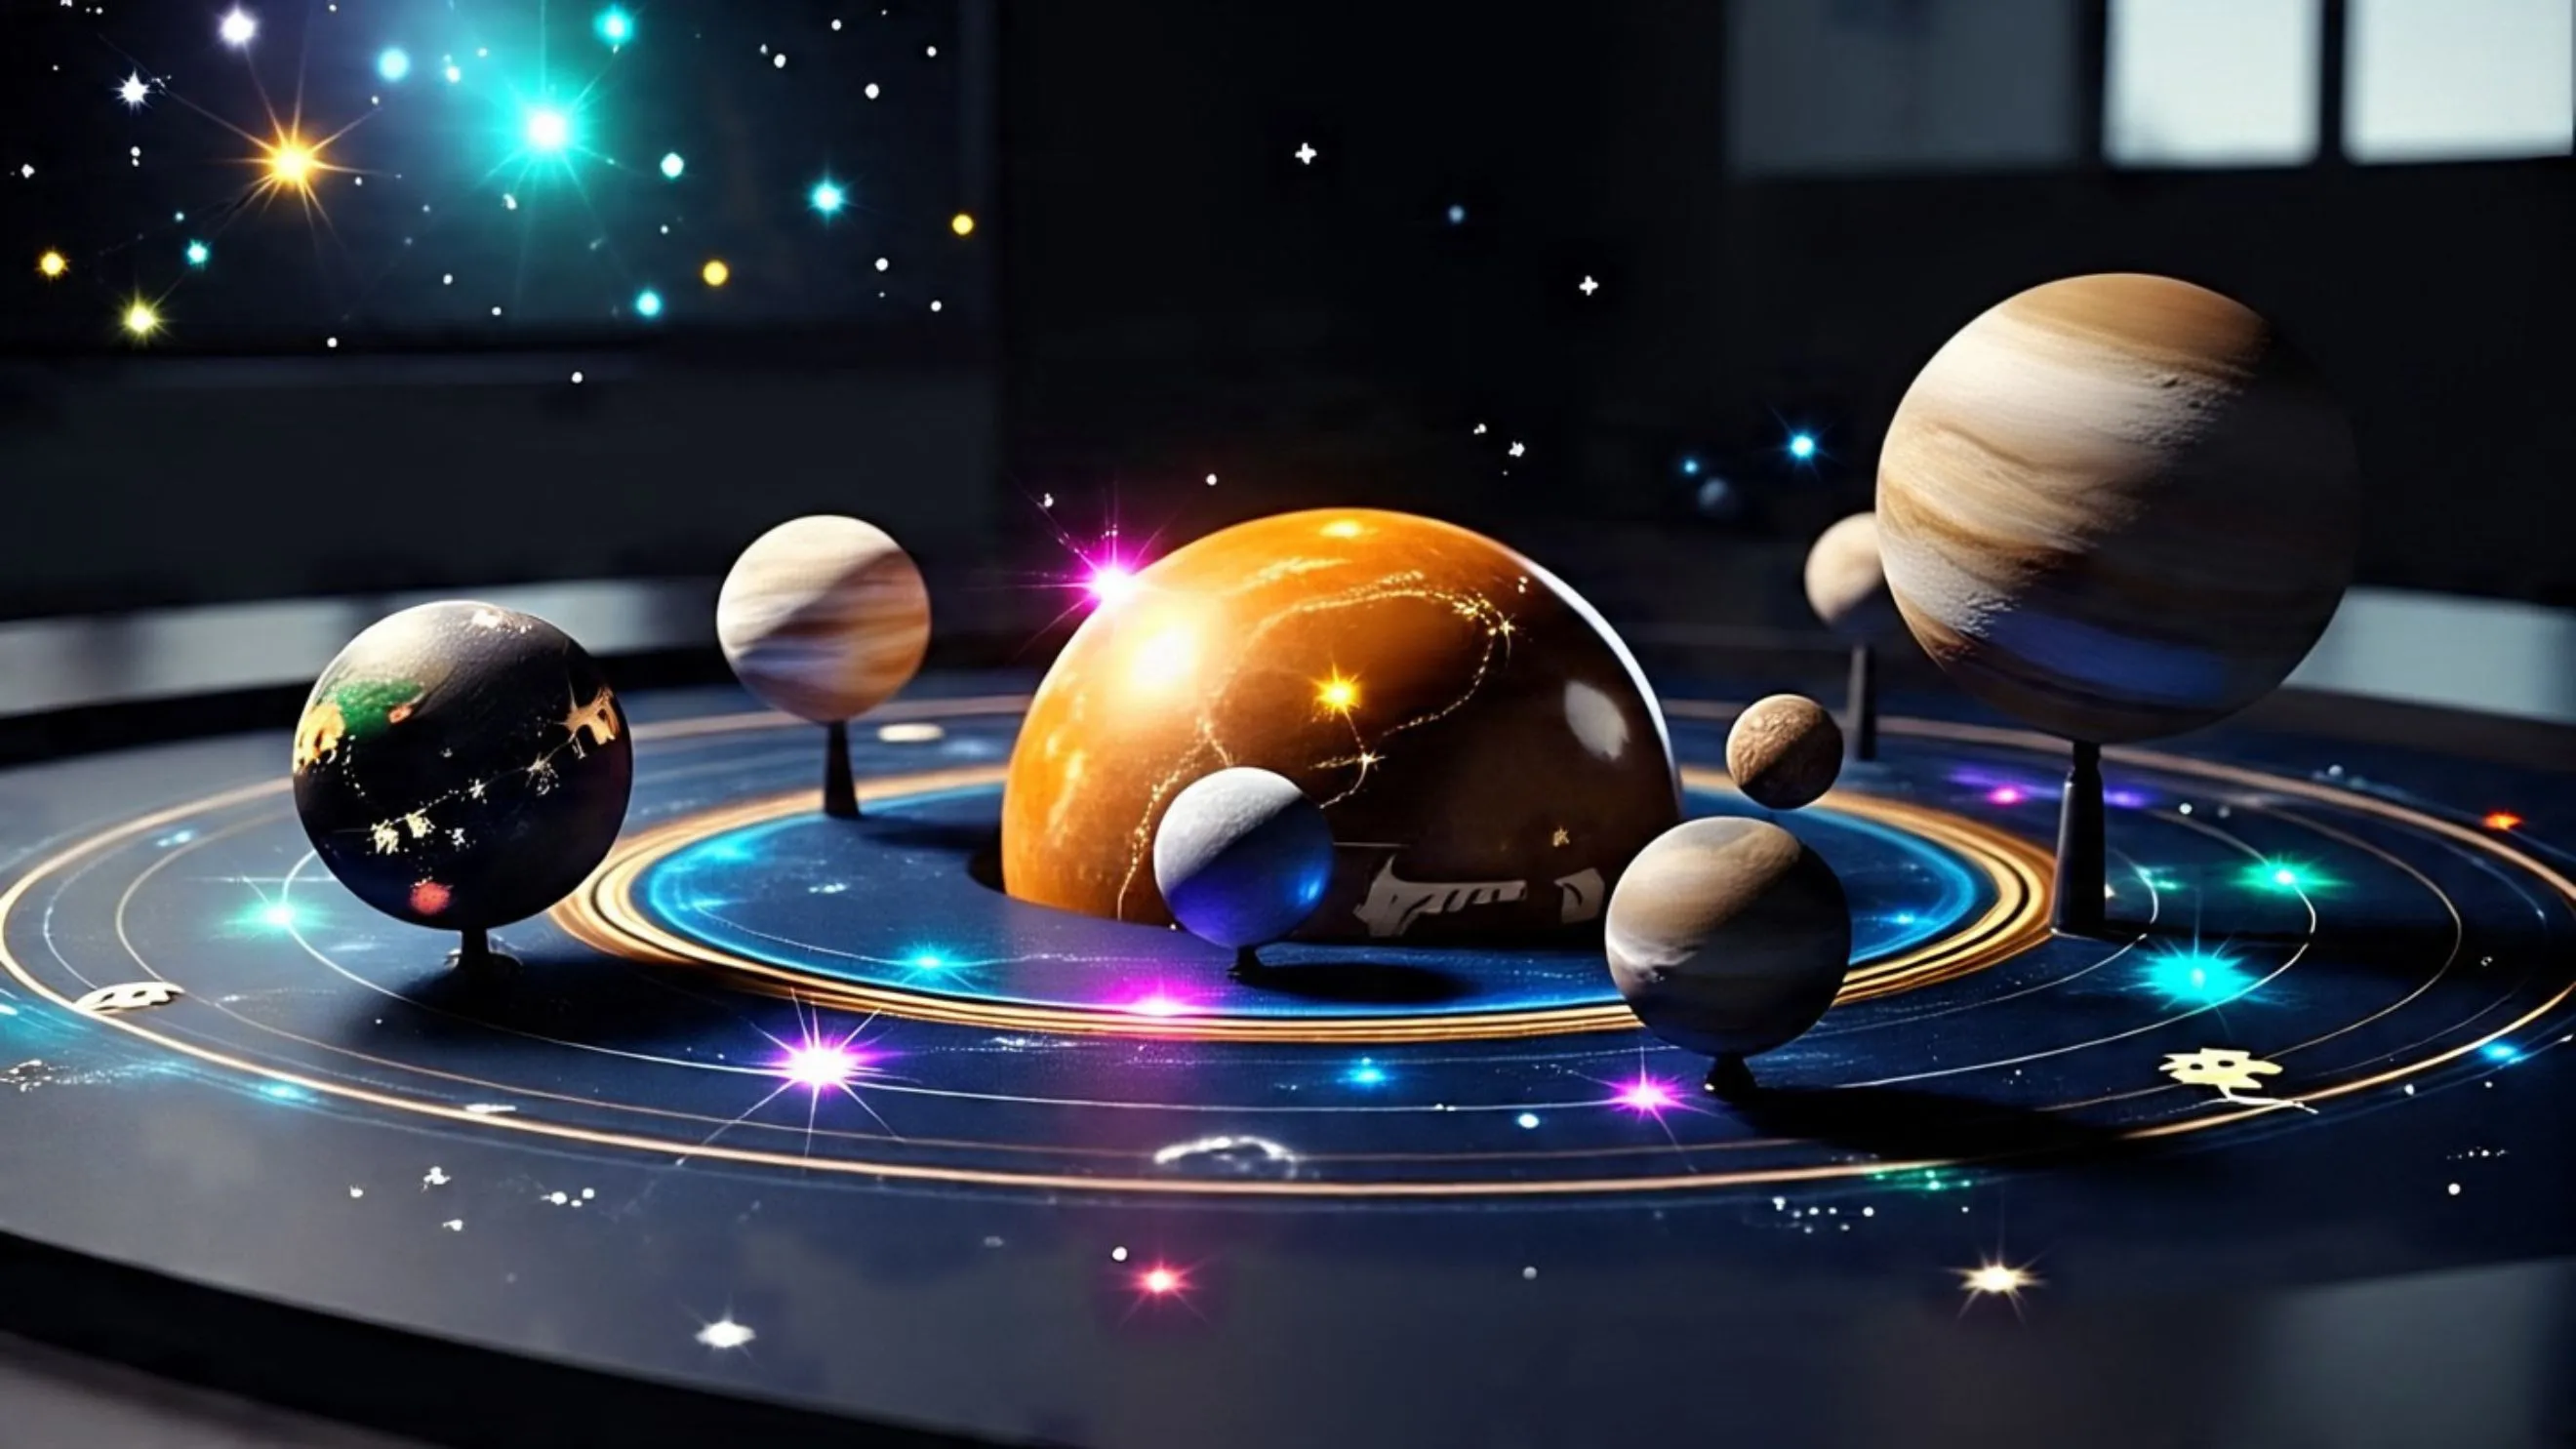
- Paint the background black or dark blue to look like space. Flick white paint with a toothbrush to create stars.
- Draw orbits with white chalk or silver paint, showing the path each planet takes around the Sun.
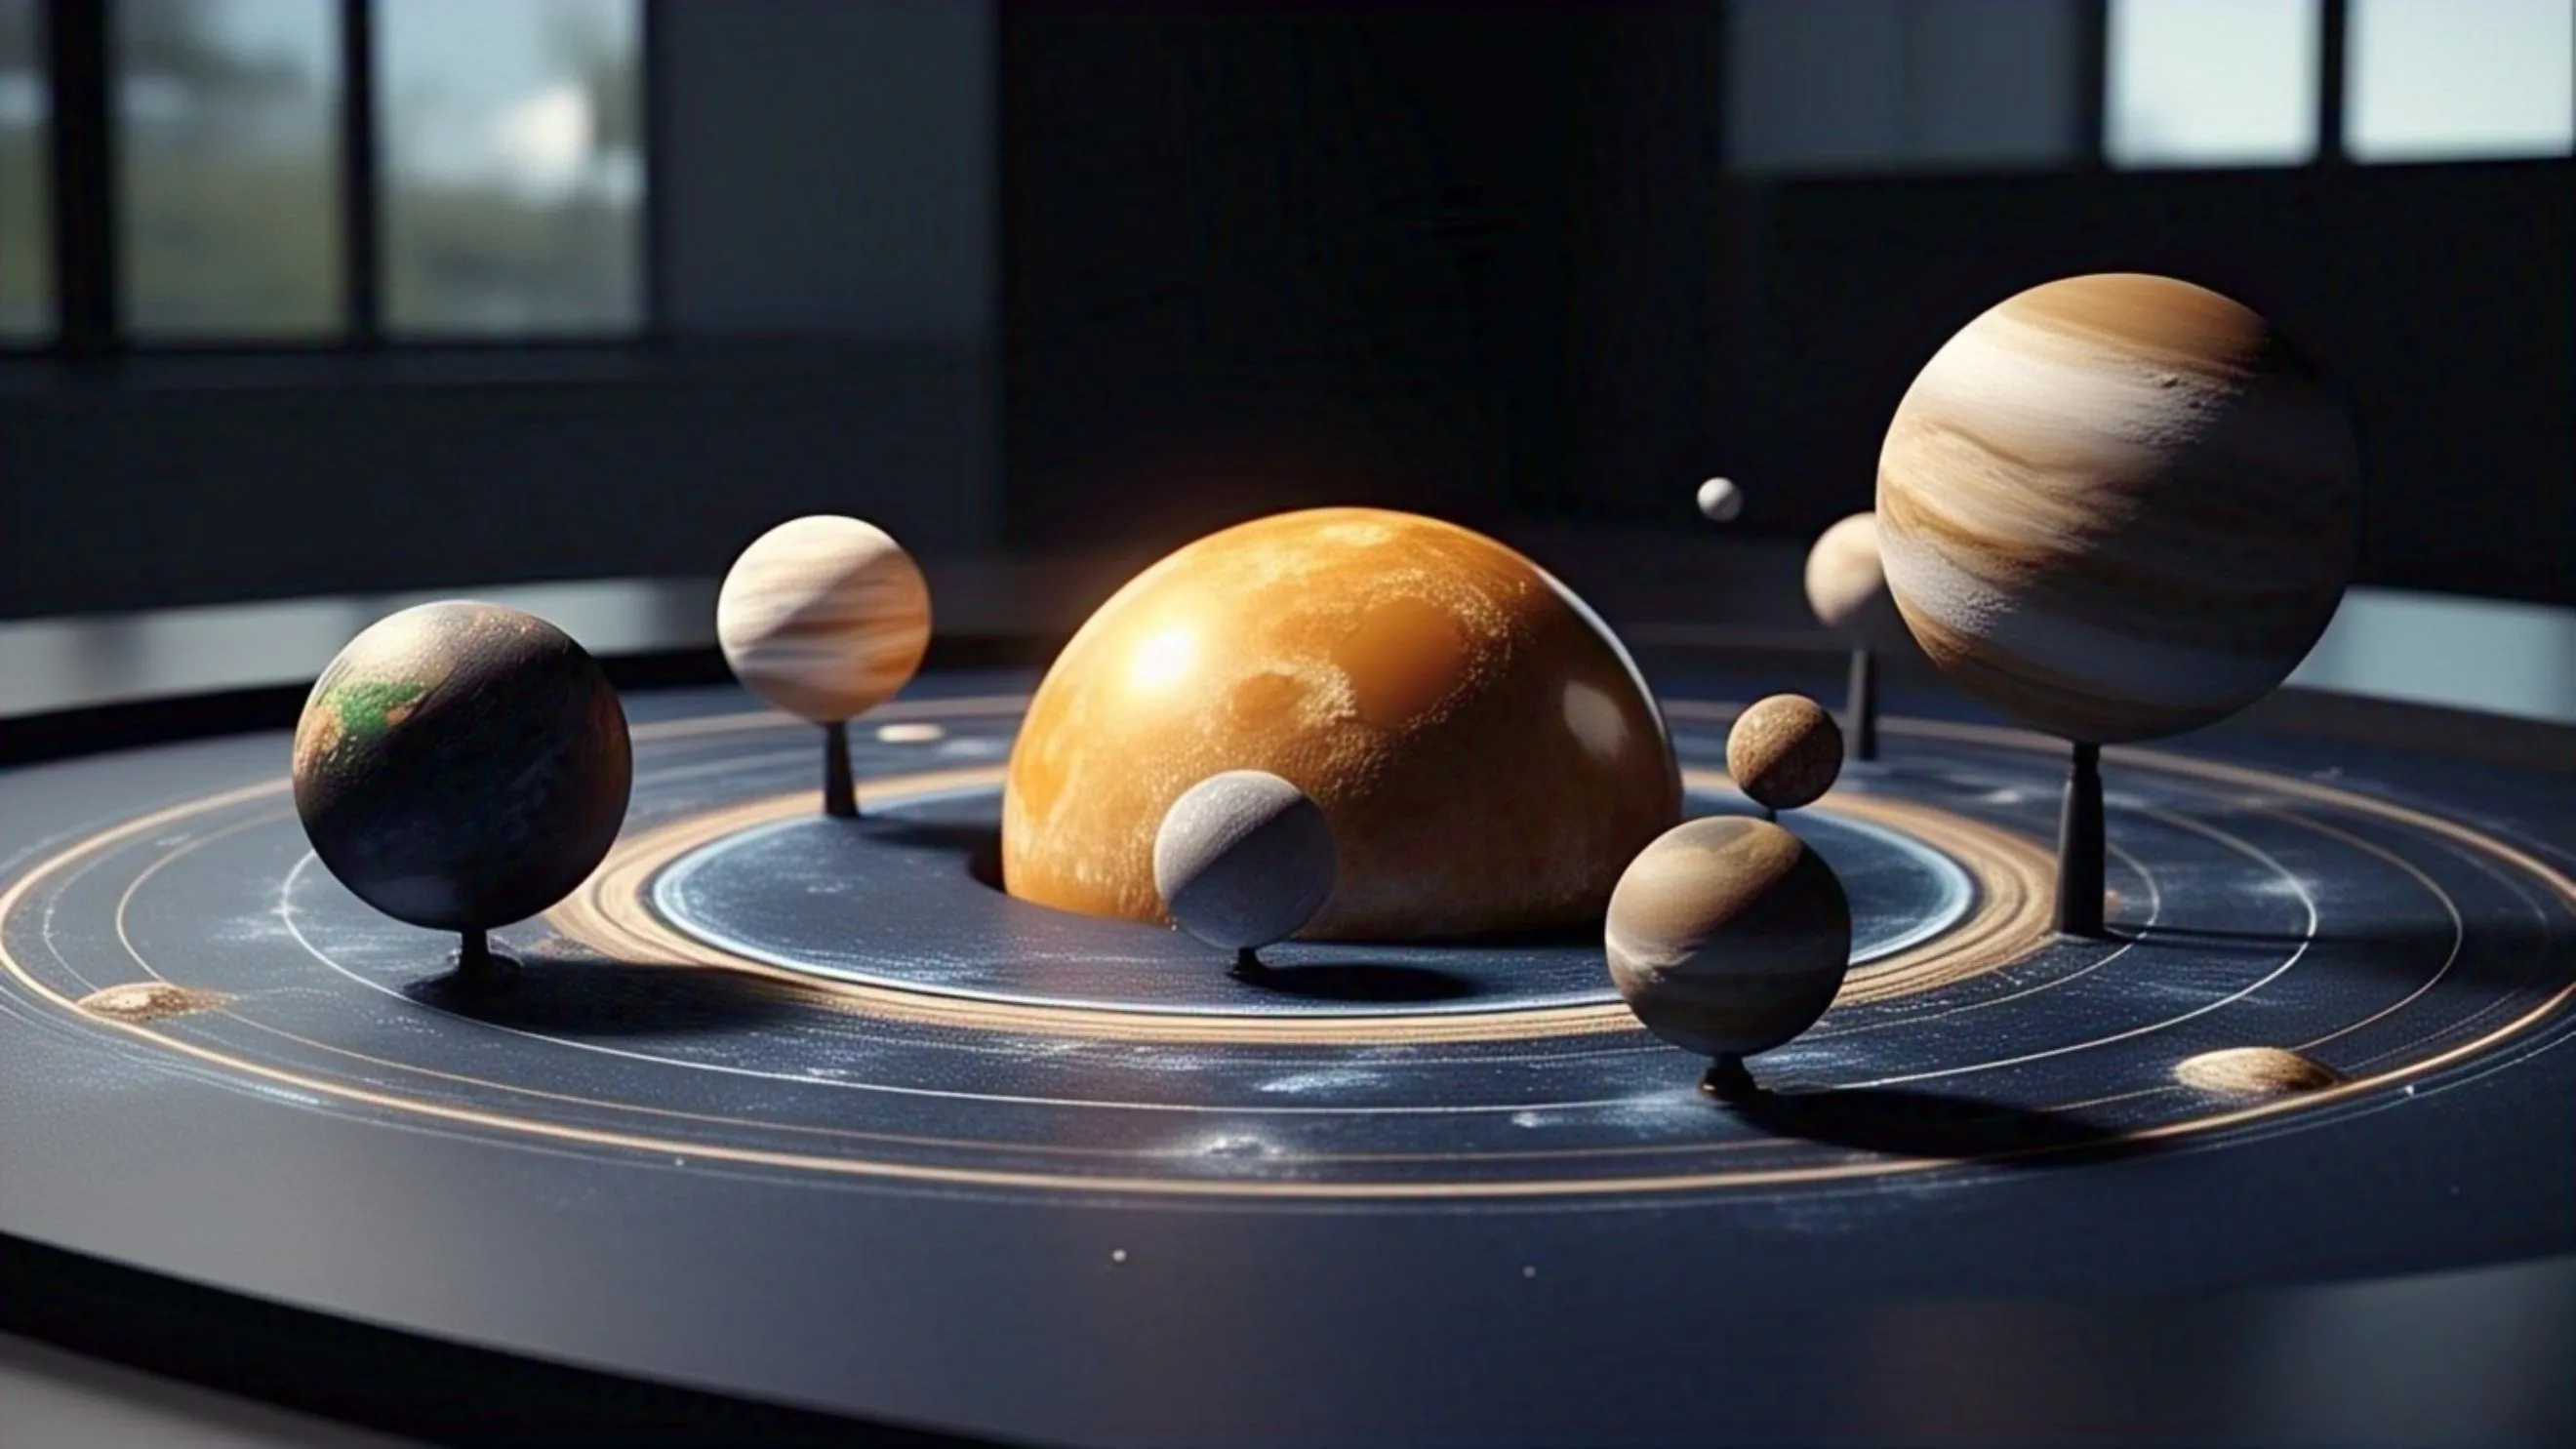
4. Assemble the Solar System
- Attach the Sun in the center of your base.
- Use skewers, dowels, or wires to connect each planet to the base, placing them in order from the Sun. The farther the planet, the longer the skewer should be.
- If you want your planets to move, you can make rings from cardboard and attach each planet to a ring that can spin around the Sun.
- For a hanging model, use string to suspend each planet from a hanger or a stick, with the Sun in the middle.
5. Add Extra Features
- Make an asteroid belt between Mars and Jupiter using small rocks or beads glued to the base.
- Add labels for each planet using small pieces of paper or stickers.
- Decorate with glitter for a cosmic effect, or use LED lights to make your Sun glow.
6. Finishing Touches
- Double-check the order of the planets.
- Make sure everything is glued securely.
- Clean up any glue marks or paint smudges.
- Add any extra decorations you like—stars, comets, or even little alien figures!
Creative Ideas and Tips
- Use recycled materials: Old boxes, bottle caps, or even painted rocks can be turned into planets.
- Go big or small: Your model can be as large or as compact as you want, depending on your space and materials.
- Make it interactive: Add moving parts, like rotating planets or a Sun that lights up, to really wow your teacher.
How to Present Your Model
- Practice explaining the order of the planets and a few fun facts about each one.
- Point out special features, like Saturn’s rings or Jupiter’s Great Red Spot.
- Be neat and organized—labels should be clear, and your model should look tidy.
- If you made your model with recycled materials or added special effects, mention it! Teachers love creativity and effort.
Getting Great Grades
- Follow your teacher’s instructions carefully.
- Make sure your model is accurate—the Sun and planets in the right order, with correct colors and features.
- Show effort in painting, labeling, and decorating.
- Be ready to answer questions about your model and the solar system.
Conclusion
Making a DIY solar system model is a fun way to learn about space and show off your creativity. With a little planning, some basic materials, and a lot of imagination, you can build a project that’s not only homework but also a piece of art you’ll be proud of.


Be the first one to comment on this story.