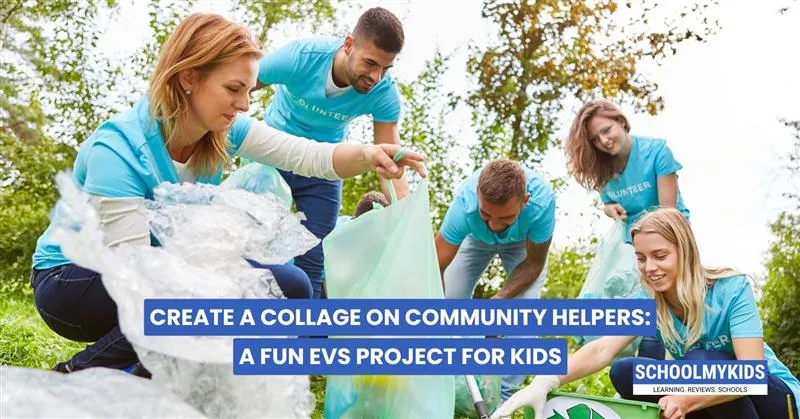
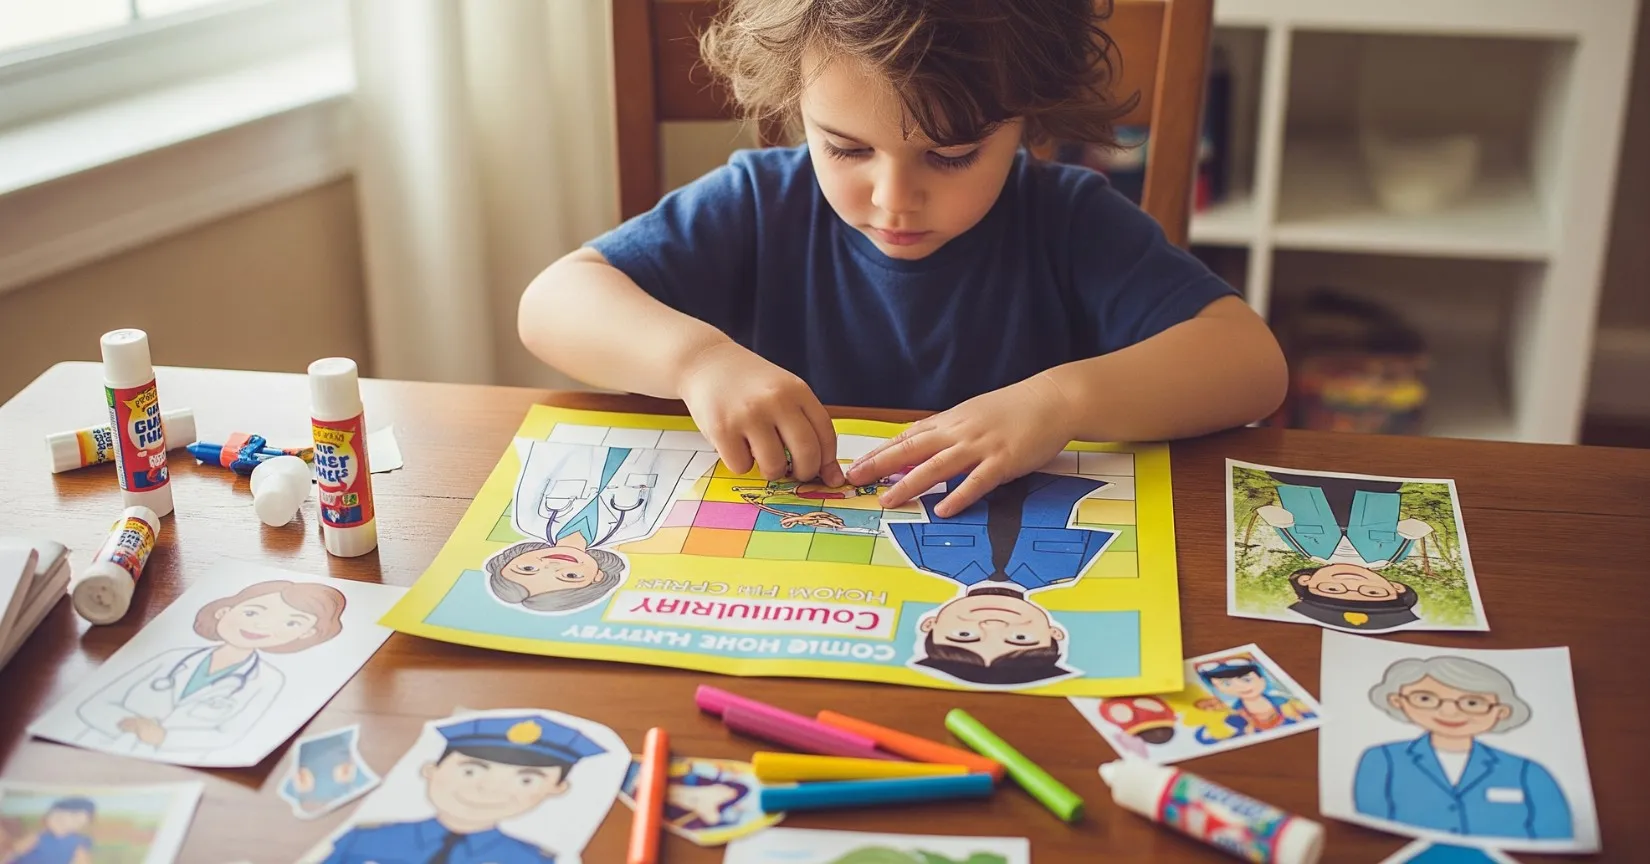
When summer holidays begin, most kids look forward to free time and play. But soon, the holiday homework list arrives. One of the most common projects for younger classes is the Community Helpers Collage. You’ll find it in almost every EVS homework sheet.
At first, it may sound like just another task. But honestly, this project can be fun and simple. And with the right steps, it turns out really well, too.
Here’s a full, easy guide for kids and parents to follow. Whether you’re in Class 1 or Class 4, this will help you make a collage that looks neat, creative, and complete.
What is the Project About?
Before we jump into cutting and pasting, let’s talk about what this collage means.
Community helpers are people who work every day to help us. These include doctors, police officers, nurses, postmen, teachers, and many more. This project helps you know who they are and how they make our lives easier.
You’ll be collecting their pictures, writing a few words about them, and arranging everything on a chart or sheet in a creative way.
Step 1: Choose the Helpers for Your Collage
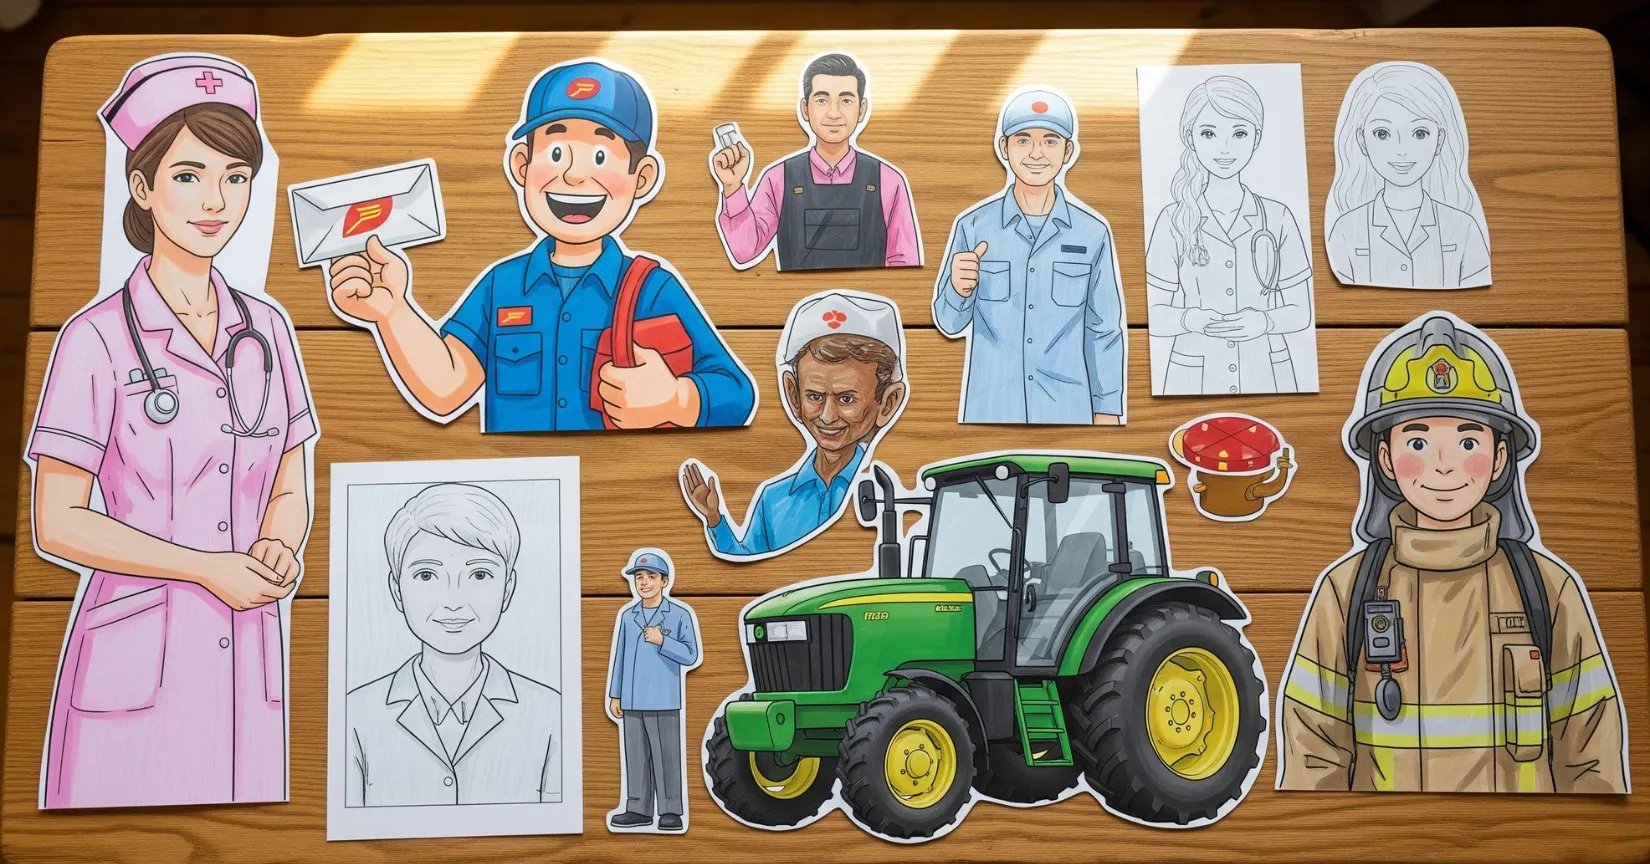
Start by thinking about who you want to include. Most teachers expect at least 6 to 8 different helpers.
Some common and easy-to-understand ones:
- Doctor
- Nurse
- Teacher
- Policeman
- Postman
- Firefighter
- Farmer
- Sanitation worker
If you're in a higher class, you can add more—like traffic police, delivery person, bus driver, carpenter, or soldier.
Tip: You don’t need to add everyone. Just choose those you understand well.
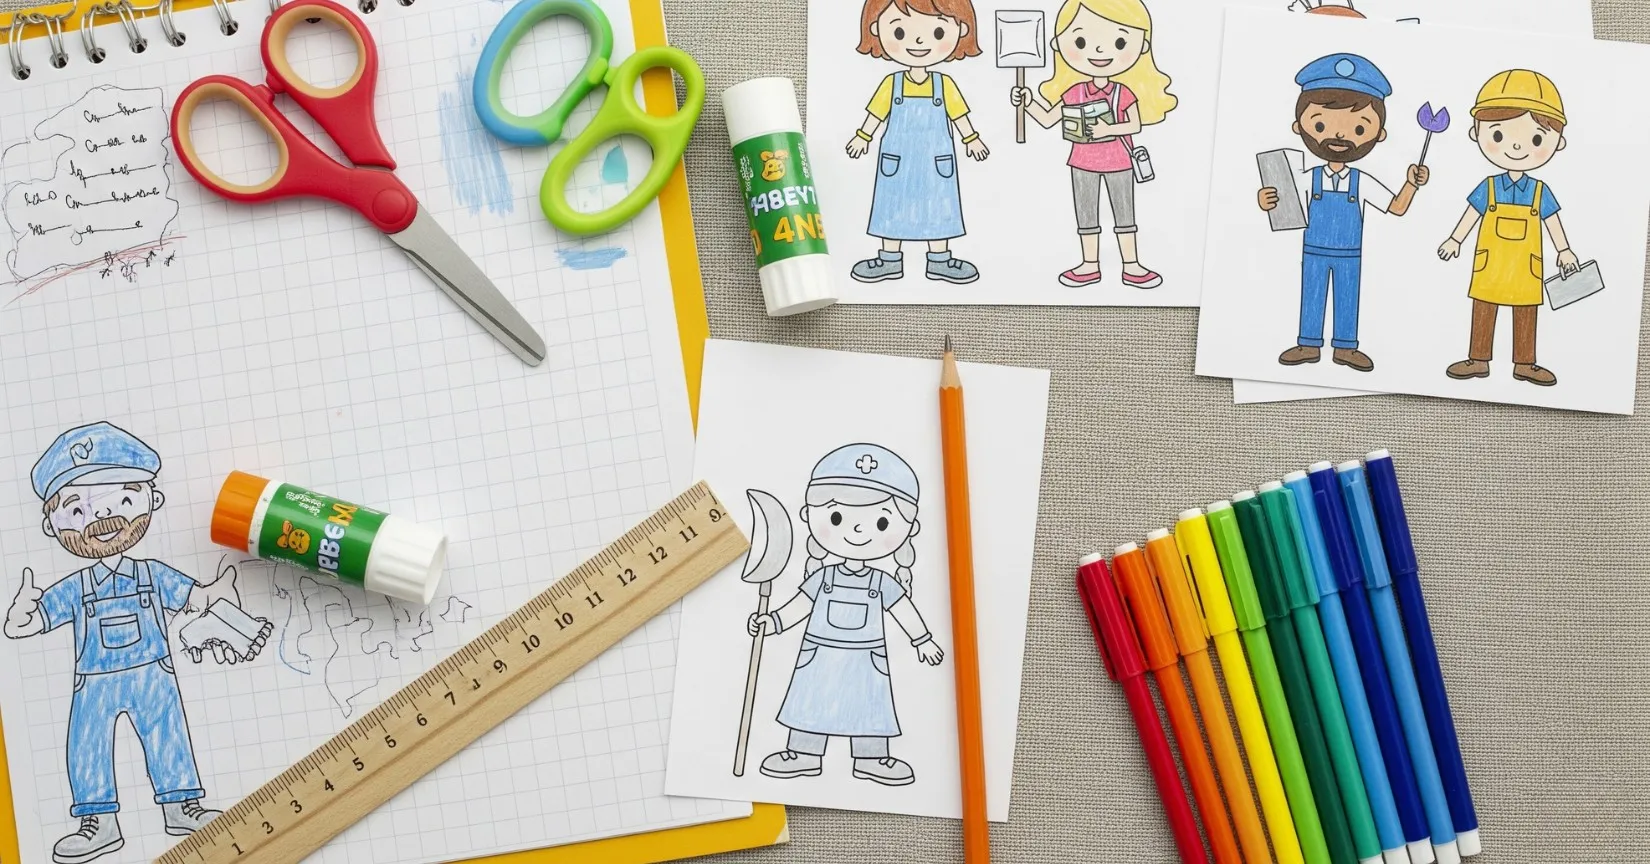
Step 2: Collect Pictures and Materials
Now it’s time to gather what you’ll need.
Basic materials:
- Chart paper (white or light color works best)
- Printed pictures or cut-outs from books/magazines
- Glue stick or liquid glue
- Sketch pens or crayons
- Safety scissors
- Ruler for neat lines
- Pencil for labelling
- Stickers or washi tape (optional)
You can get pictures from:
- Old magazines or school books
- The internet (print at home or from a shop)
- Sunday newspaper ads (sometimes they have people in uniforms)
If printing is not an option, draw simple figures and color them.
Step 3: Plan and Arrange the Layout
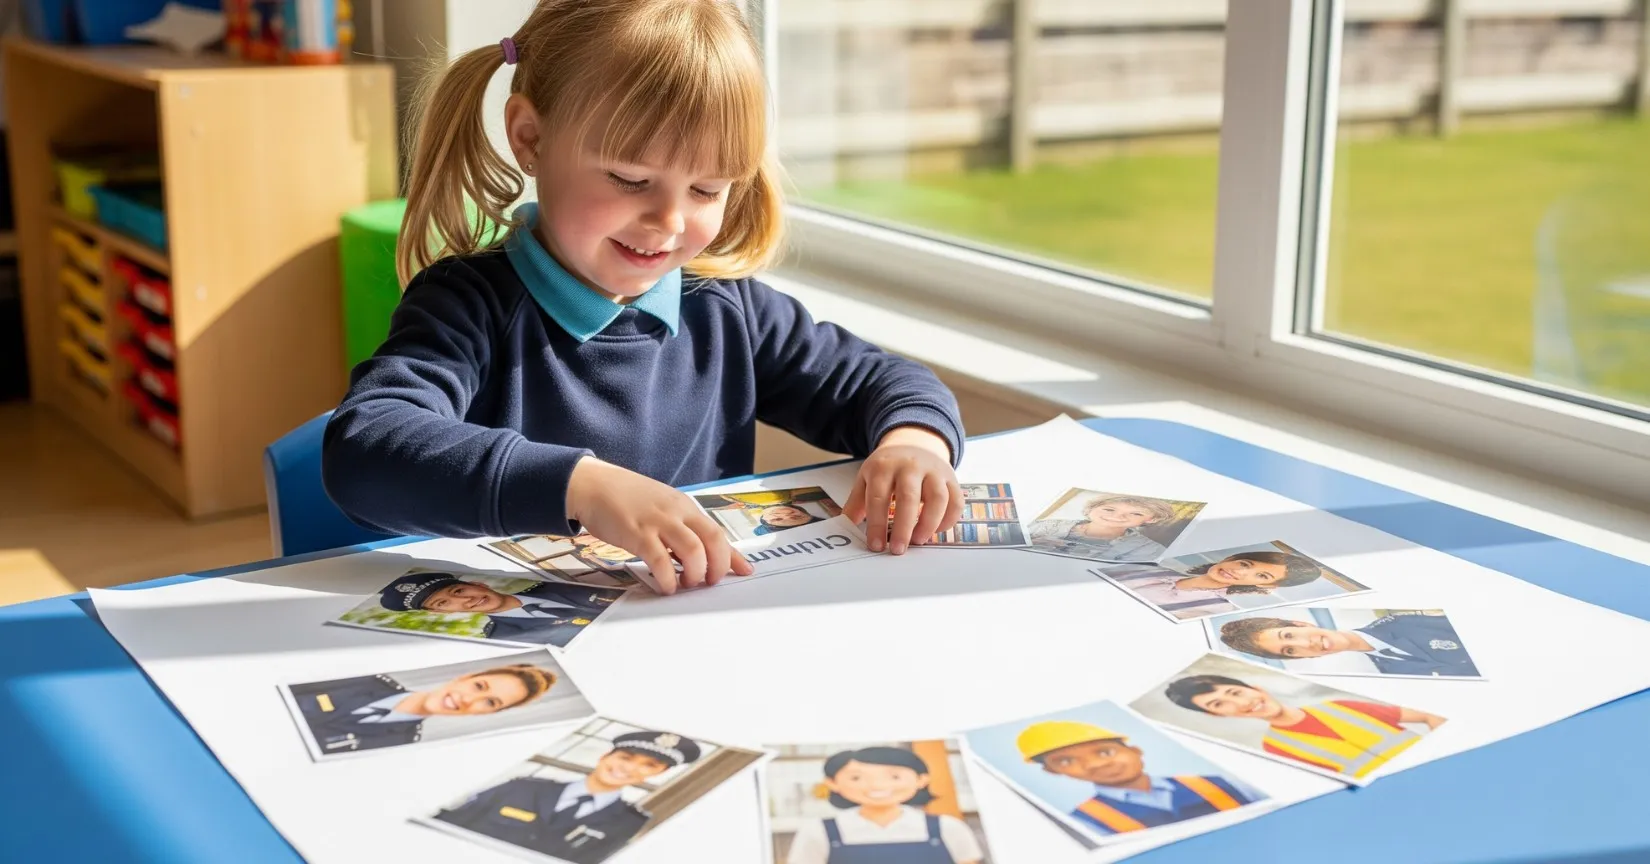
Before sticking anything, arrange your pictures on the sheet. This gives you a better idea of space and balance.
Try these layout ideas:
- In rows or columns
- In a circle with “Our Helpers” written in the center
- In a house or town shape with helpers placed around
Make sure you leave space below or beside each picture for writing the name and 1–2 lines.
Don’t rush this part. Take your time and see what looks best.
Step 4: Glue and Label Neatly

Now, it’s time to glue the pictures one by one. Press gently so there are no bubbles.
Below each helper, write:
- Their name (like “Doctor” or “Teacher”)
- One short sentence about what they do
Examples:
- A nurse takes care of sick people.
- A farmer grows food for us.
- A postman brings letters to our house.
Write slowly and clearly. If you want, write with a pencil first, then go over with a pen or sketch.
Step 5: Add a Title and Final Touches
At the top of your collage, write a big, bold title like:
- “People Who Help Us”
- “Our Community Helpers”
- “Real Life Heroes”
Decorate a little if you like. Add borders and small drawings, or use stickers. Don’t add too much. Keep it neat.
Make sure:
- All pictures are straight
- There’s no glue showing
- Writing is clear
- The chart is not too crowded
Let it dry fully before putting it in a folder or bag.
How to Score Better on This Project
Teachers don’t just look at how pretty the collage is. They notice:
- Whether the child did it themselves
- Neatness of layout and handwriting
- Clear effort and understanding
- Balanced decoration (not too flashy)
- Thought put into picture selection
Older kids can also add:
- A short thank-you message at the bottom
- A fun fact about one helper
- A small drawing or doodle to make it personal
How Parents Can Help Without Doing the Work
It’s tempting to take over and do everything fast. But try to guide, not replace.
You can help by:
- Finding and printing pictures
- Helping cut out tricky shapes
- Suggesting layout options
- Checking spelling or grammar
- Giving praise and encouragement
Let the child glue, draw, and write as much as possible. The goal isn’t perfection. It’s learning and effort.
Conclusion
This collage project may be part of the homework, but it also teaches respect. Kids learn to notice people who are often overlooked. It starts small—with a glue stick and a picture—but ends with something meaningful. Take your time, enjoy the process, and let your creativity lead the way.


Be the first one to comment on this story.