Ladybug is one beautiful insect loved by all kids. It’s bright red colour and black spots are eye-catching and this insect is almost a favourite piece of art or craft loved by kids. Be it a painting or a greeting card or anything for that matter children love this to the core. So today let’s make one beautiful ladybug corner bookmark to keep in our books and add one more addition to our list of ladybug crafts.
Check out our other collection of art and craft and DIY ideas.
Follow these simple steps to make ladybug corner bookmark design.
Materials Required to make Ladybug Corner Bookmark
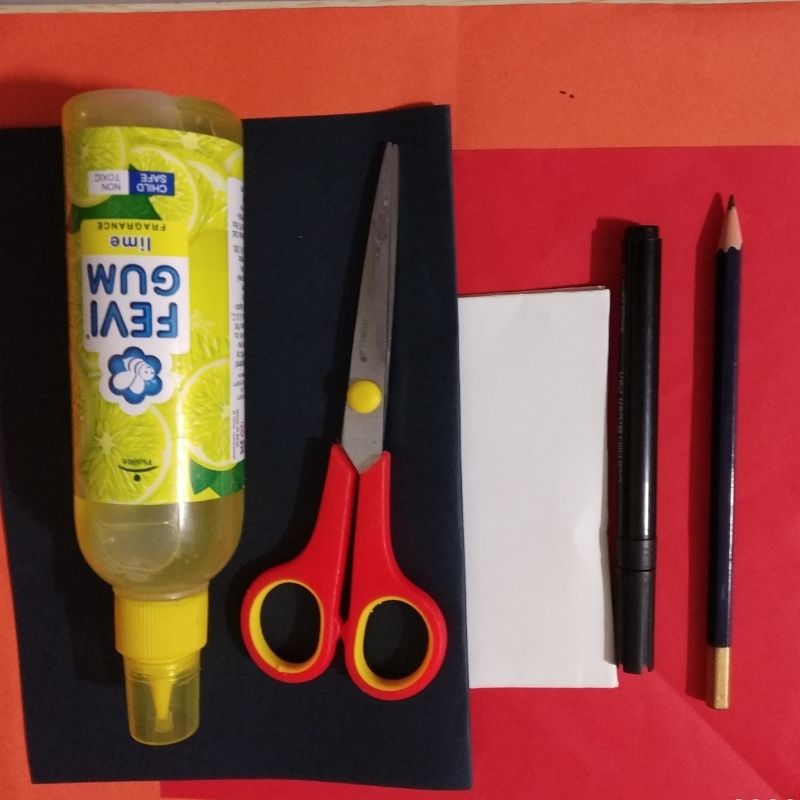
- Red paper
- Black paper
- White paper
- Pencil
- Black sketch pen
- Googly eyes
- Scissors
How to make Ladybug Corner Bookmark Step by Step
- Take a square red paper (20cm by 20cm)
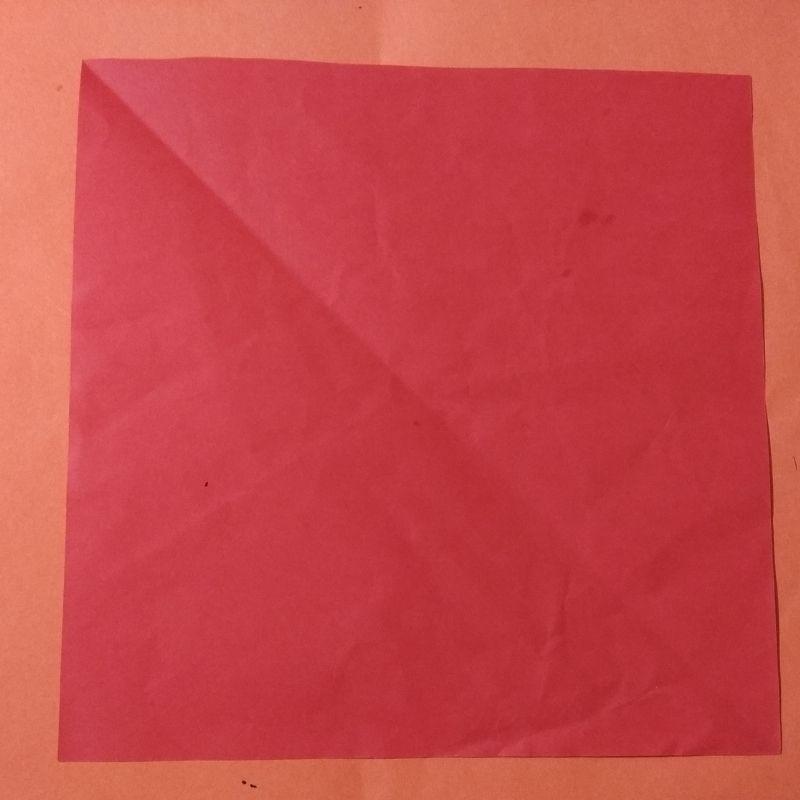
- Next, fold it into a triangle and further fold it into two half triangles on the sides.
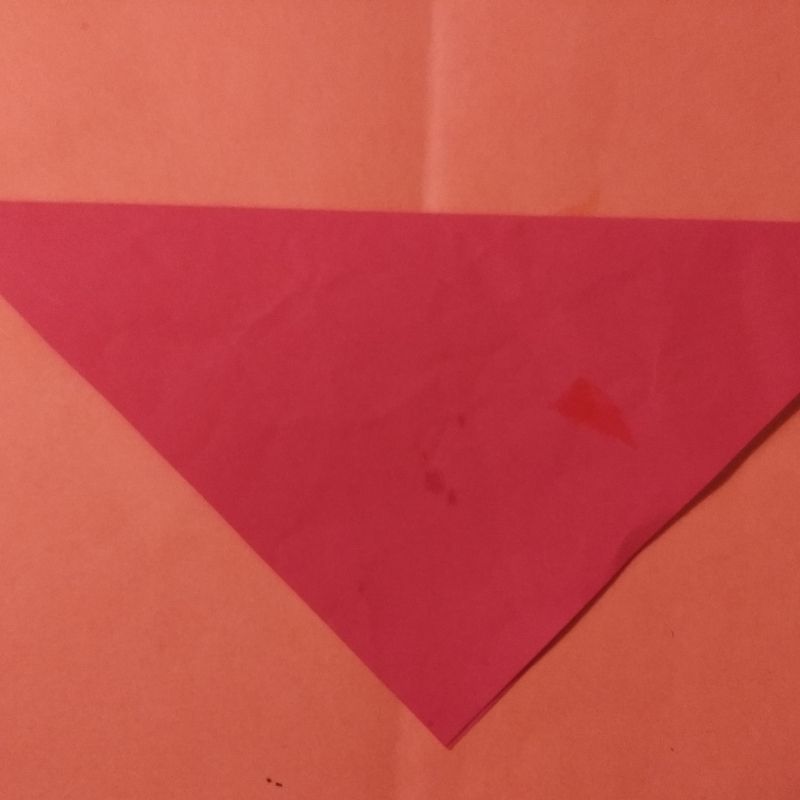
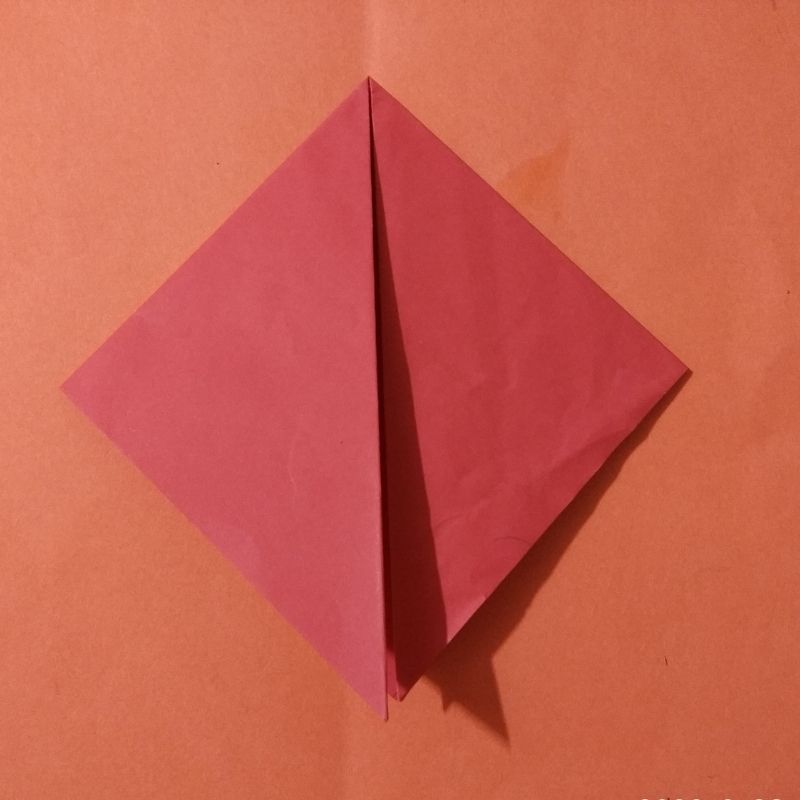
- Once done open these small triangles. Lift the apex of the first big triangle into a horizontal fold.
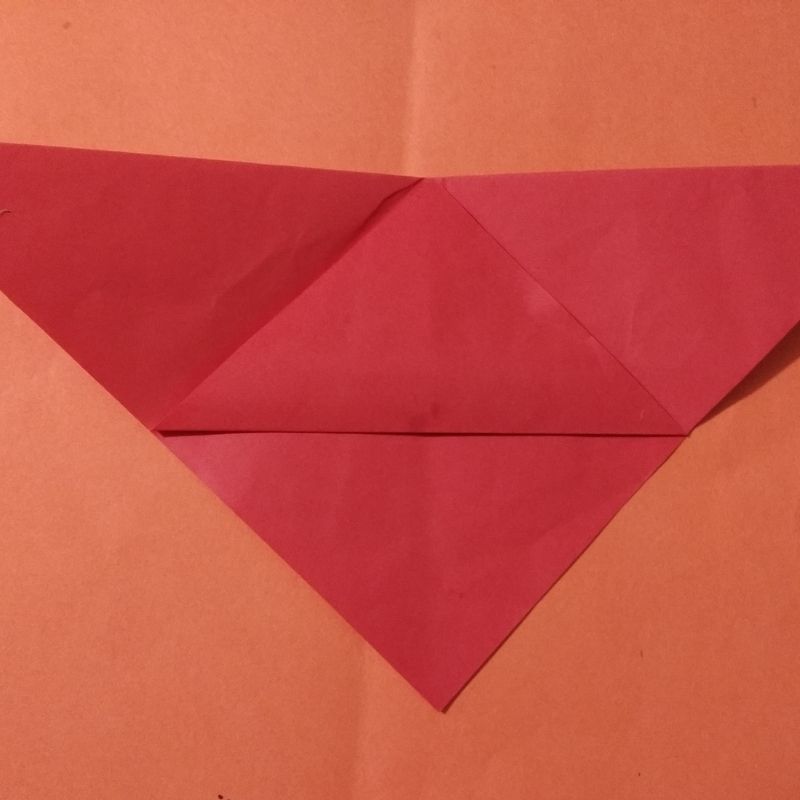
- Now tuck in the side triangles into the cavity inside the horizontal fold to form a pocket.
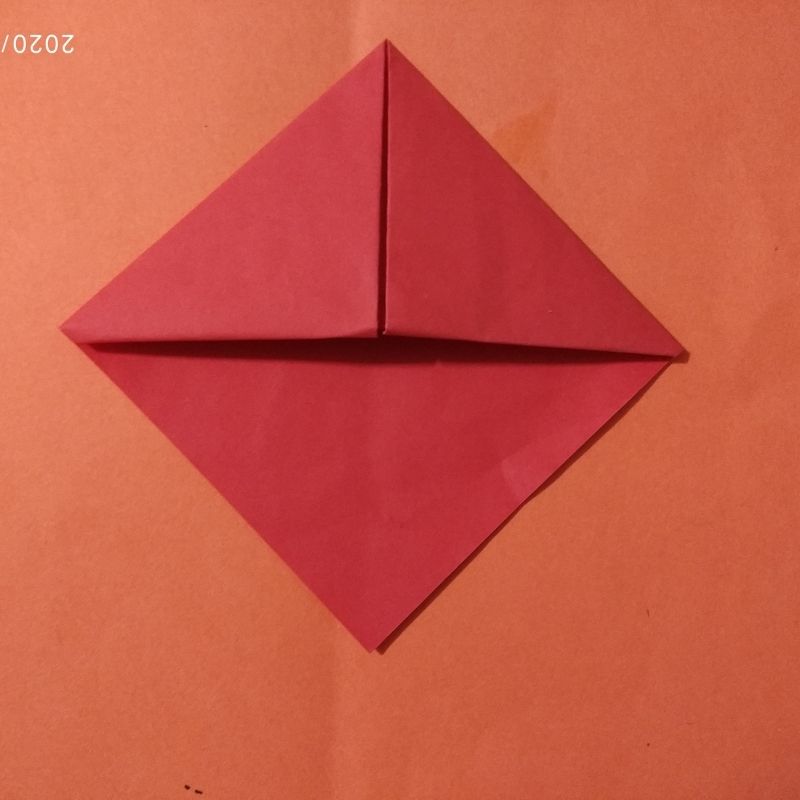
- Now flip this. You will have a plain square.
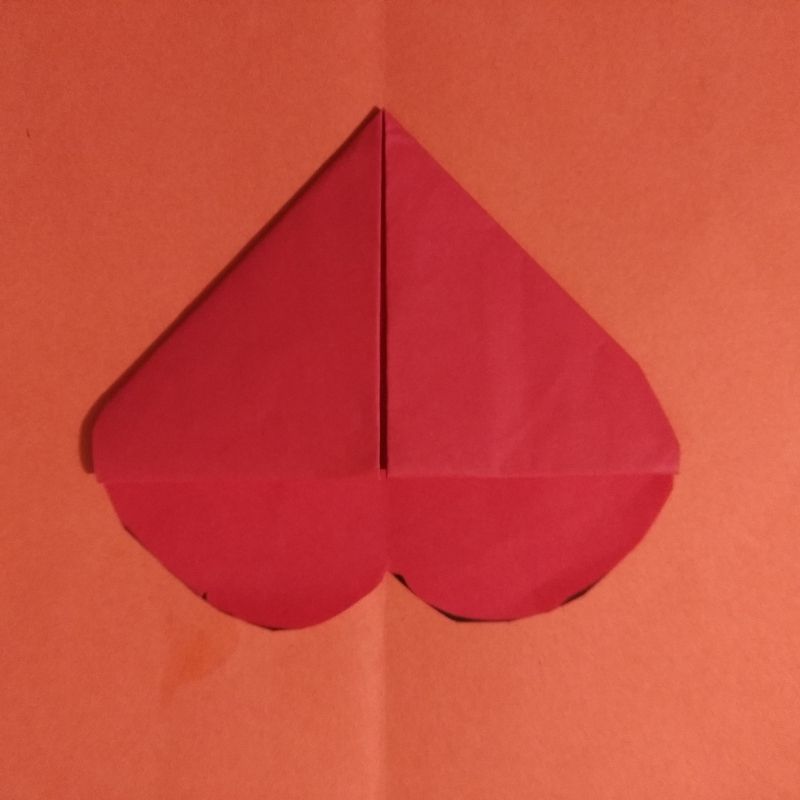
- Cut this square at the free end into a heart shape or two small semicircle’s next to each other.
- Take a black sheet and cut a circle to make the head of the ladybug.
- Take a white sheet and cut two small circles to make the eyes of the ladybug.
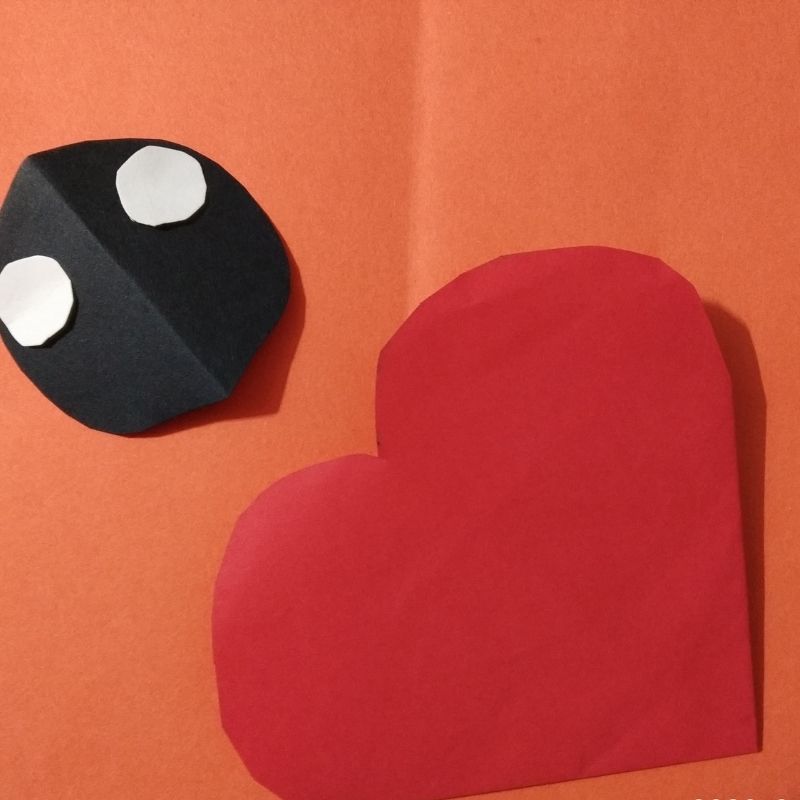
- Next, use two googly eyes to stick over the small white circles.
- Now decorate the back of the ladybug by putting small black spots over the red portion.
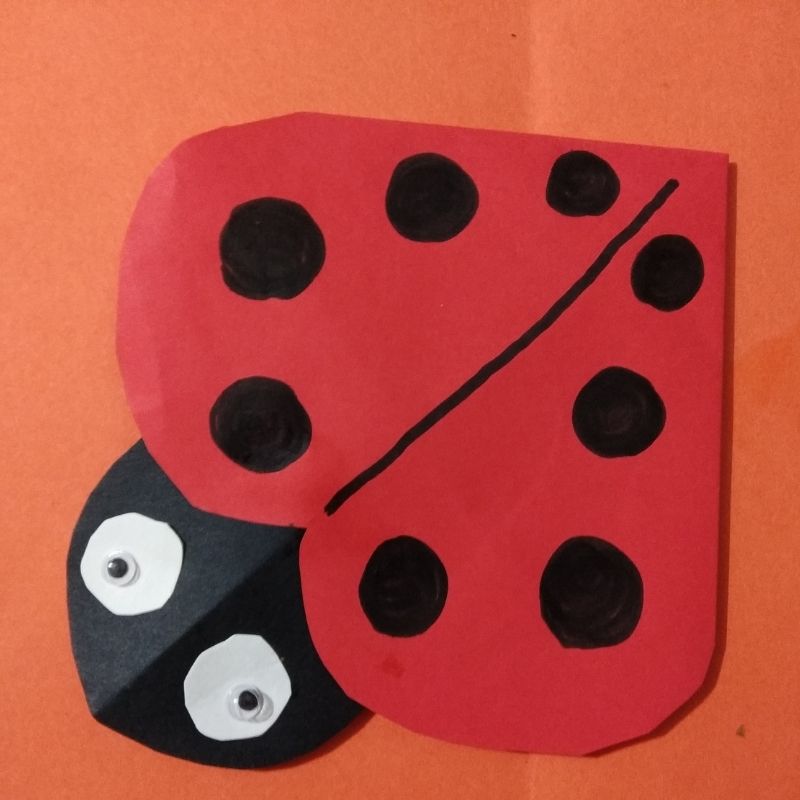
- That’s it, children, your beautiful ladybug bookmark craft is now ready!
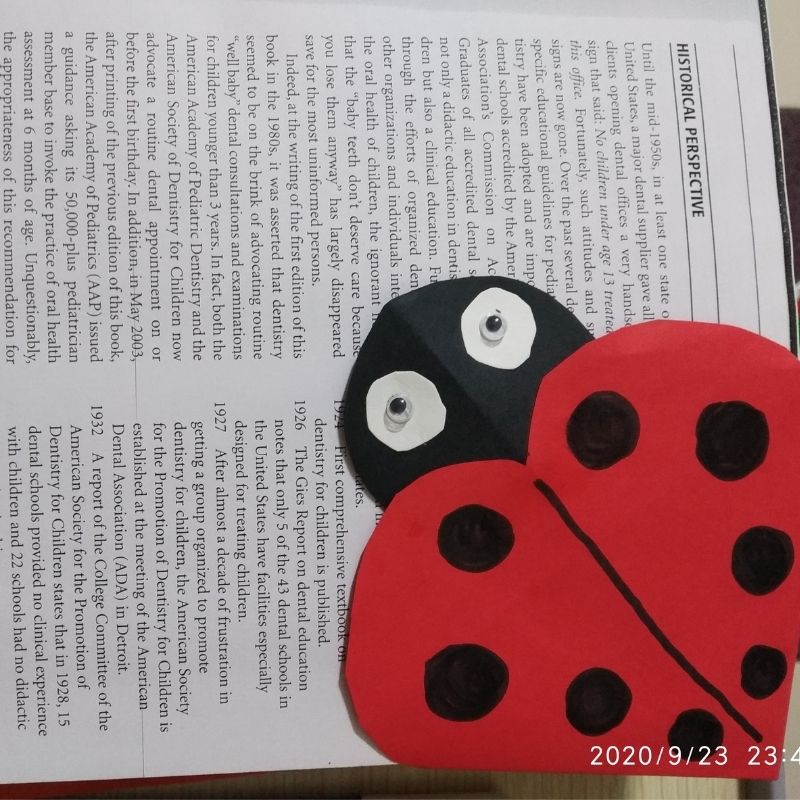
Try for yourself!
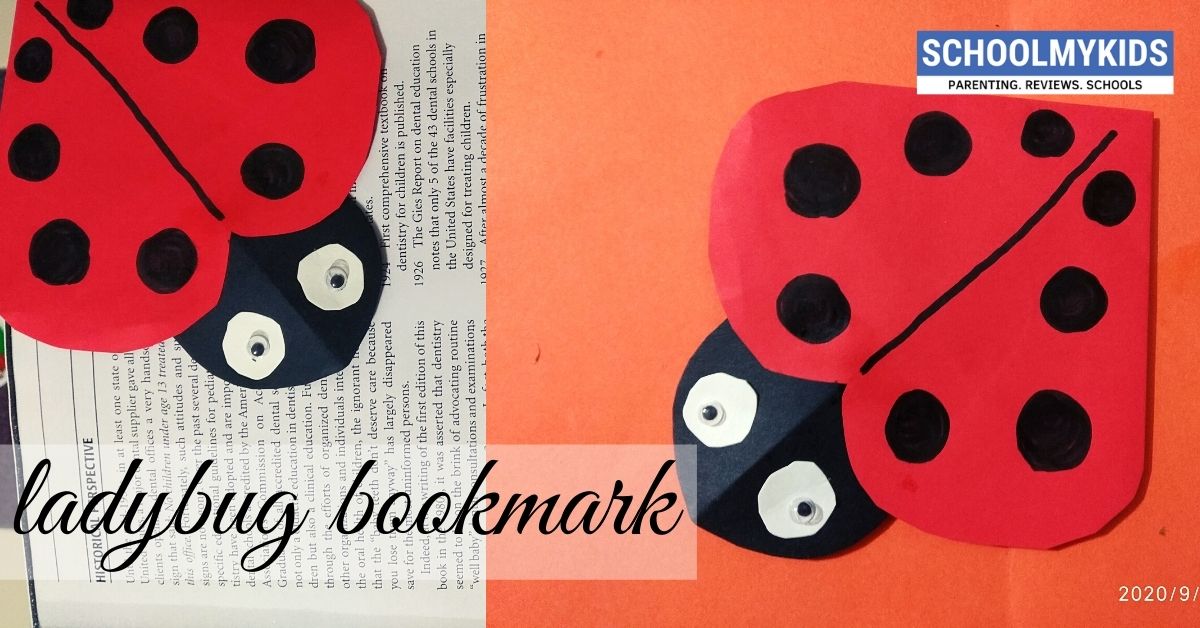




Be the first one to comment on this story.