Flowers are beautiful. They are colourful and eye-pleasing. They simply enhance the beauty of our vases, porches, pots and so many things. Perfect to gift to our loved ones too.
Today let’s make a beautiful paper flower which would stay with us and never wither away. We can use them to decorate our living areas or our cozy corners of the house. You can even use it as a wall hanging too by adding some elements to it. Let’s know more about it.
Follow these simple steps to make your paper flowers.
Materials Required to Make DIY Paper Flowers
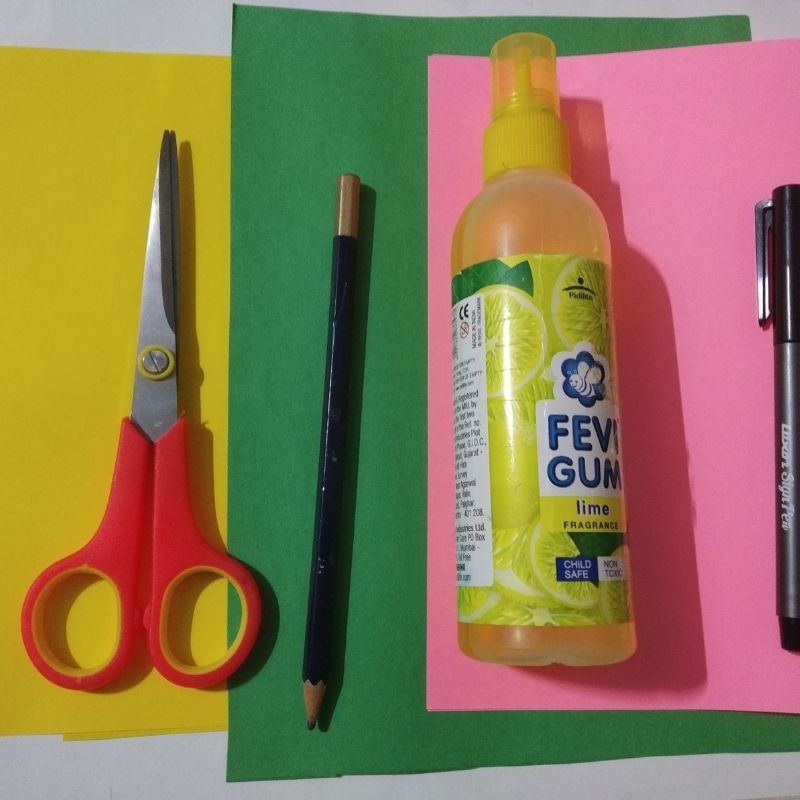
- Pink paper
- Yellow paper
- Green paper
- Sketch pens
- Pencil
- Scissors
- Glue
How to Make DIY Paper Flowers Step by Step
- Take a pink paper and cut around 5 circles out of this sheet.
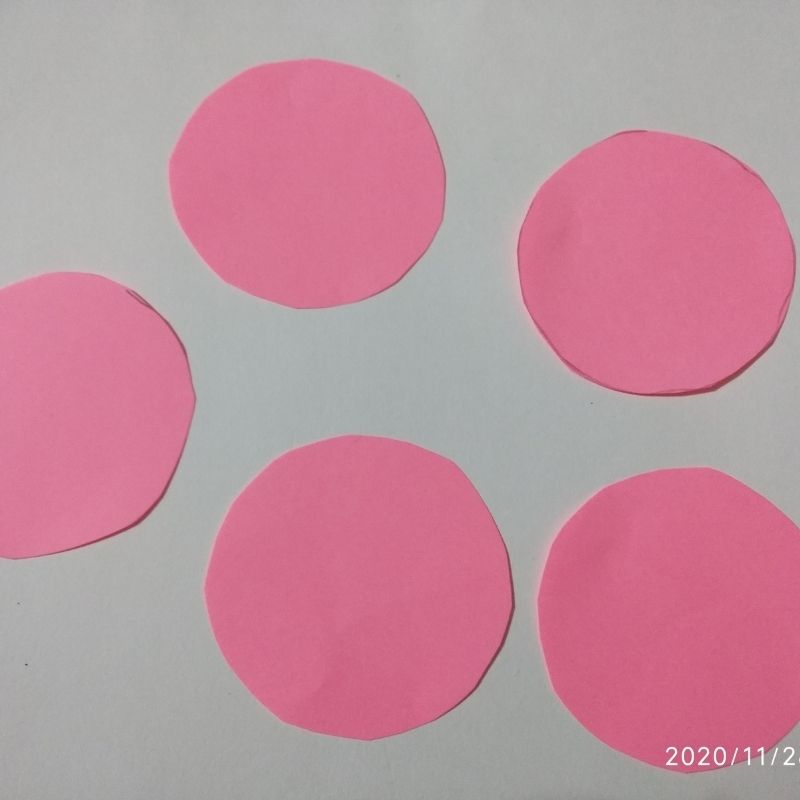
- These circles are the base of our flower petals
- The size of the circle can be 8cm in diameter or a little less.
- Now fold these circles into half.
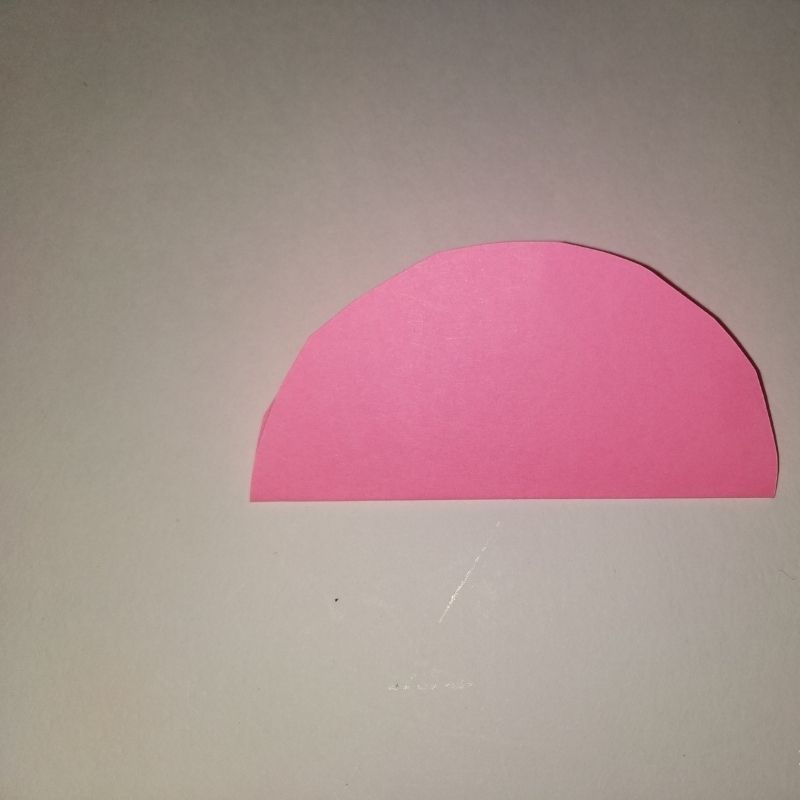
- Next, fold these circles into half again. Now you will have a four-fold of the circle ready.
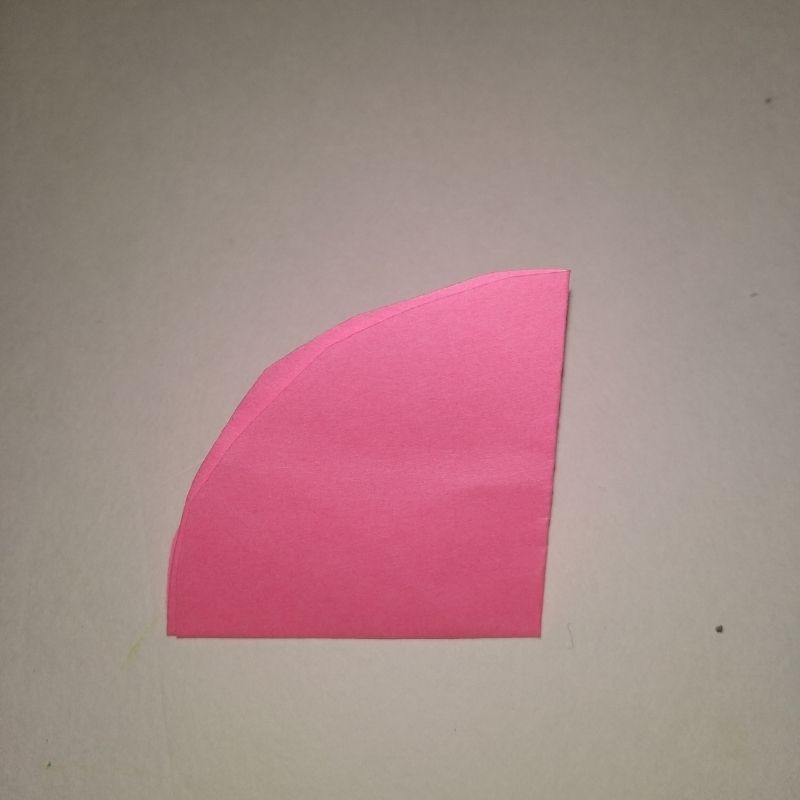
- Once you fold this portion, next fold the two sides.
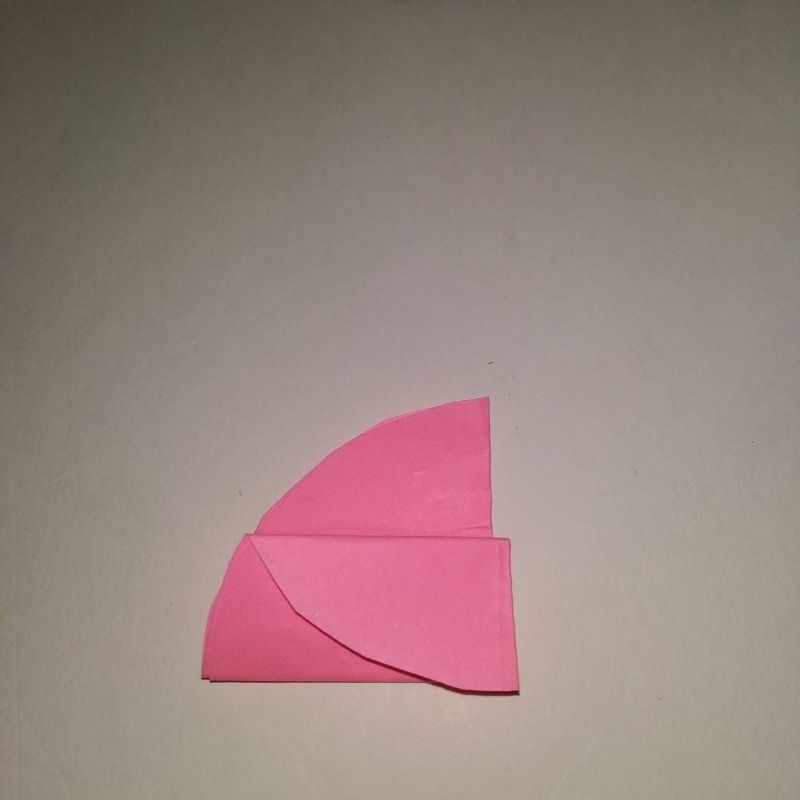
- Stick and hold the two ends together with a tape or glue.
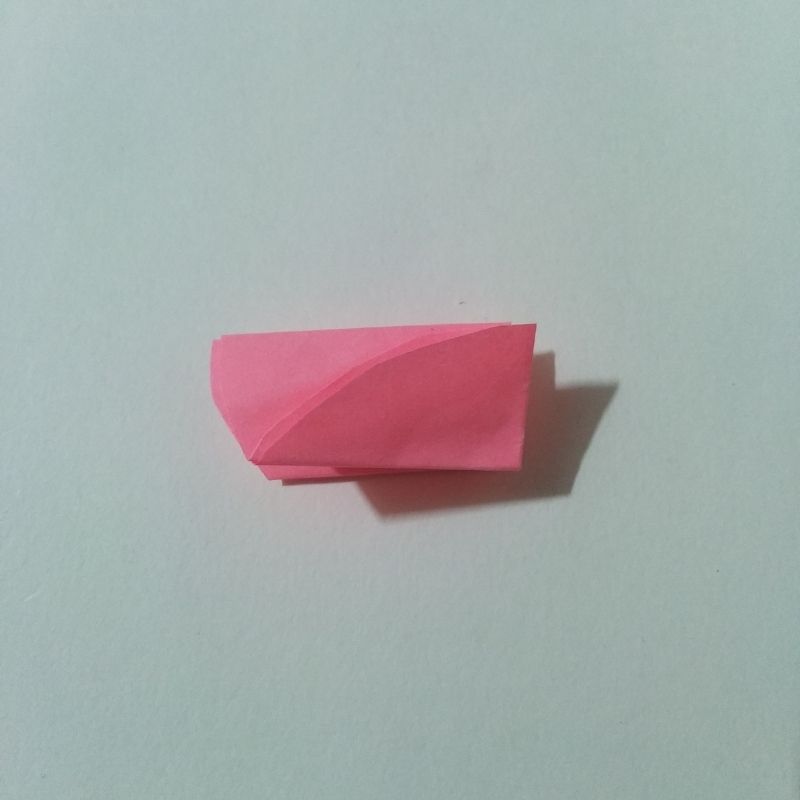
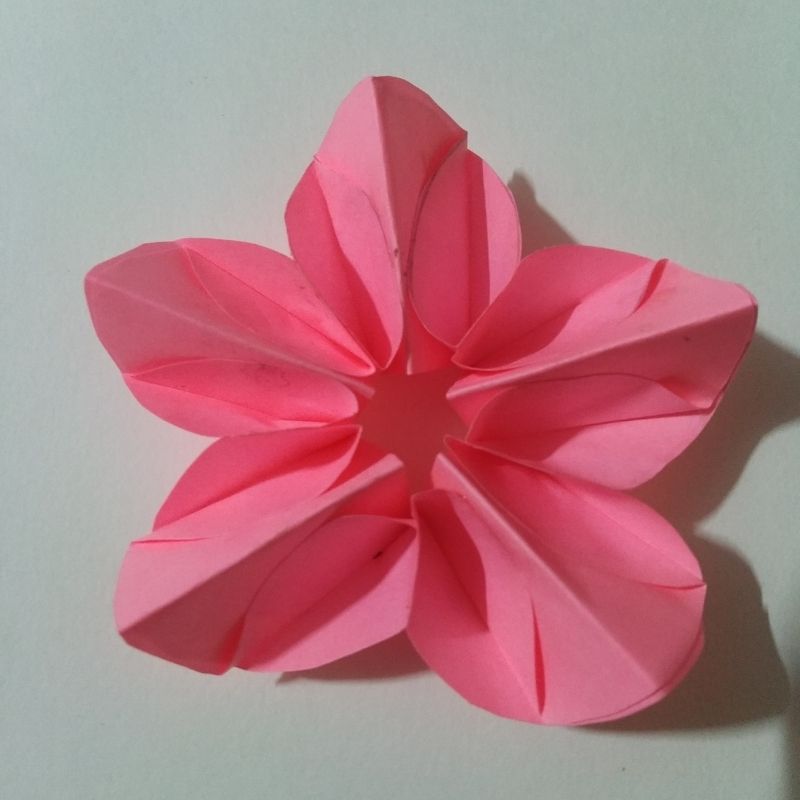
- Open this portion of the paper and see the beautiful petal of a flower bloom.
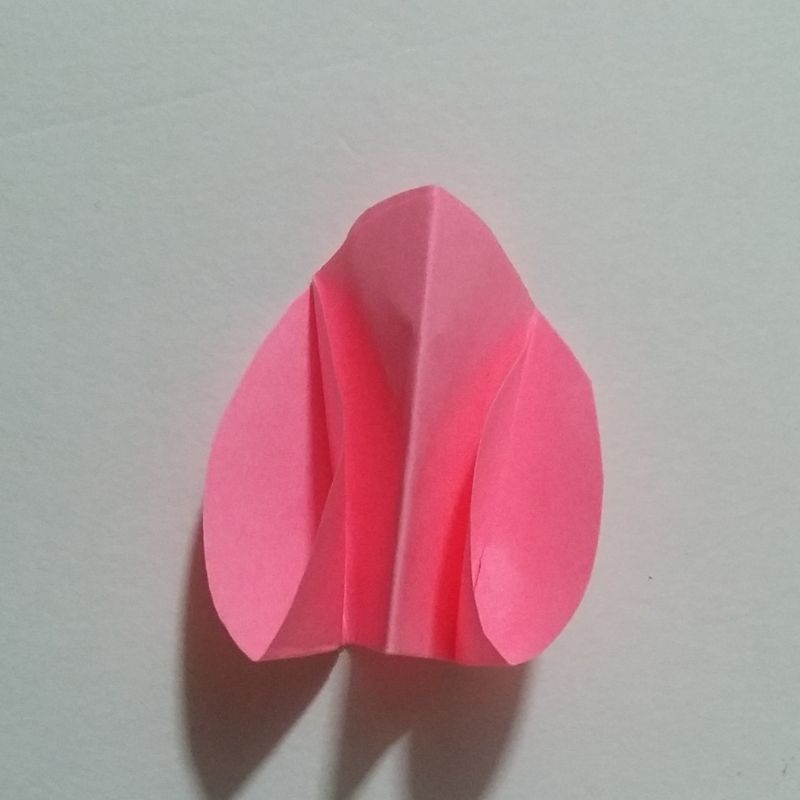
- Once you open the petal you will have a convex portion in the middle and two side portions of the petal.
- Follow the same step with remaining circles and make 5 metals in total.
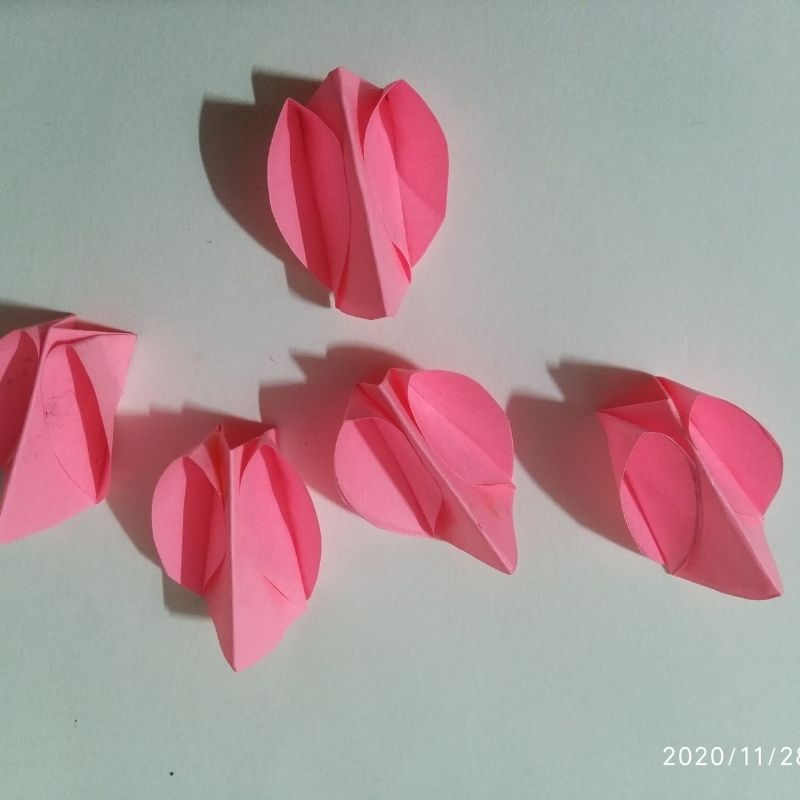
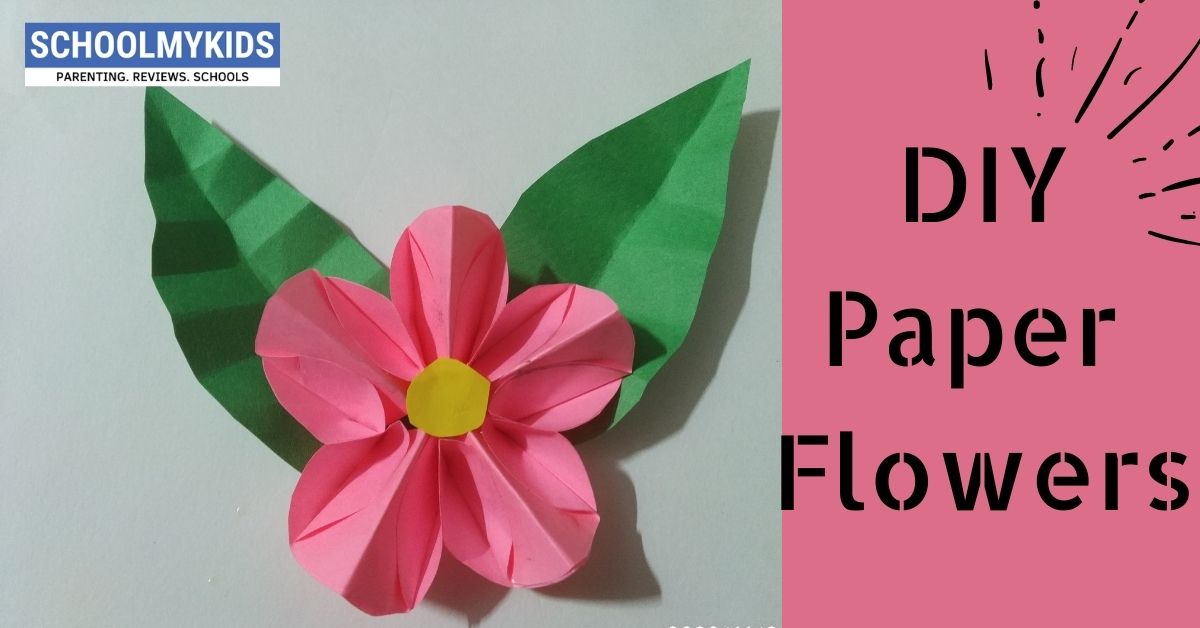
- Now stick the five petals edge to edge and make a beautiful paper flower of it.
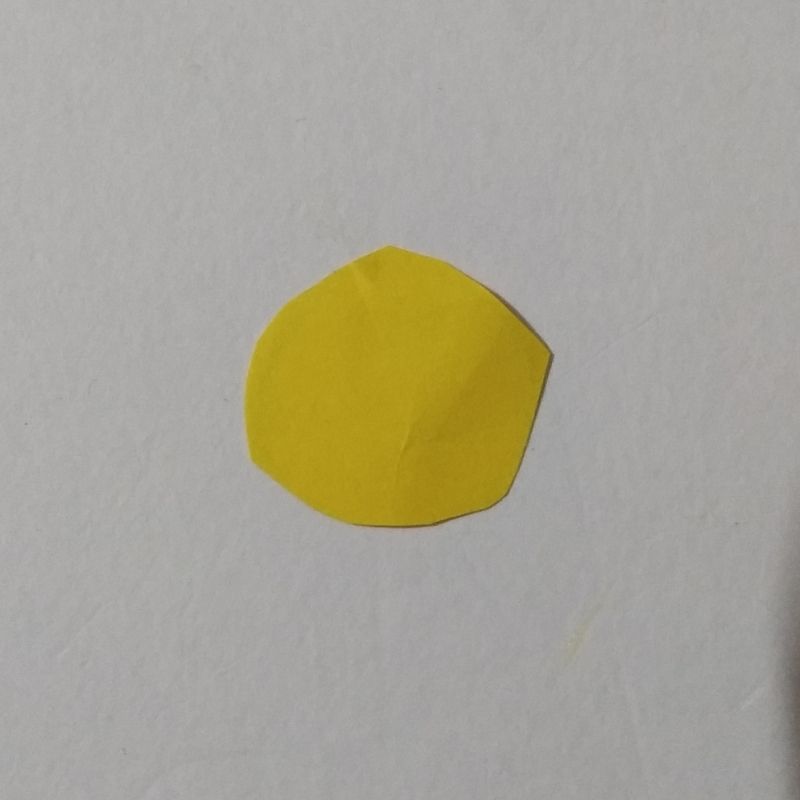
- Next, use a yellow sheet of paper to cut the pollen of the flower as a circle and stick it in the centre.
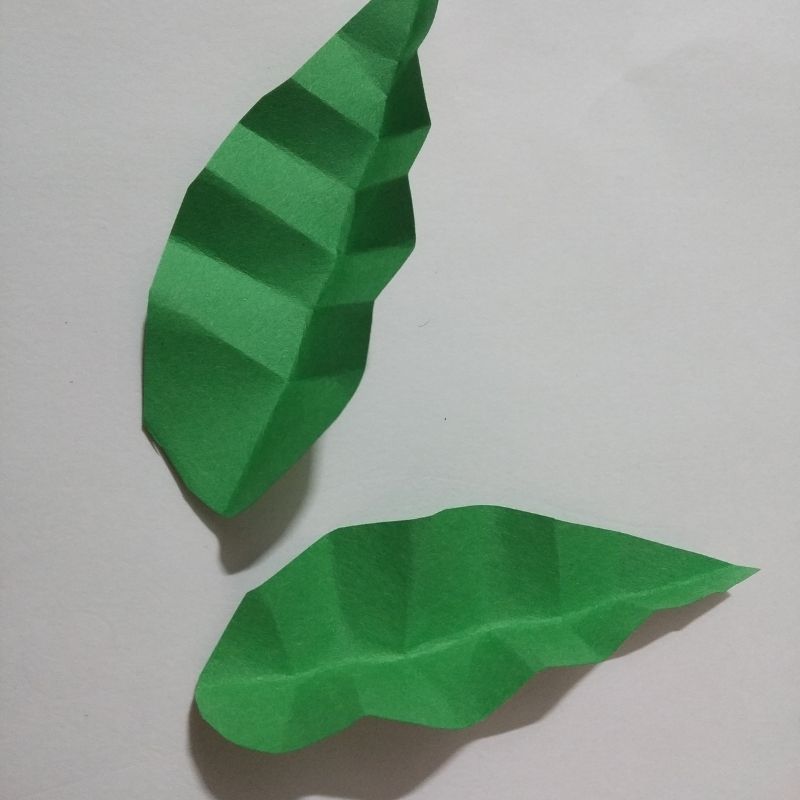
- Once done you can use a green sheet of paper to make few leaves and stick it at the base of the flower.
- Your beautiful paper flower is now ready kids.
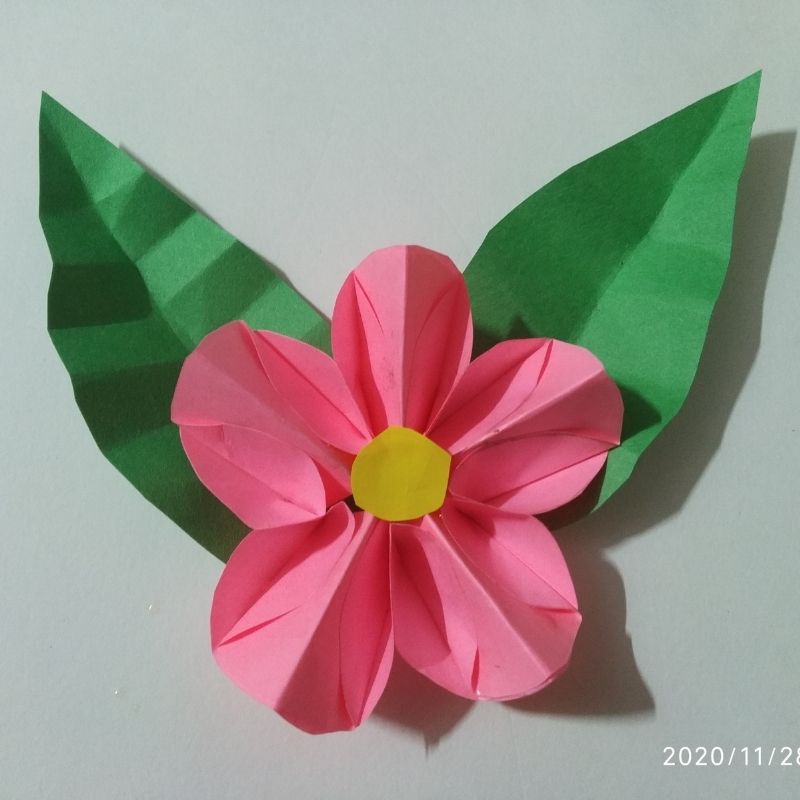
Enjoy!





Be the first one to comment on this story.