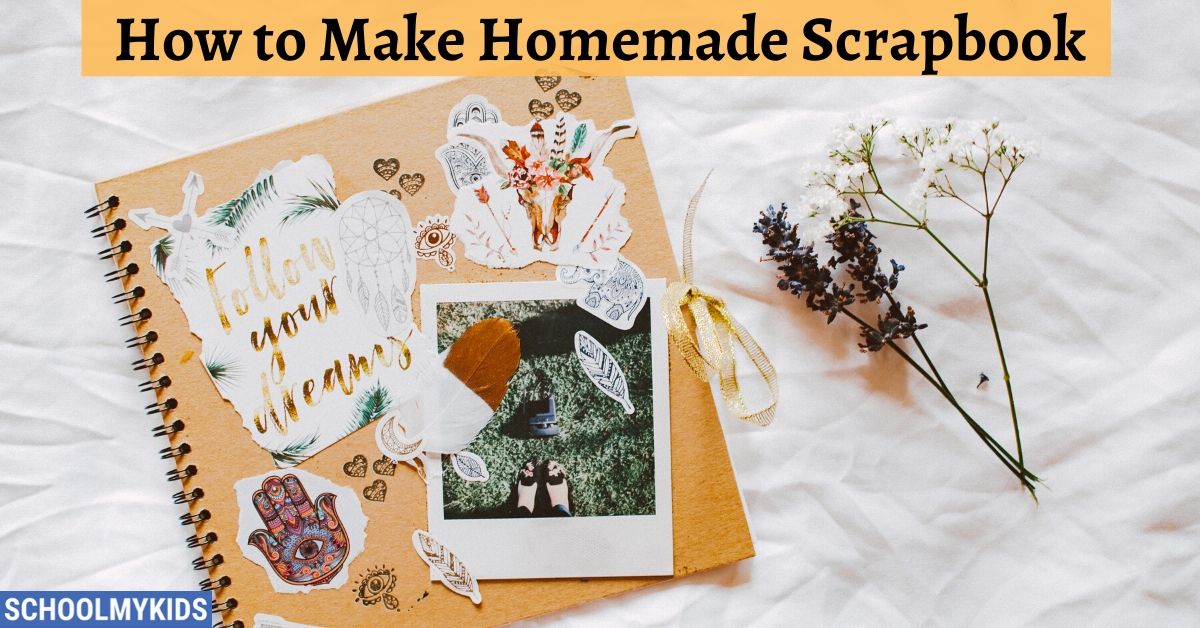
The scrapbook is the best way to collect memories. These albums make wonderful gifts for family members, friends and relatives. Make Scrapbook easily at home with all simple materials and capture moments which are close to your heart. You can also explore more activities for kids.
How To Make Homemade Scrapbook
1. Pick up a theme
It’s important to first pick a theme. The theme may be general or any specific occasion. It can be anything like a wedding album, family album, children photo album, holiday celebration or any other particular occasion.
2. Draft a list of stories to include in the album
After deciding the theme, draft stories that you want to tell in your album. Jot down all the important points of stories. The stories can be a full tale, one-word description or brief descriptions. Also, decide how many pages you want to devote to each story.
3. Select photos
After deciding stories, select photos related to that story from your albums. At first, gather a large number of photos from your album that you like and then sit down and sort photos which are related to the story and more close to your heart .
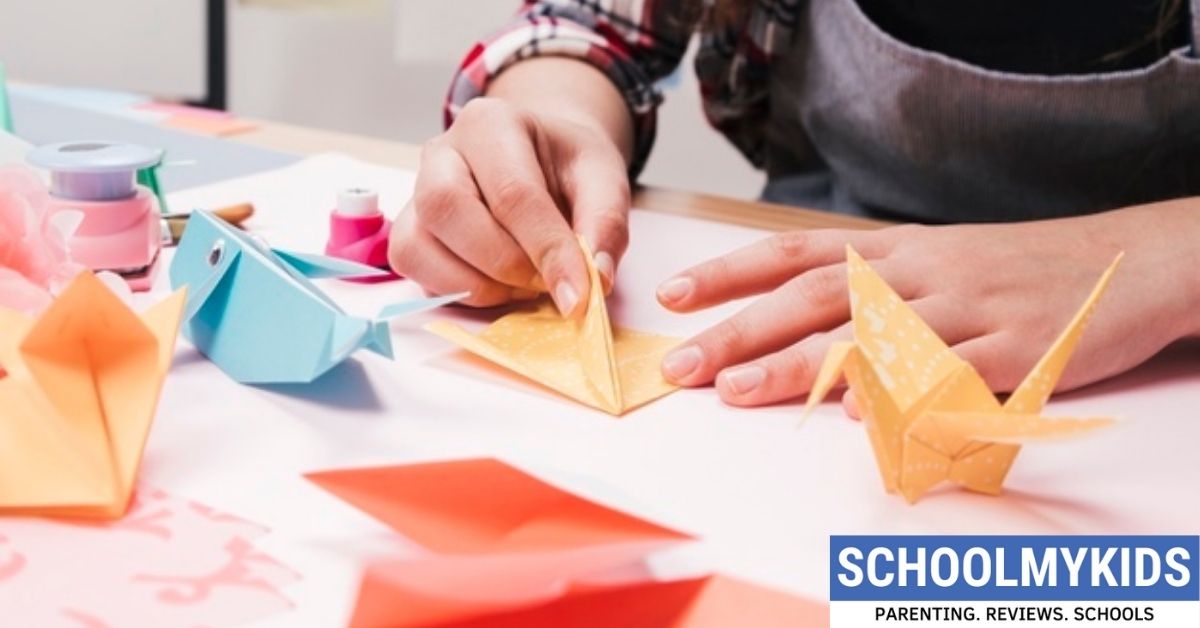
4. Arrange paper, embellishments and crafting tools for your scrapbook
Once you are settled with theme, stories and pictures, It’s time to arrange paper, embellishments and other crafting tools for your scrapbook. Pick up embellishments or tools that complement your themes or stories like glitter, cardstocks, stones, pens, colours, stickers, stamps, papers etc.
Buy good quality waterproof paper so that your scrapbook will be preserved.
5. Pick out an album
There are different sizes of a scrapbook-like 10×10 inches, 12×12 inches etc. They are not one size fits all. It depends on how many pictures you want to fit on one page and also make sure that you buy an album with the perfect binding in which you can add or remove pages properly.
If you want to fit several images then 12×12 inches is an ideal size.
6. Design page layouts
Before cutting materials and pages, it is important to design the page layout to prevent you from wasting things. First, experiment with the position, headings, embellishments and when you find the perfect layout jot down the relevant dimensions and take picture of the layout to use a reference.
7. Crop and glue your photos
Once you are done with the page layout. Now, crop and glue your photos on the album. Decorate it and create borders.
8. Add a title for each story or page
After pasting your pictures, give a relevant title to a specific story or heading on the page. To create a title, use pens, stamps, stickers, printed paper, cutouts.
9. Label your photos
Add names, dates, location and brief description to each picture. Write your stories that you jot down earlier. You may handwrite your story or also print it.
10. Use embellishments
After putting everything on-page, use some embellishments to decorate it like stickers, stamps, glitter pens, ribbon, cardstock papers.
11. Add protected pages to the album
At last when everything is done, it is important to add protected pages in the scrapbook to protect pictures and your stories and then store it in a dry environment.


Be the first one to comment on this story.