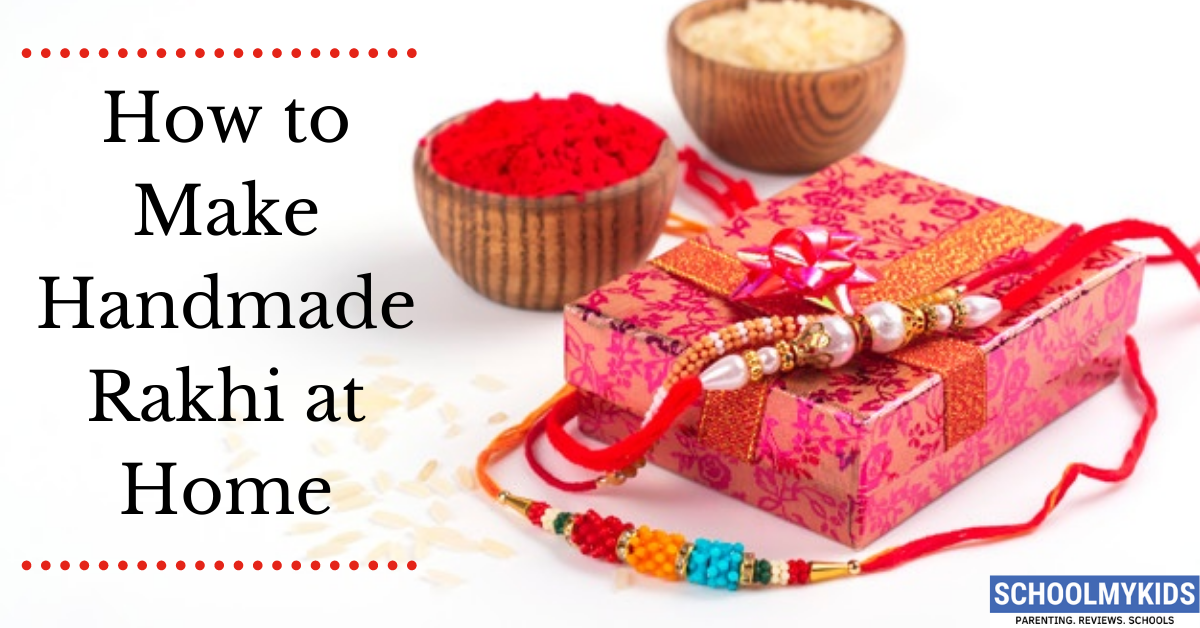
Raksha Bandhan is a festival that celebrates the bonding and love of brother and sister. So, this year, celebrate it by making a handmade Rakhi for your brother that he will remember it forever.
These DIY Rakhis are easy to make which you can easily do with your kids. So, get creative and involve your kids to make their rakhis.
Follow these step by step instructions and learn how to make beautiful handmade Rakhis at home
3 DIY Rakhi Designs
1. Animal Rakhi
Materials Required-
- Foam sheets
- Thread
- Black Pen
- Glue
- Eyes (optional)
- stones
How to make Animal Rakhi step by step-
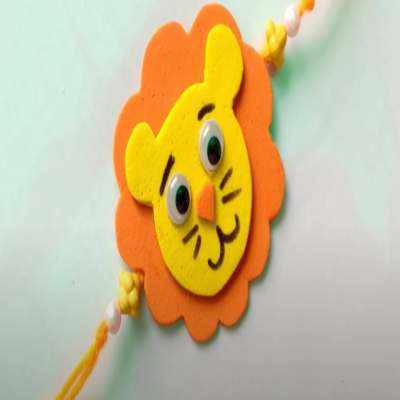
1. Draw Tiger face on a yellow foam sheet and cut it
2. Give it detailing with a black marker /pen like nose, mouth, eyebrows. Paste eyes (it’s optional). You can make eyes with a black pen as well
3. Now, cut an orange circle from foam sheet
4. Paste tiger face on the orange circle and yellow thread at the back of the orange circle.
5. In this way, you can make Animal Rakhis. Replace Tiger with Lion, panda etc.
2. Mauli Rakhi
Materials Required-
- Mauli/Kalava
- Fabric glue
- White stones
- Thick sheet
How to make Mauli Rakhi step by step-
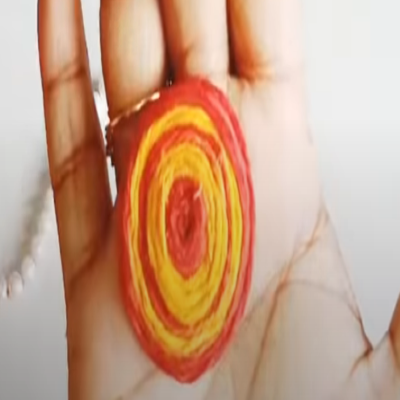
1. Take Mauli and fold it 5 times so that it becomes thick
2. Now, take a small circled thick sheet and start pasting the Mauli on the sheet using fabric glue. It will look like this
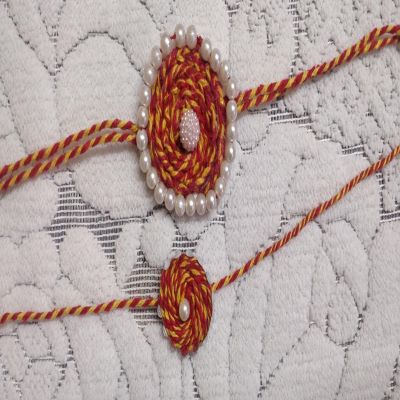
3. Paste white pearls all around the corner in round shape
4. At the back, paste Mauli thread using fabric glue
5. Beautiful Mauli Rakhi is ready. Make it of any size and design
3. Stone Rakhi
Materials Required-
- Thread
- Pearl
- Endcap
- Stone
- Stone ring
- Stopper
How to make Stone Rakhi step by step-
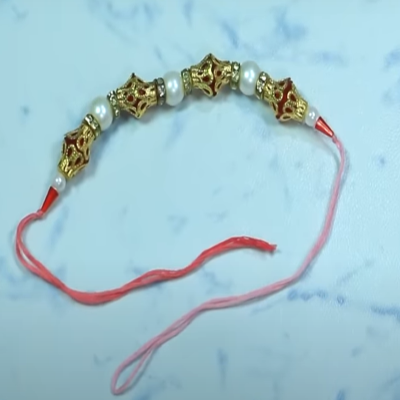
1. Take a thread. Make a knot at one end and put the needle at the other end
2. From the needle side, start putting stones, pearls, end cap, stone ring and stopper. Make a sequence of your preference. At the end make a knot on the other side as well
3. Stone Rakhi is ready






Be the first one to comment on this story.