HO! HO! HO! Decorating the Christmas tree is a must ritual for every Christmas. Some people have trees in their gardens, some prefer artificial one’s and so on. Going eco friendly is the need of the hour! What if we make our pretty little Christmas tree at home? Yes, we can certainly use paper! One thing that makes Christmas so special is the Christmas tree! Yeah, we decorate it with so many ornaments and handmade articles!
Let’s make a Christmas tree using colourful papers and decorate our desks, living rooms and cozy areas of our homes with this beautiful and creative paper Christmas tree.
Check out other Christmas crafts as well.
Materials Required to Make Paper Christmas tree
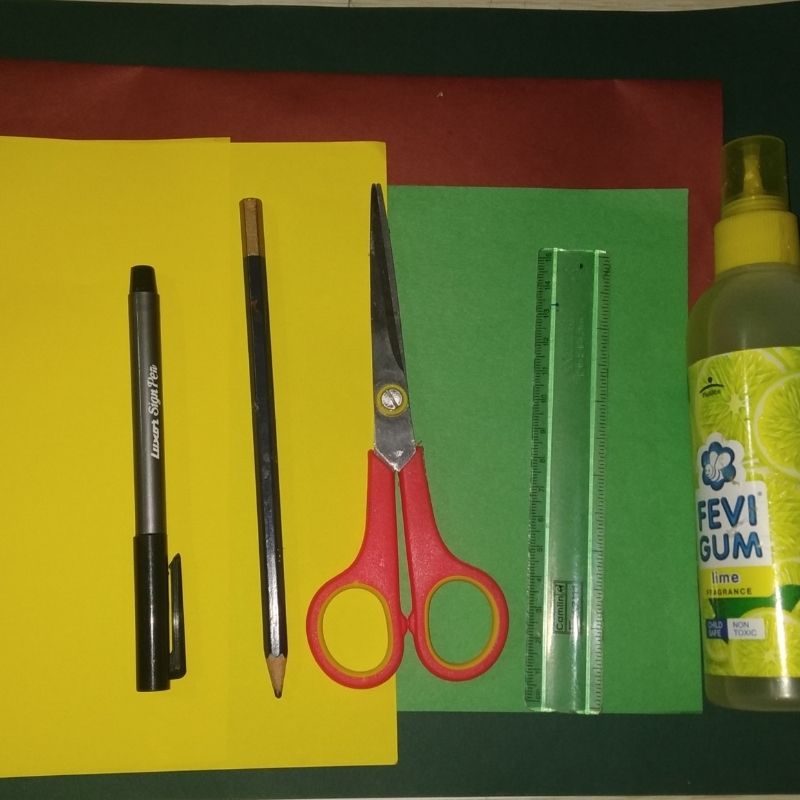
- Green paper dark and light (2shades)
- Yellow paper
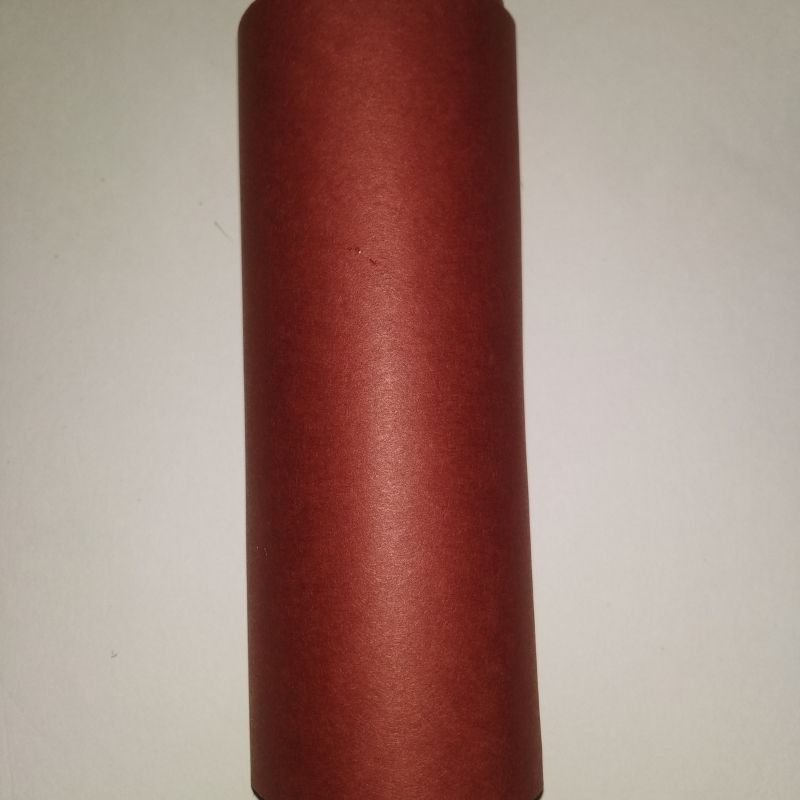
- Brown paper
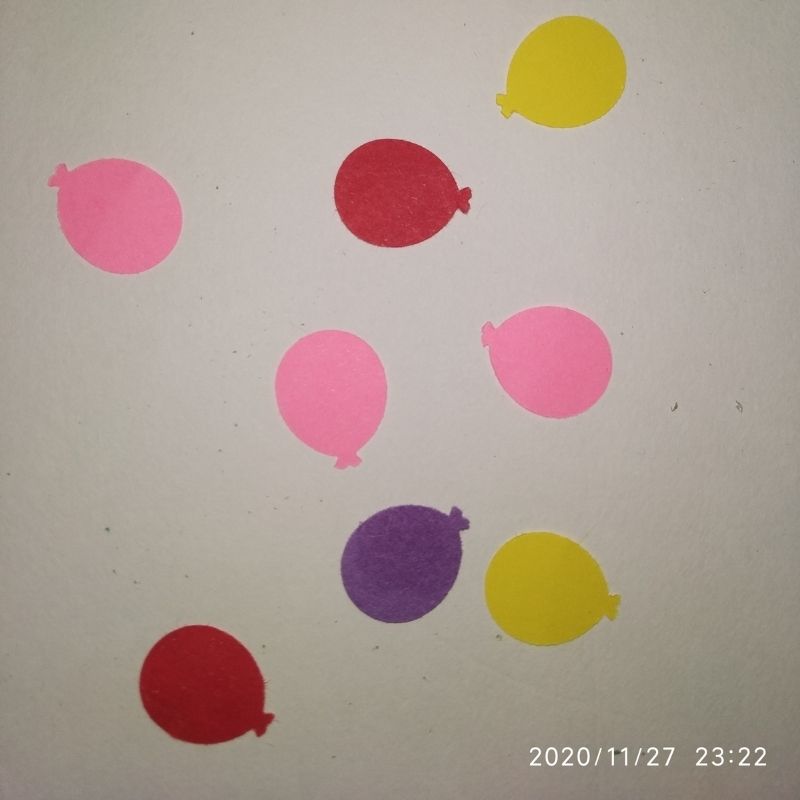
- Colourful paper polka dots or small cut circles.
- Sketch pens
- Pencil
- Scissors
- Glue
How to Make Paper Christmas Tree Step by Step
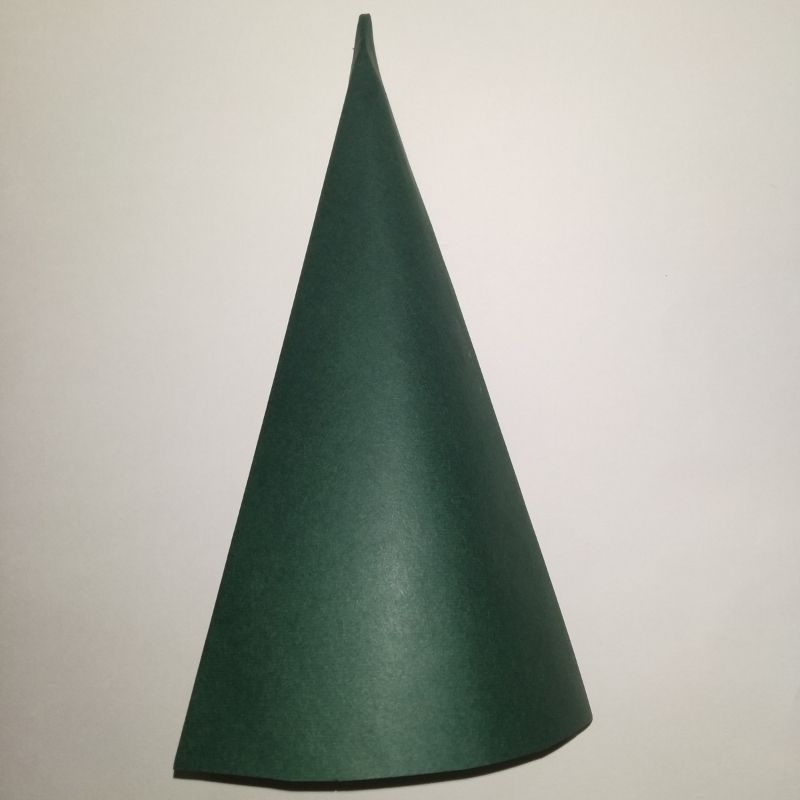
- Take a green square sheet of paper. The preferred size is around 15cm.
- Next, fold it into a cone and stick the ends of the cone and keep aside.
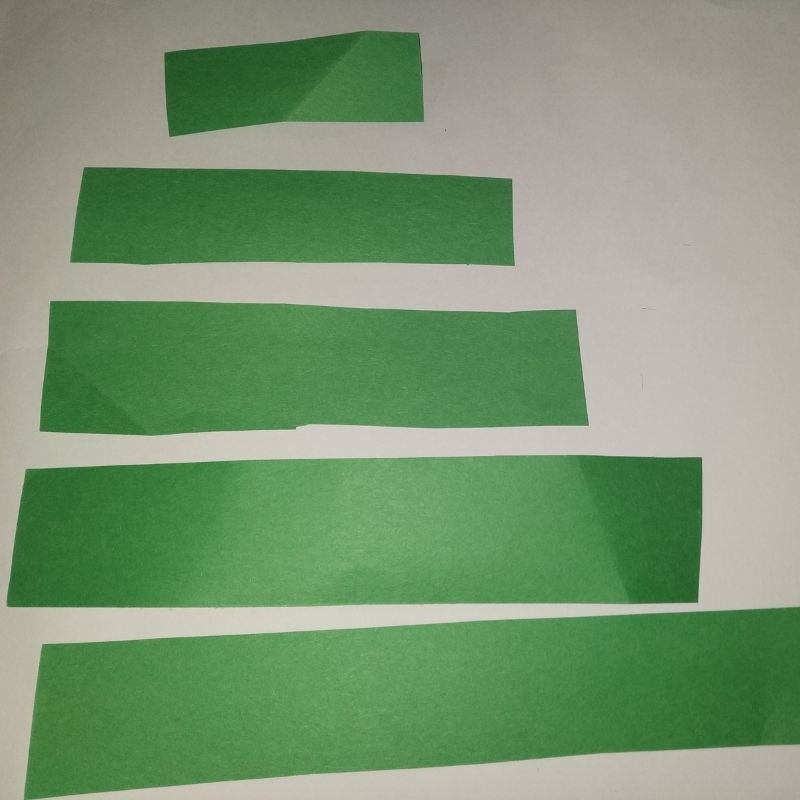
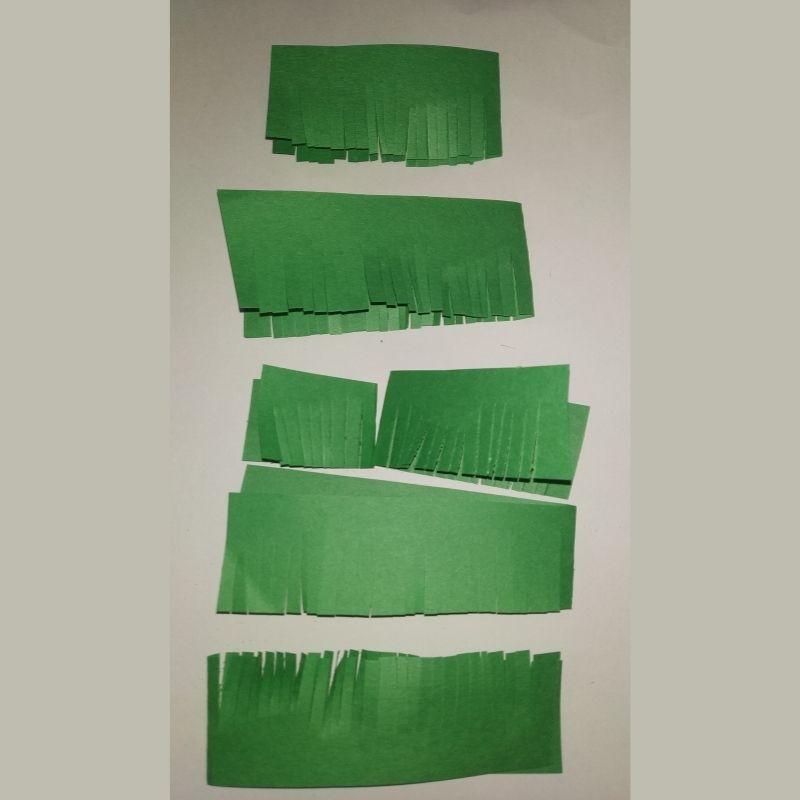
- After this, choose a lighter shade of green and cut rectangular strips of these.
- The length of the strips should be the same as that of the base of the cone and accordingly reduce the length as the size tapers till the top.
- Make around 5-6 strips ready a per the circumference of the cone from base to top.
- Now fold these strips into half and cut tassels all over the strip leaving a small part on the top to stick it to the cone
- Follow this step with every strip.
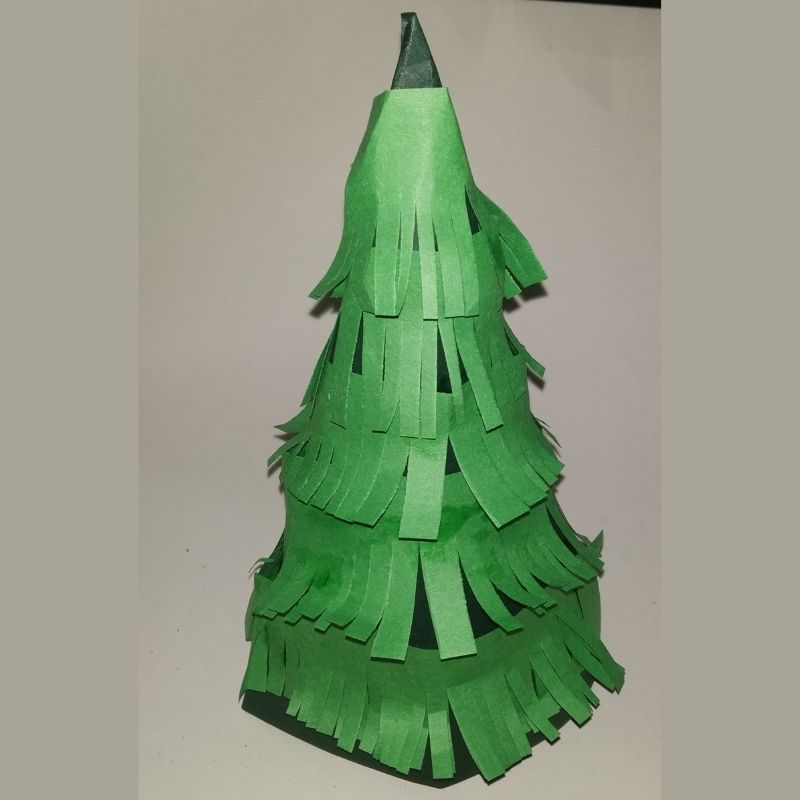
- Curl the tassels outwards to give a layered pine tree appearance to the tree.
- Next, start with the bigger strip and stick the tasselled strip at the base, followed by smaller strips till the top one by one.
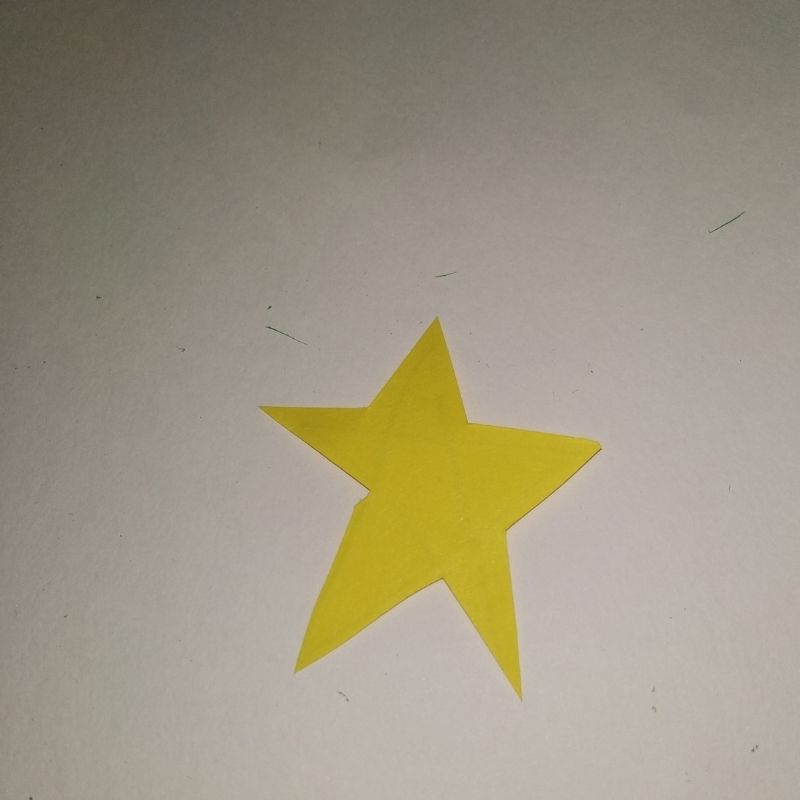
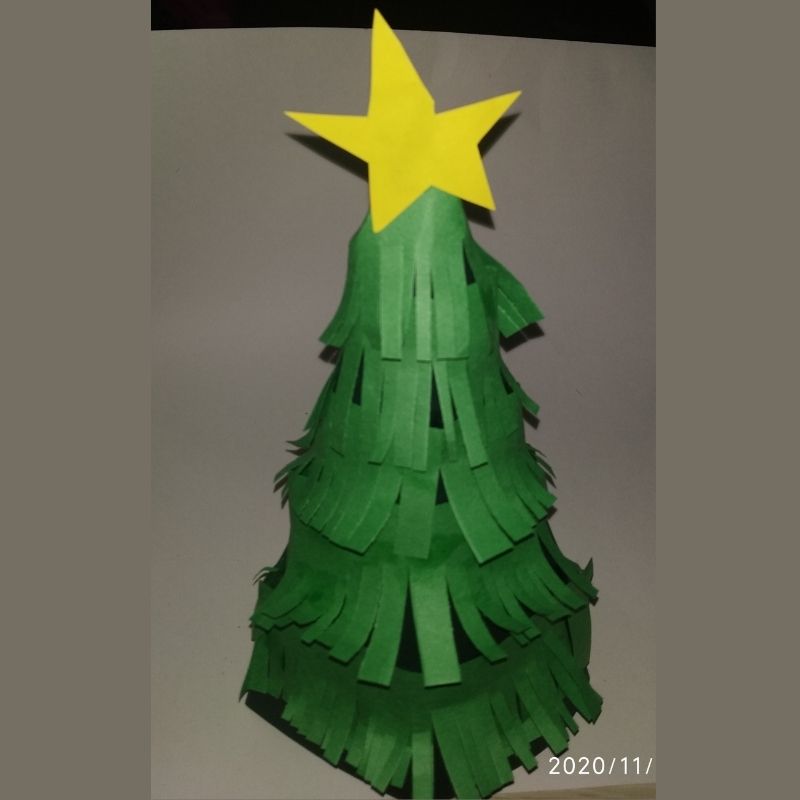
- Next, take a yellow sheet of paper and cut a five-pointed star and stick it on the top of the tree.
- Now add colourful small cut circles or polka dots on the tasselled layers to give the feel of a decorated Christmas tree.
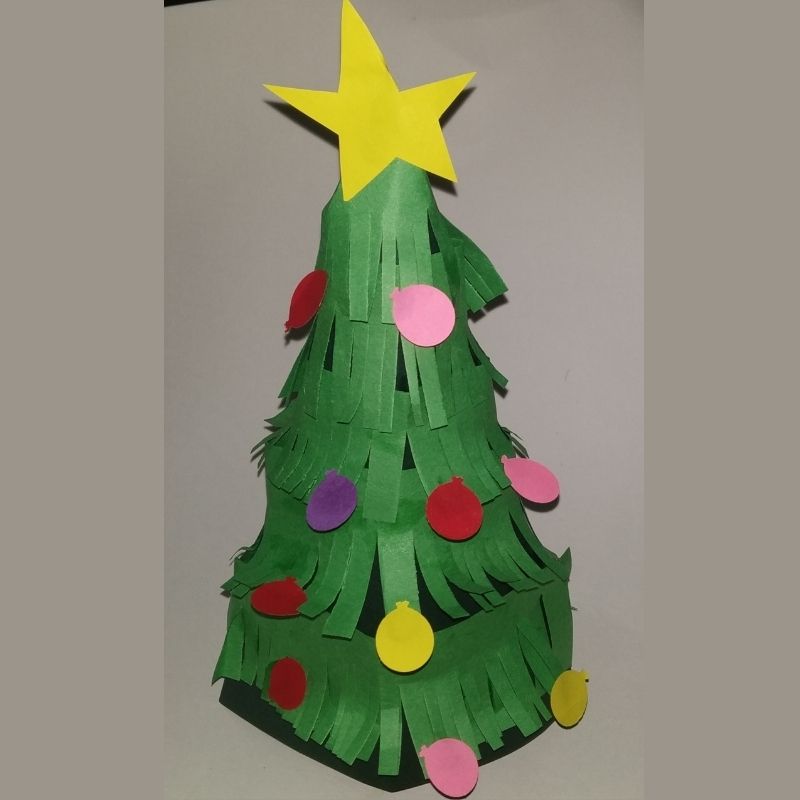
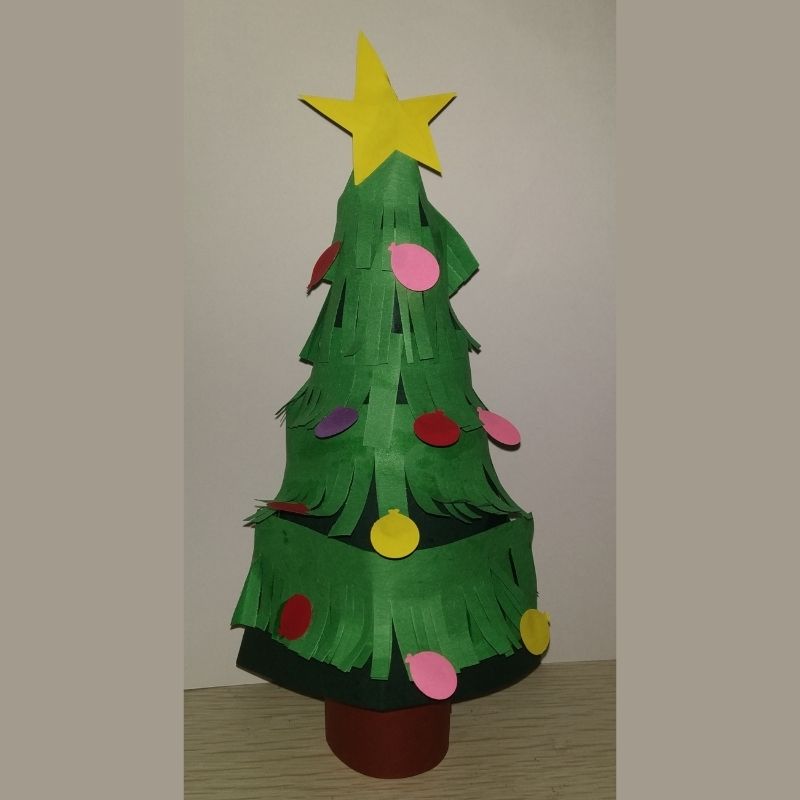
- Finally, take a brown sheet of paper and roll it to form a cylinder. Stick this cylinder inside the cone to form the bark of the Christmas tree.
- That’s it, kids! Your beautiful paper Christmas tree is now ready!


Be the first one to comment on this story.