Hello kids! Halloween is fun with spooky ghosts, trick or treats smelly feet and much more surprises. Kids love it. Although in India we don’t celebrate it much whilst abroad it is a grand event. People dress up like spooky ghosts and celebrate it with pumpkin lanterns and much more exciting ideas. So today let’s make a spooky yet fun Halloween handprint card and celebrate it creatively with our friends.
Follow the steps to know how to make handprint DIY Halloween card.
Materials Required to Make Handprint Halloween Card
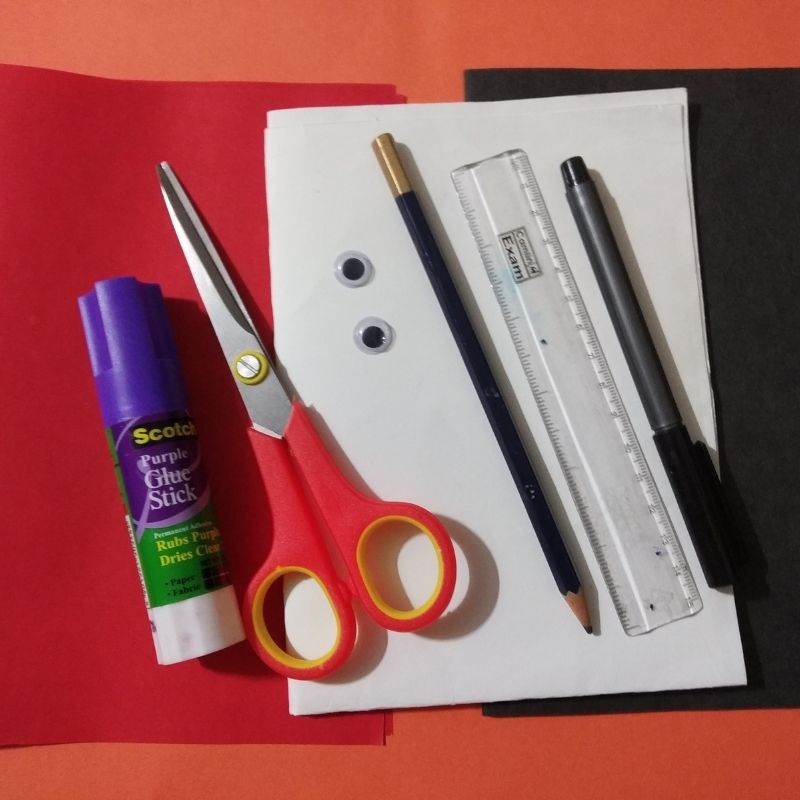
- White paper
- Red paper
- Black paper
- Googly eyes
- Ruler
- Sketch pens
- Pencil
- Scissors
- Glue
How to Make Handprint Halloween Card Step by Step
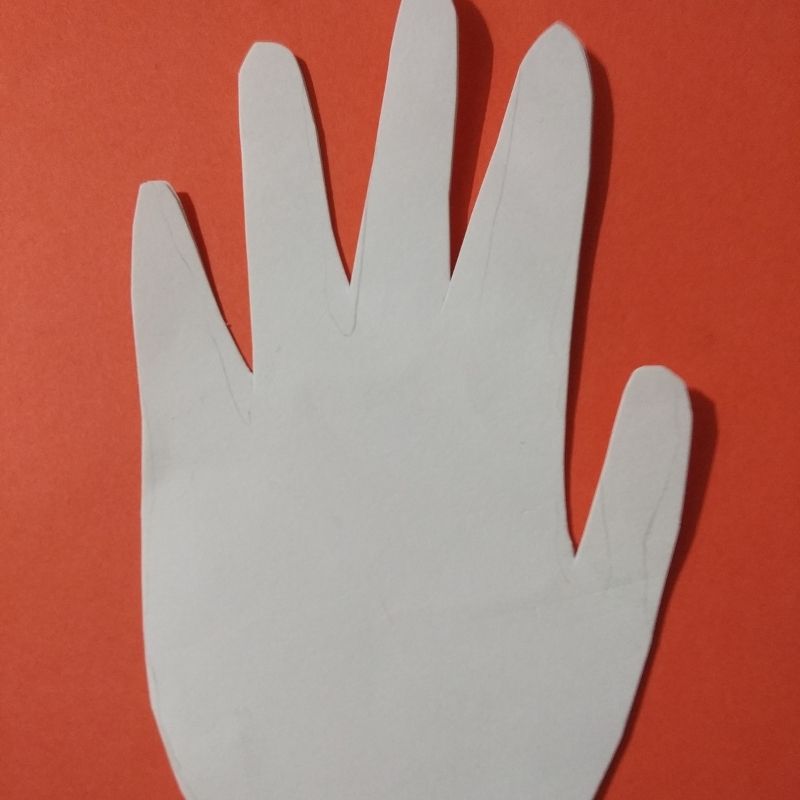
- Take a white sheet preferably A4 size folds it into half and draw your handprint on it.
- Next cut this and you will now have a handprint card ready.
- Next, draw and cut the portion of your fingers on black paper and stick them on the handprint card.
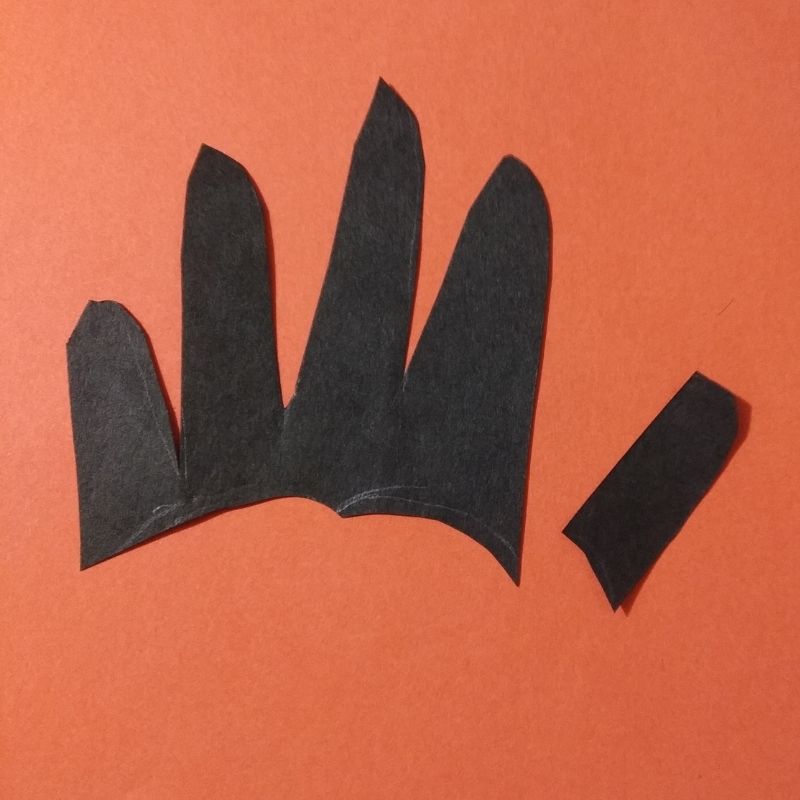
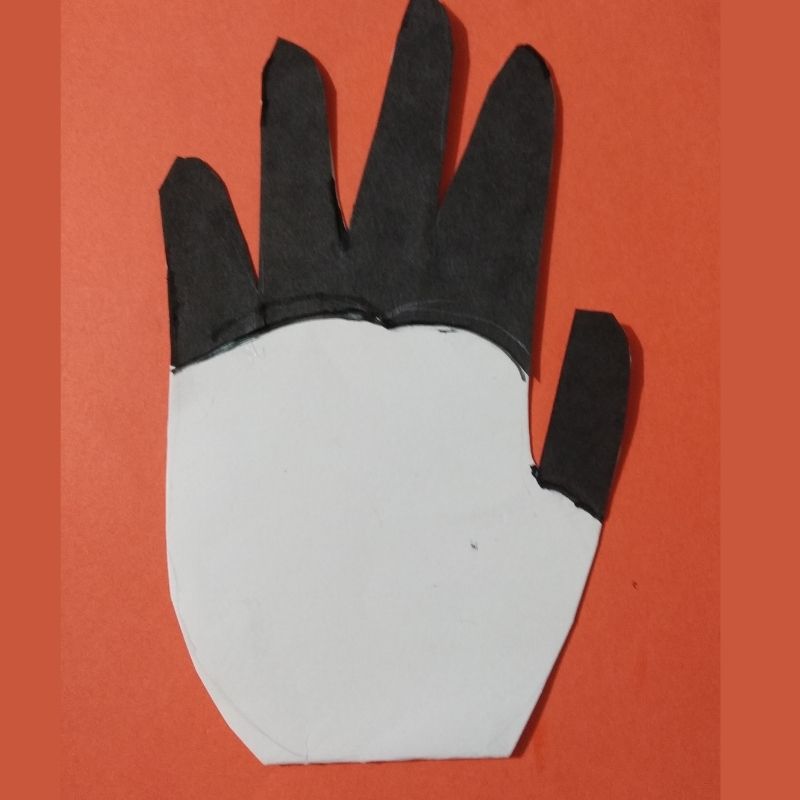
- Now you have a vampire card ready with the face and the black hair.
- Next, stick googly eyes on the face, cut two small triangular canines or pointed teeth out of white paper and stick them beneath the smile line in black.
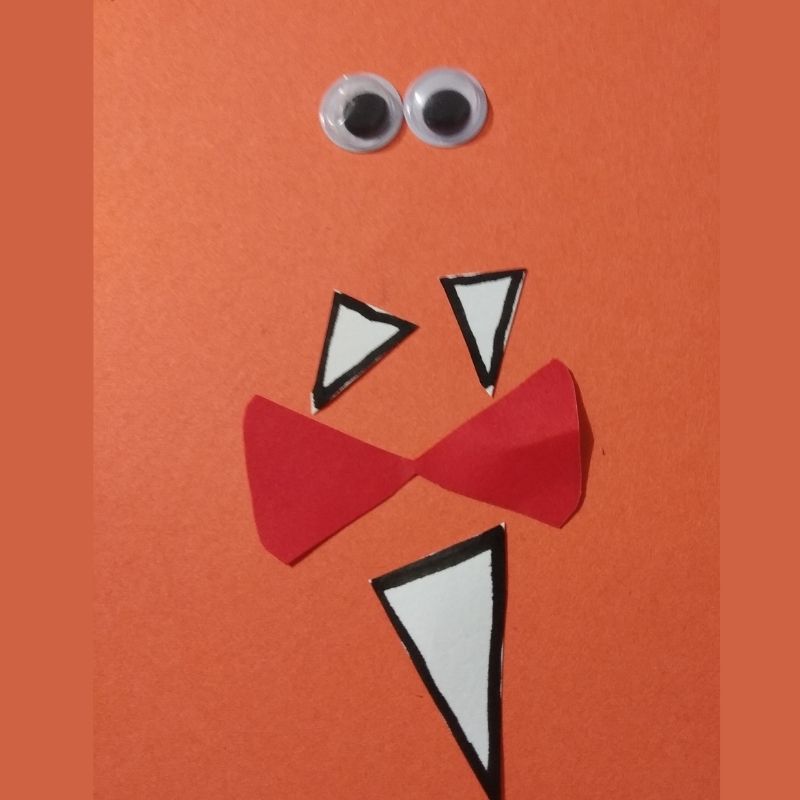
- You can use a red colour sheet to make a bowtie. Cut this and stick it on the lower portion of the face near the neck.
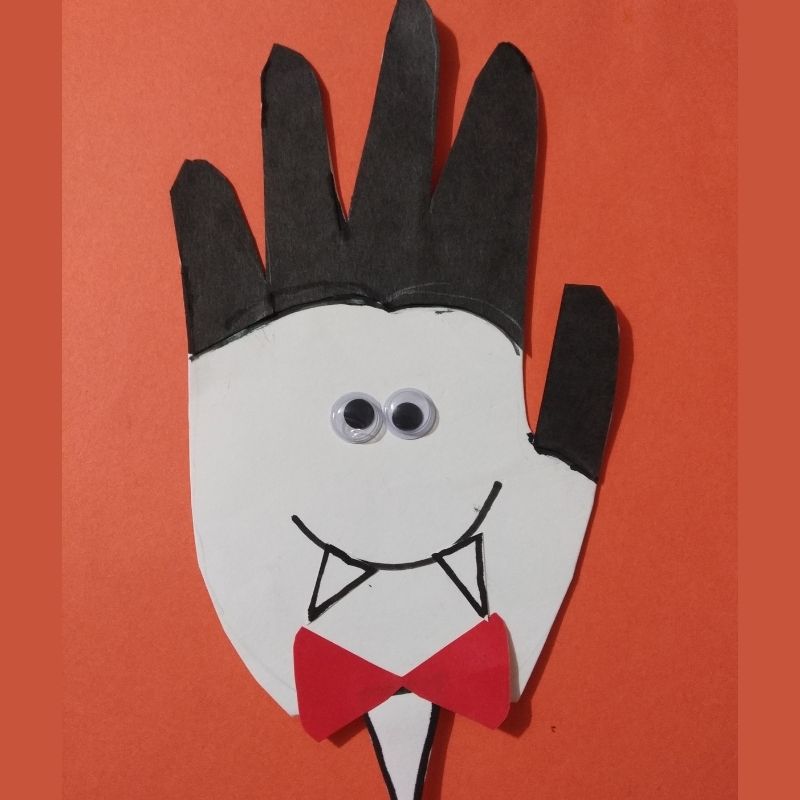
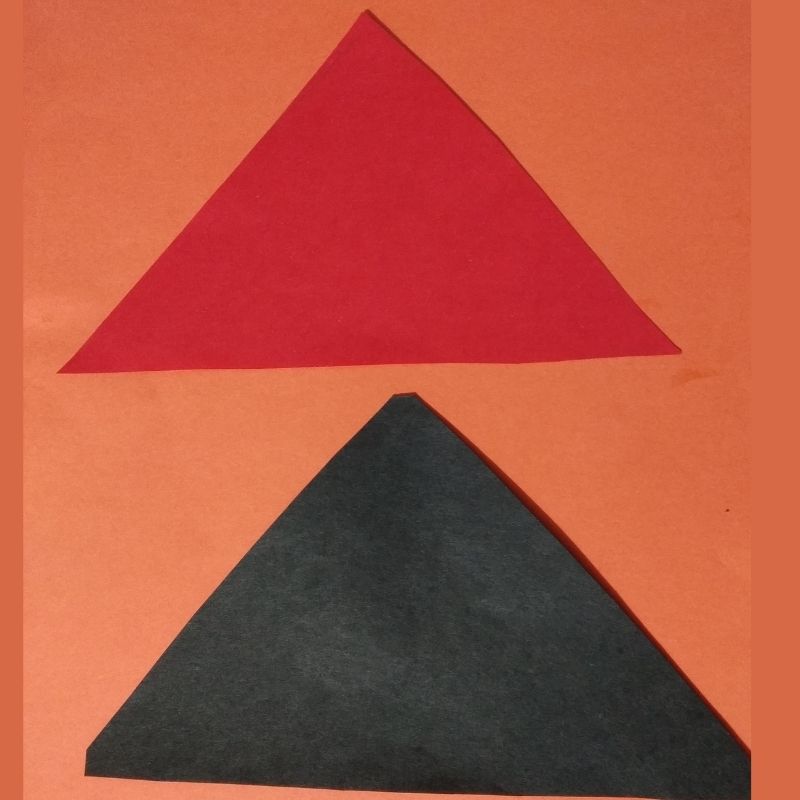
- Next, take a black sheet of paper and draw a triangle double the size of the handprint card. Cut it and keep aside.
- Next, draw a triangle smaller than the black triangle on a red paper and cut it as well.
- Now, stick the red triangle over the black triangle with its base pointing upwards.
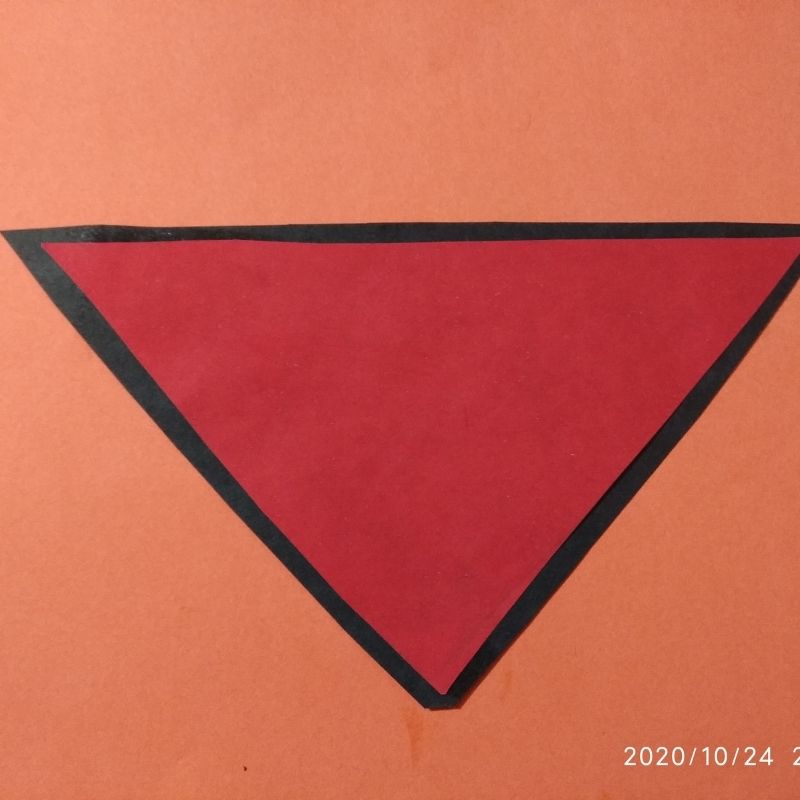
- Now stick the handprint card over this triangle base.
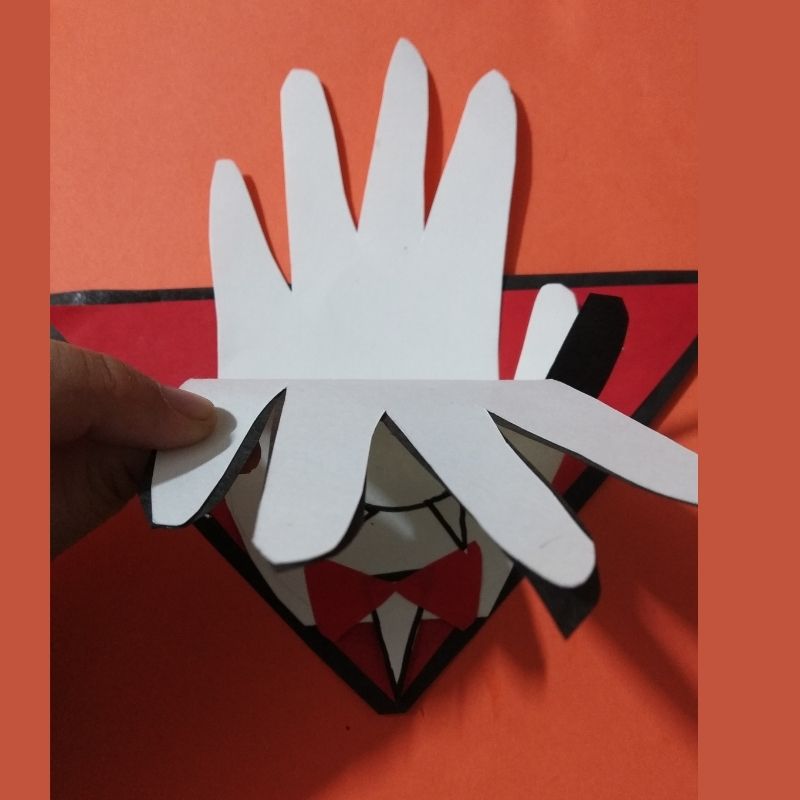
- That’s it, kids!
- Your spooky yet funny and creative Halloween gift card is now ready!

Try for yourself!



Be the first one to comment on this story.