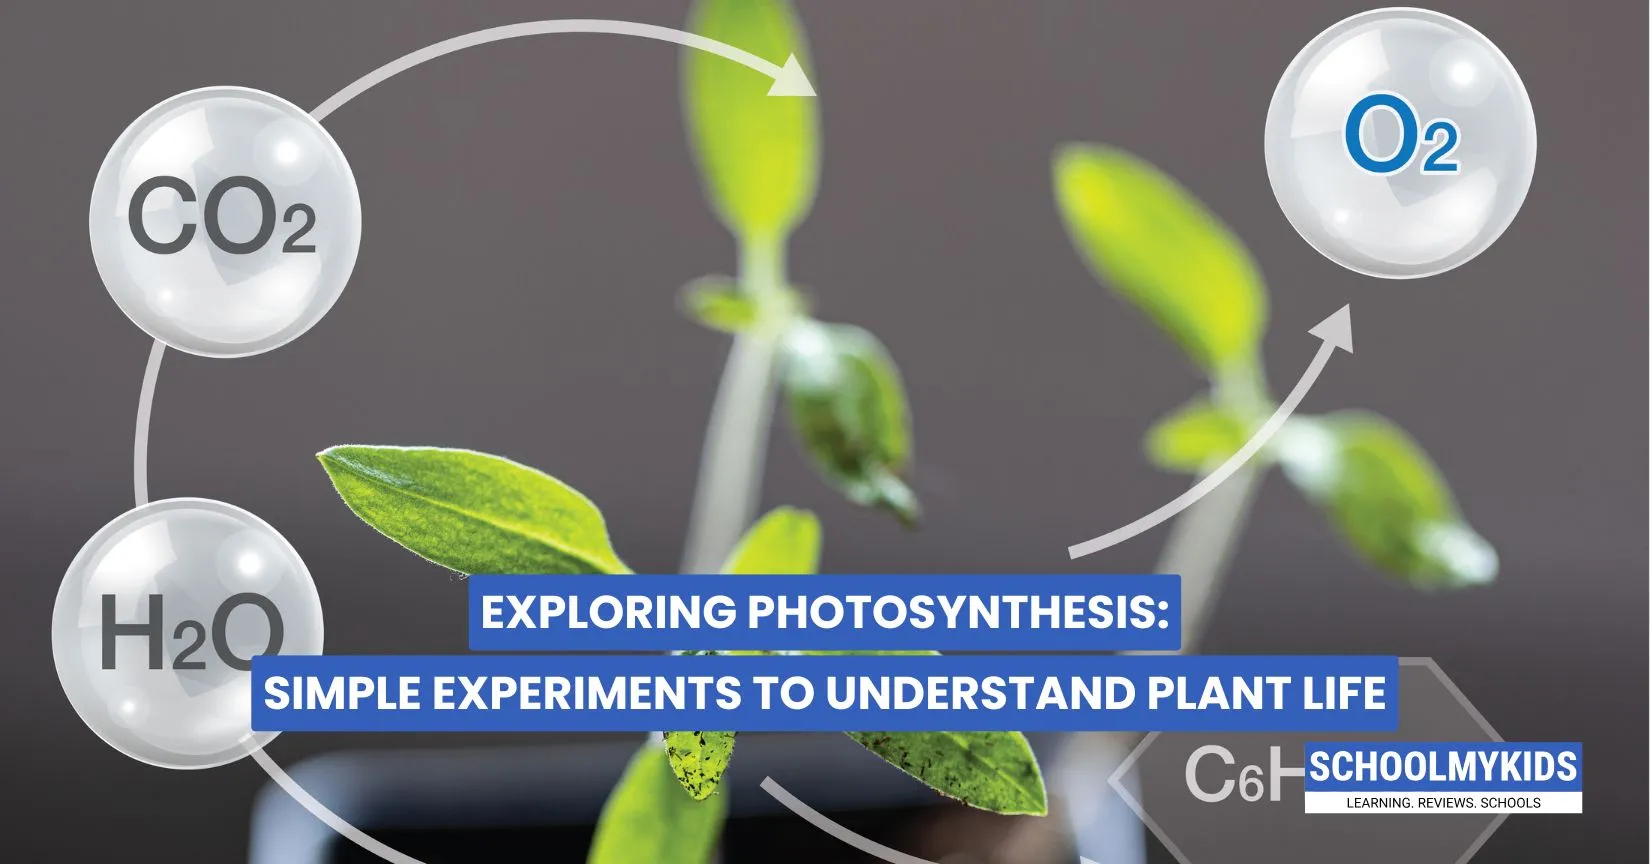
If you're a student or parent looking at that science project list, chances are you've spotted "photosynthesis experiments" somewhere on your kids' summer assignments. Don't worry; we've got you covered with everything you need to ace this topic and maybe even have some fun along the way!
What is Photosynthesis?
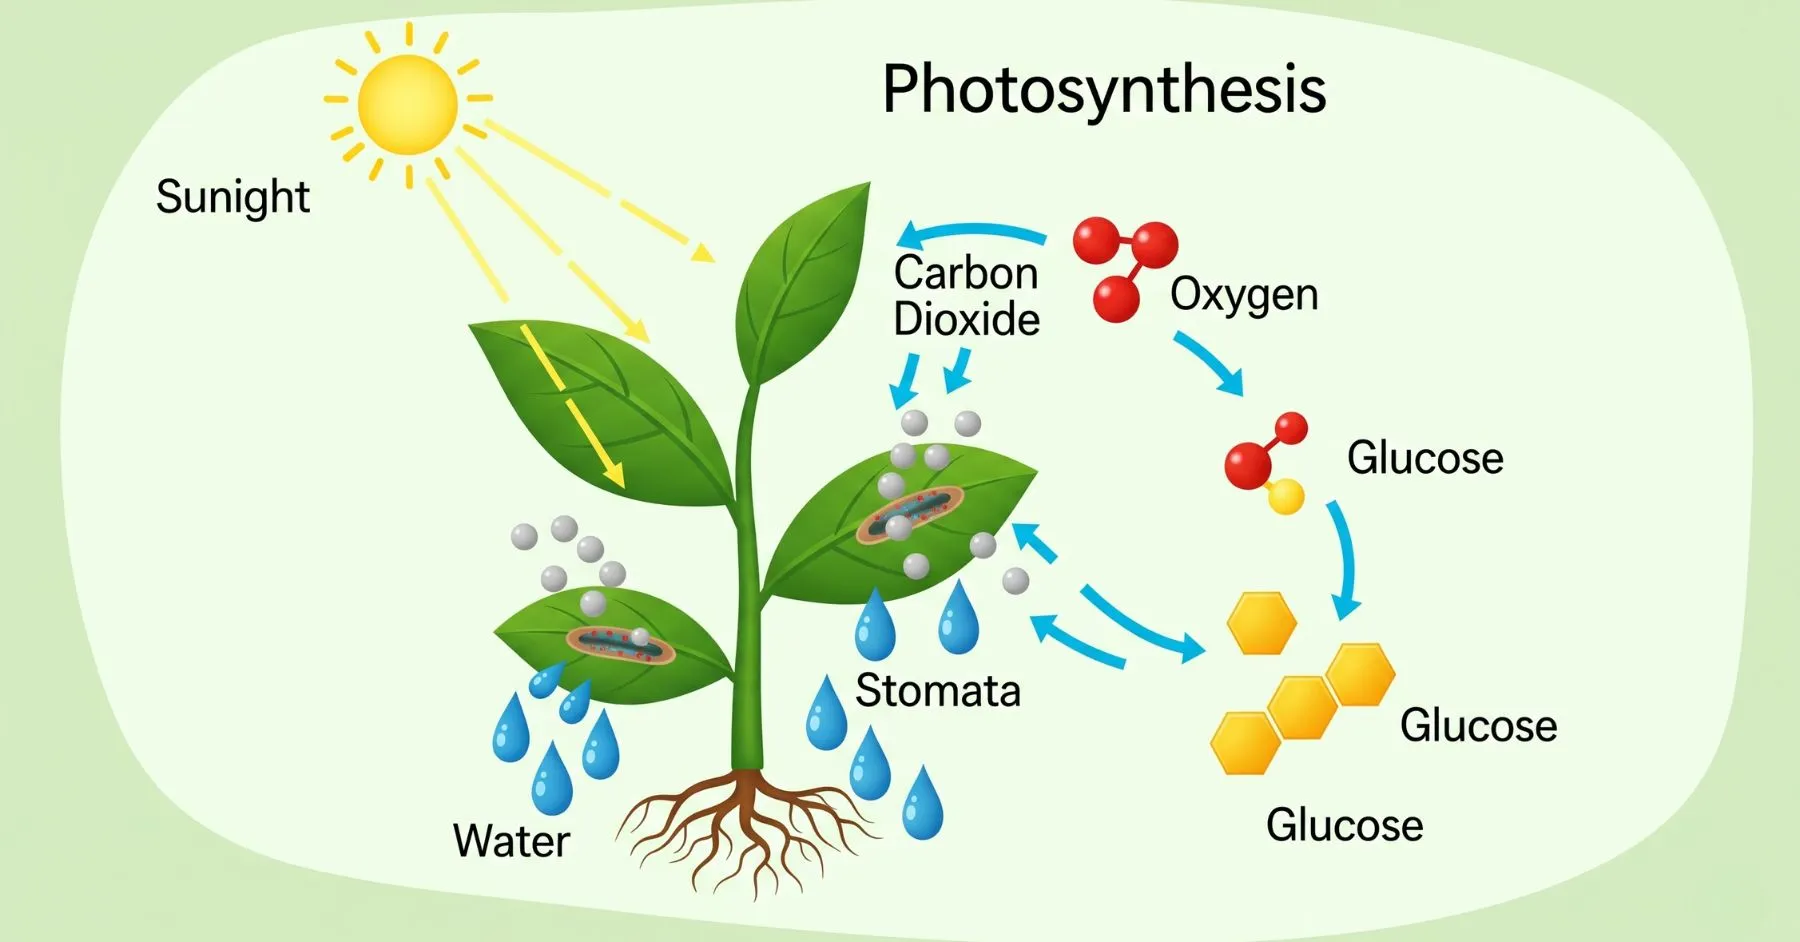
Before jumping into experiments, let's understand what photosynthesis actually is. Think of plants as tiny food factories. They take in carbon dioxide from the air and water from their roots, use sunlight as their energy source to make their own food (glucose), and release oxygen as a bonus gift for us! The green stuff in leaves, called chlorophyll, is like the main worker in this factory.
Carbon Dioxide + Water + Sunlight → Glucose + Oxygen
Must-Try Photosynthesis Experiments
Here are some classic experiments, moving from easy to a bit more advanced as you go up in class.
1. Bubbles in Water: Proof of Photosynthesis (Primary & Middle School)
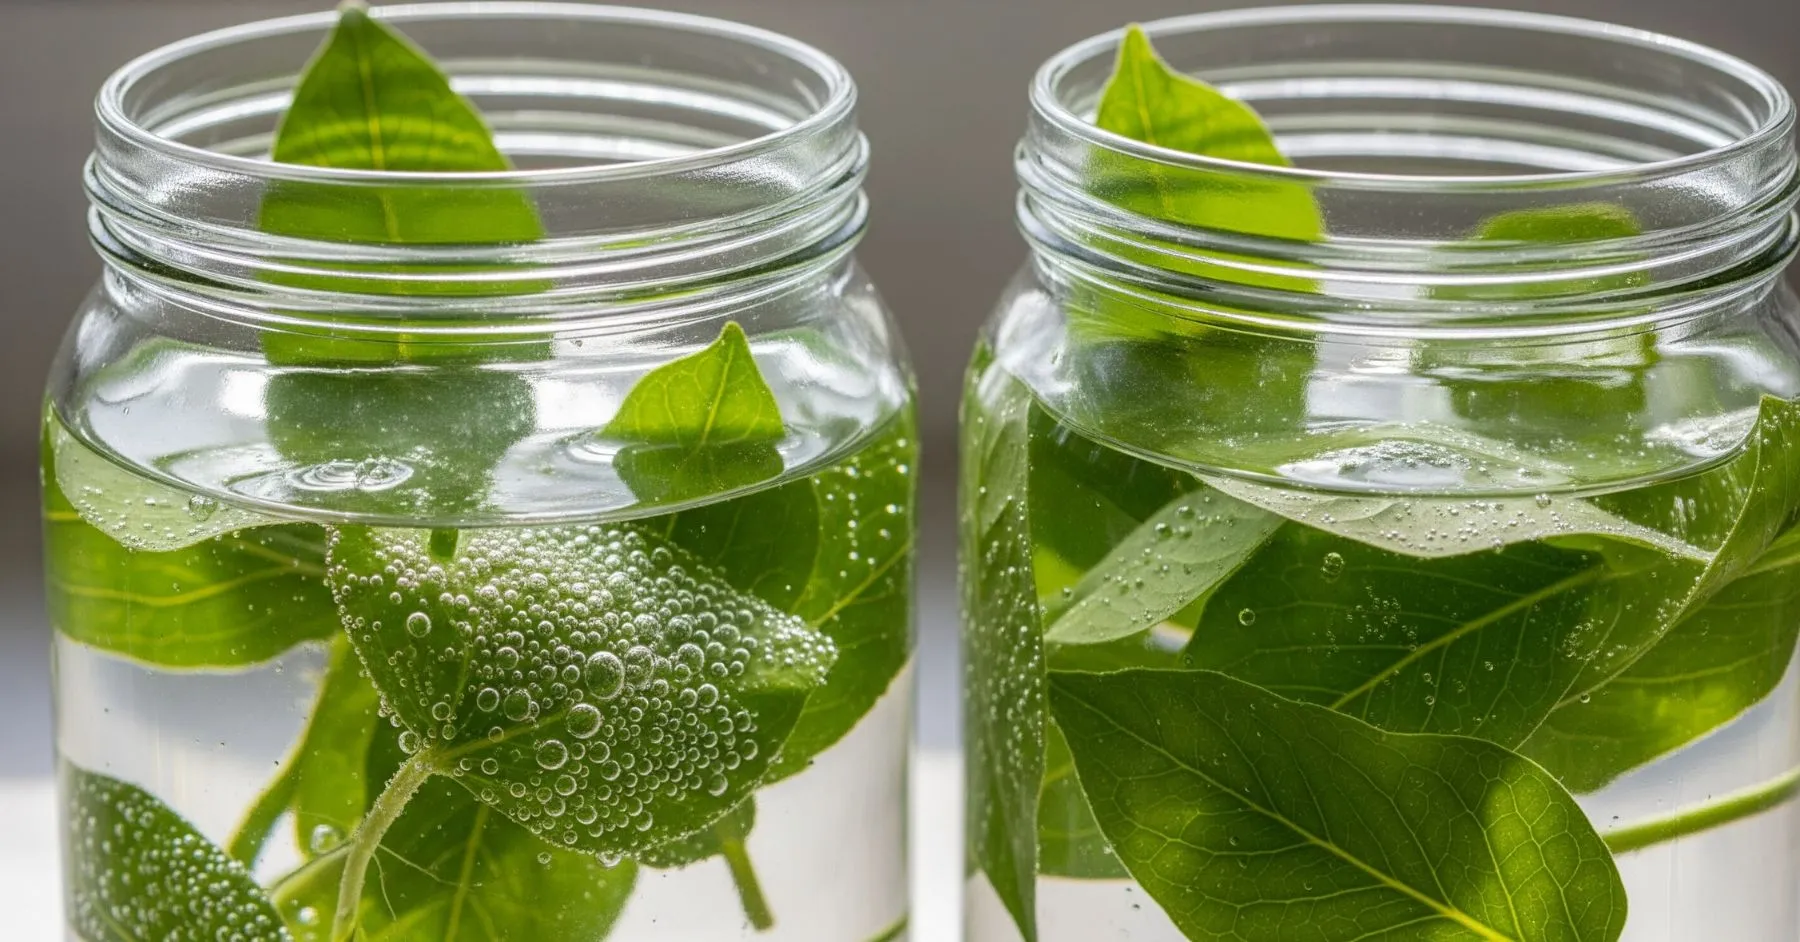
What You Need:
- Two clear jars or glasses
- Fresh green leaves (spinach, money plant, or any green leaf)
- Water
- Sunlight
- A dark cupboard or box
Steps:
- Fill both jars with water.
- Put a leaf in each jar.
- Place one jar in sunlight and the other in a dark place.
- Wait for 4-6 hours.
What You’ll See:
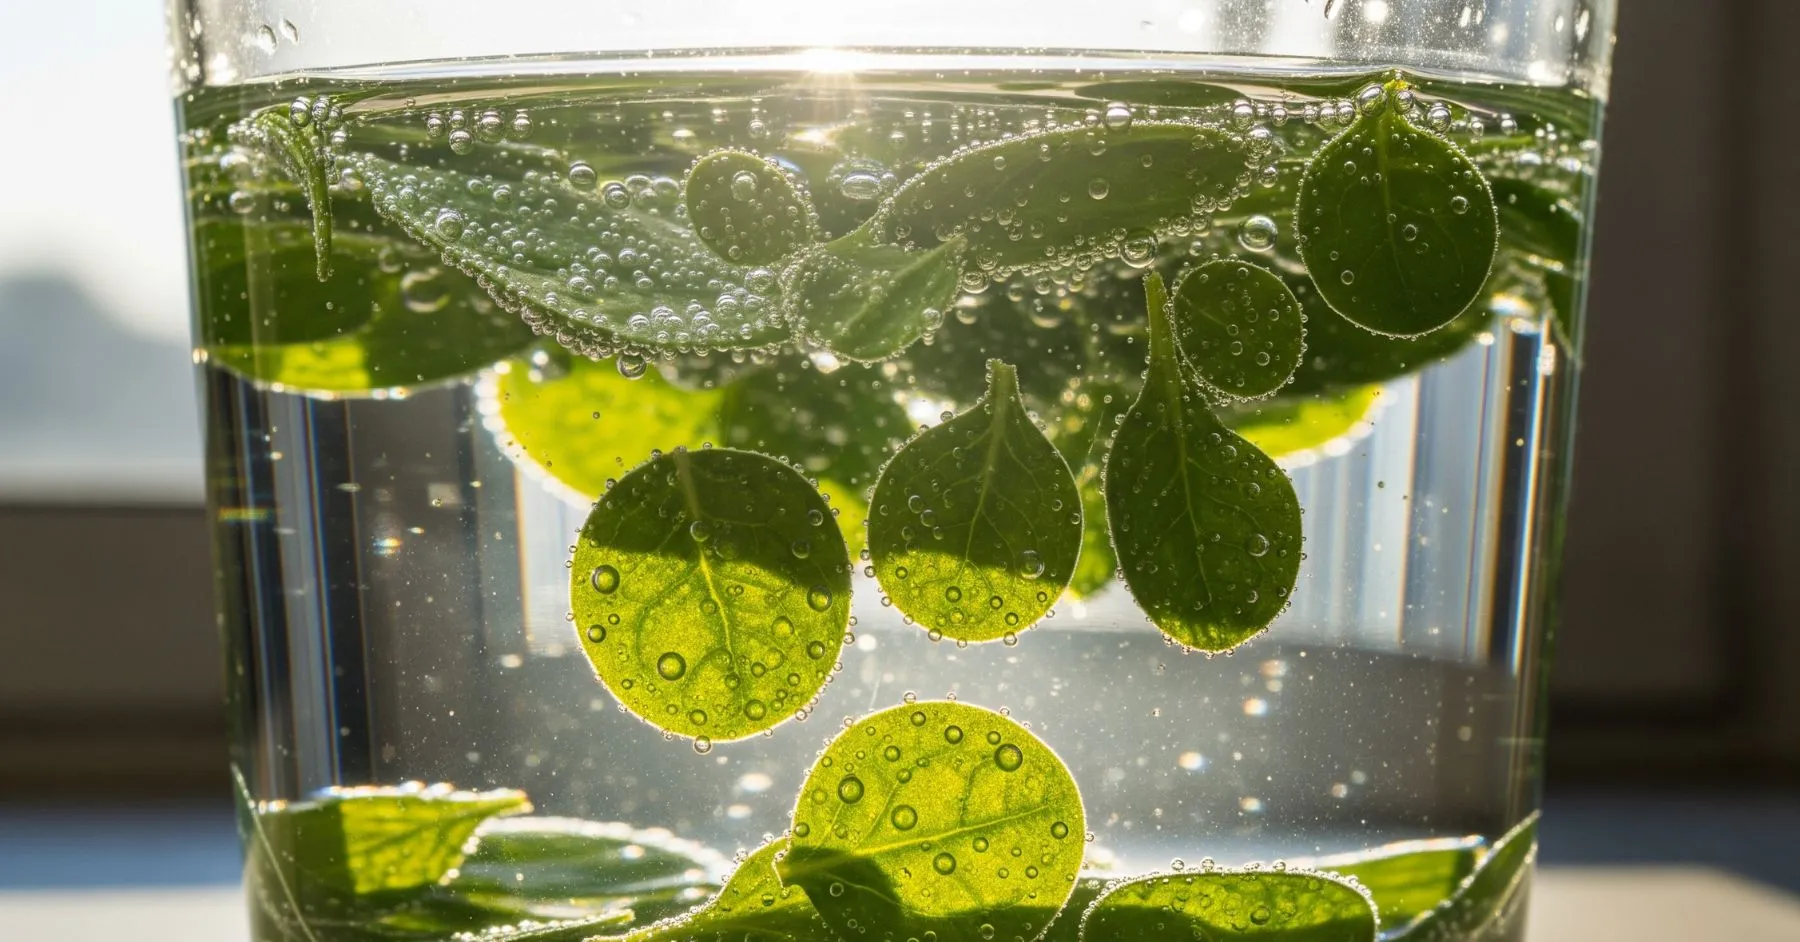
Tiny bubbles will form on the leaf in sunlight. These are oxygen bubbles—the plant is making food and releasing oxygen! The jar in the dark will have no bubbles because photosynthesis needs light.
How to Present:
Take photos at the start and after a few hours. Make a simple table:
| Jar | Light Condition | Bubbles? |
| 1 | Sunlight | Yes |
| 2 | Dark | No |
2. Floating Leaf Disks (Middle School & Up)
What You Need:
- Spinach leaves
- Plastic straw or hole punch
- Clear cup
- Water
- Baking soda (¼ teaspoon)
- Dish soap (a few drops)
- Syringe (no needle) or spoon
- Desk lamp or sunlight
Steps:
- Mix water, baking soda, and dish soap in a cup.
- Punch out small disks from spinach leaves.
- Use the syringe to suck the disks into the solution, then pull out the air (so they sink).
- Pour the disks into the cup and place them under a lamp or in sunlight.
- Watch as the disks start to float—they’re making oxygen!
How to Present:
Draw a diagram showing the setup. Note how long it takes for the disks to float.
3. Variegated Leaf Experiment (Upper Primary & Middle School)
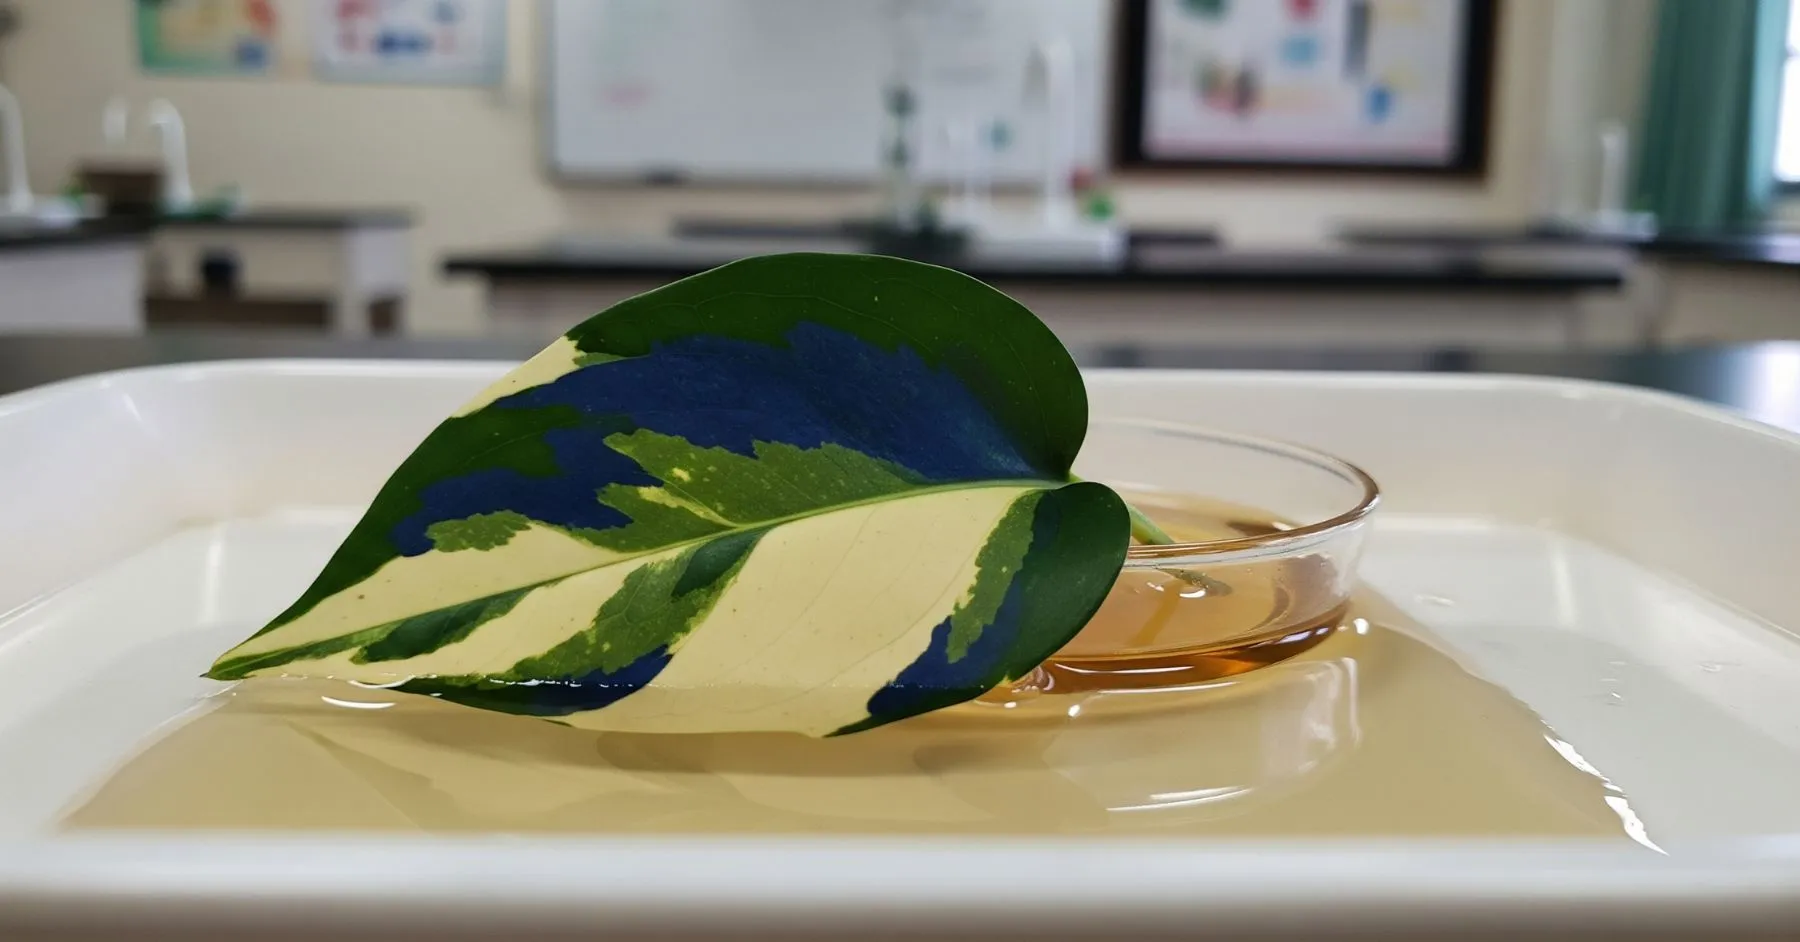
What You Need:
- A variegated leaf (one with green and white parts) or a green leaf and black paper
- Alcohol (with adult supervision)
- Hot water
- Iodine solution
Steps:
- Boil the leaf for a minute (with help from an adult).
- Soak it in alcohol to remove the green color.
- Rinse in warm water.
- Add iodine solution.
What You’ll See:
Only the green parts turn blue-black, showing starch is made only where there’s chlorophyll (the green parts).
4. Carbon Dioxide is Needed! (Middle School & Up)
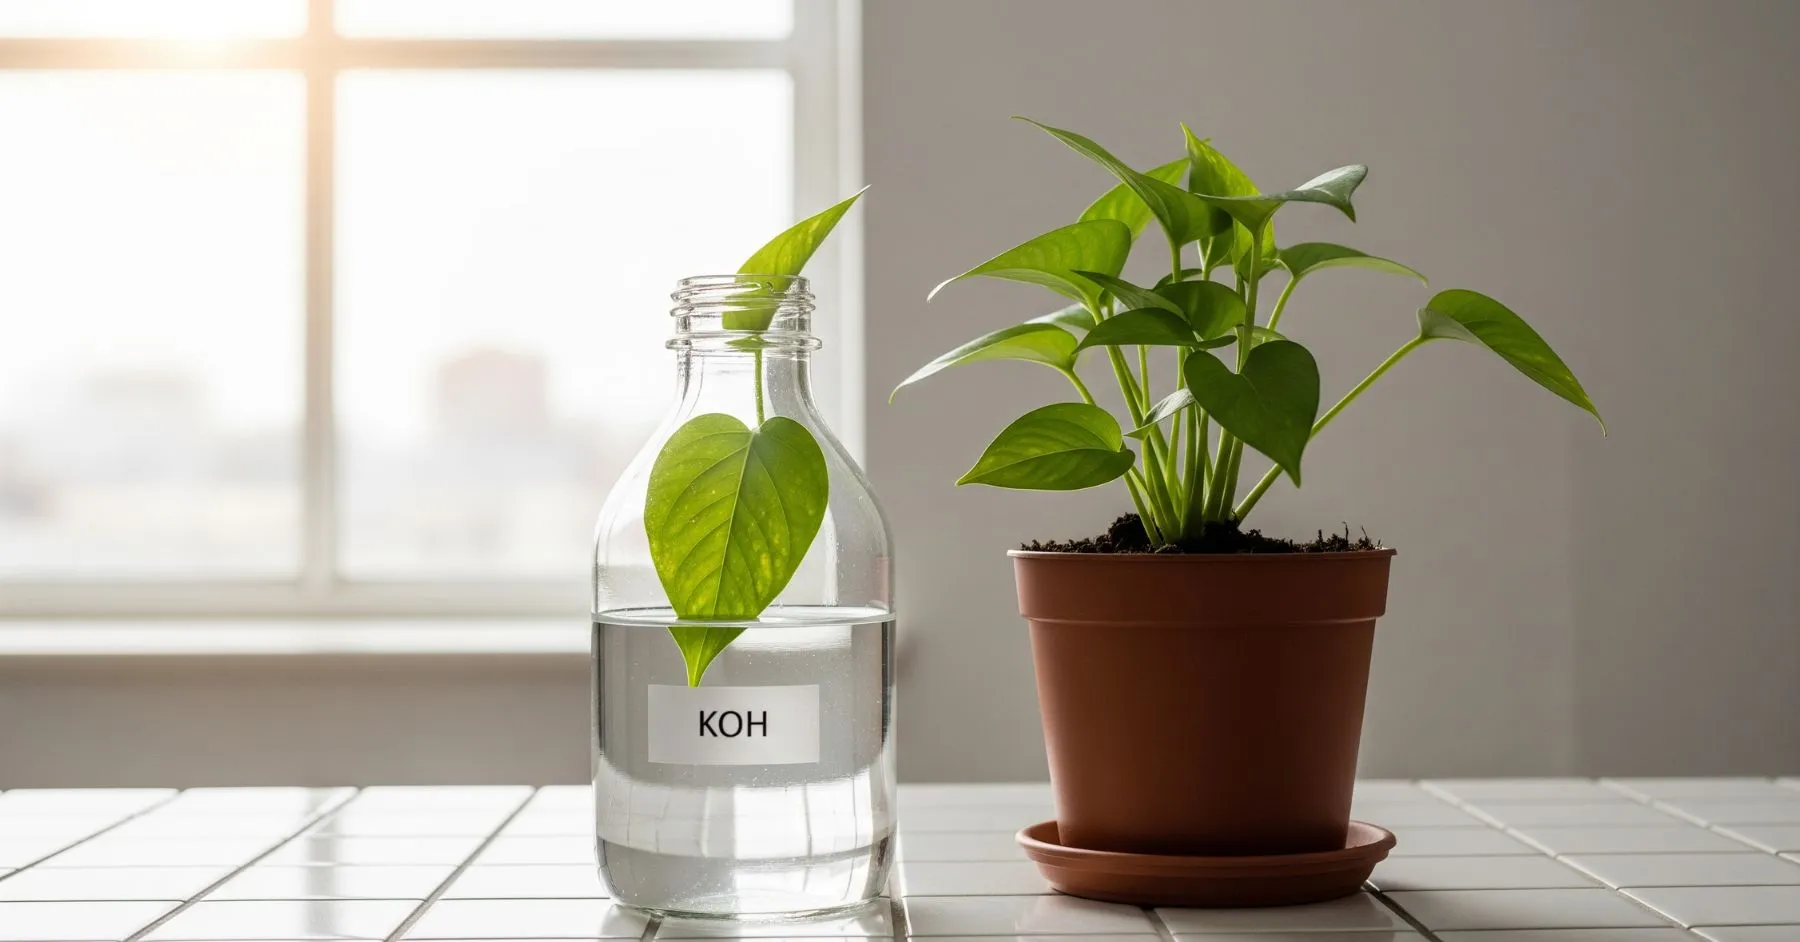
What You Need:
- Healthy potted plant
- Wide-mouthed bottle
- Split cork
- Potassium hydroxide (KOH) solution (with adult supervision)
- Sunlight
Steps:
- Keep the plant in the dark for 2-3 days to remove stored starch.
- Insert half of a leaf into the bottle containing KOH (which absorbs CO₂); the other half stays outside.
- Place in sunlight for 3-4 hours.
- Test both halves for starch using iodine.
Result:
Only the part exposed to air (with CO₂) turns blue-black. The part inside the bottle (no CO₂) does not, proving that CO₂ is needed for photosynthesis.
Making Your Project Presentation-Ready
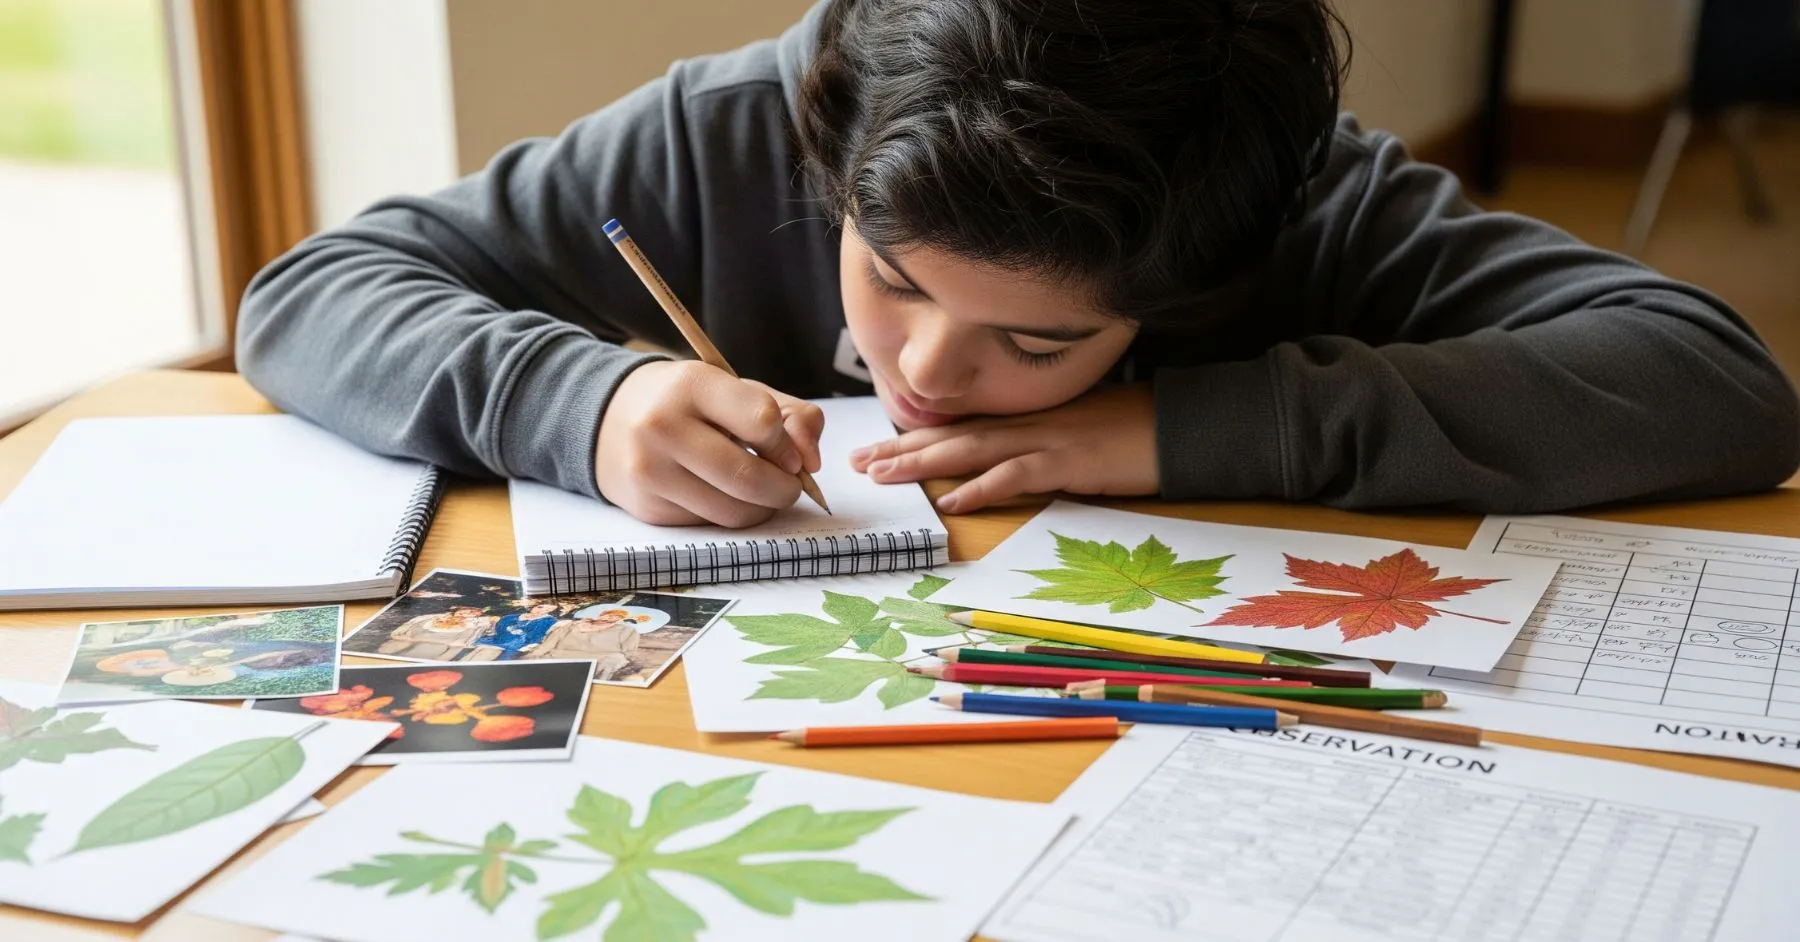
Documentation Tips:
- Take lots of photos – before, during, and after each step
- Keep a daily log – note weather, temperature, time of day
- Draw diagrams – even simple sketches help explain your setup
- Record observations – color changes, bubble counts, leaf appearance
Decoration and Presentation Ideas:
- Create a colorful chart showing the photosynthesis equation
- Make a timeline of your experiment days
- Use green and yellow colors to represent plants and sunlight
- Add real leaf samples (pressed and dried) to your project board
- Include a "What I Learned" section in your own words
Writing Your Conclusion:
Keep it simple and honest. Write about what you actually observed, not what you think you should have seen. If something didn't work as expected, that's perfectly fine – real scientists face this all the time!
Example conclusion: "I learned that plants really do need carbon dioxide, light, and chlorophyll to make food. The parts of leaves without these things couldn't make starch, which proved our hypothesis was correct."
Getting Great Grades:
- Follow safety rules (always have an adult help with chemicals)
- Be organized and neat in your presentation
- Explain your results in your own words
- Show that you understand why each step is important
- Include what you would do differently next time
Conclusion
Photosynthesis might sound complicated, but with these easy experiments, you’ll see it in action. Whether you’re bubbling leaves, floating disks, or testing for starch, you’re actually watching plants at work—making food and giving us oxygen. So, grab your supplies, get creative, and show your teacher you’re a photosynthesis pro!


Be the first one to comment on this story.