We all wear beautiful apparels for any party or events. Men and women all of them love to sport their favourite outfit and look their best. What if we make a beautiful greeting card of these outfits? Surprised? Don’t worry we are not using any clothes for making our greeting card; indeed we will use simple art and craft supplies and make our beautiful apparel greeting card.
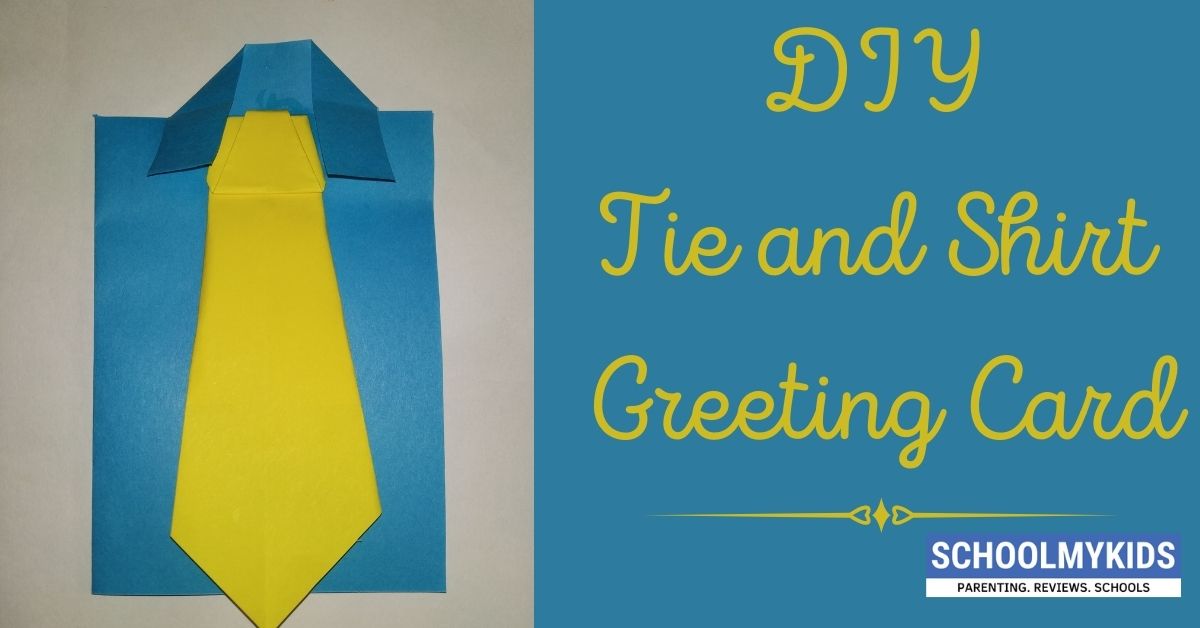
Today we will make a DIY Shirt and a Tie Greeting Card.
Follow the instructions to know how to make this beautiful greeting card.
Materials Required to Make Tie and Shirt Greeting Card
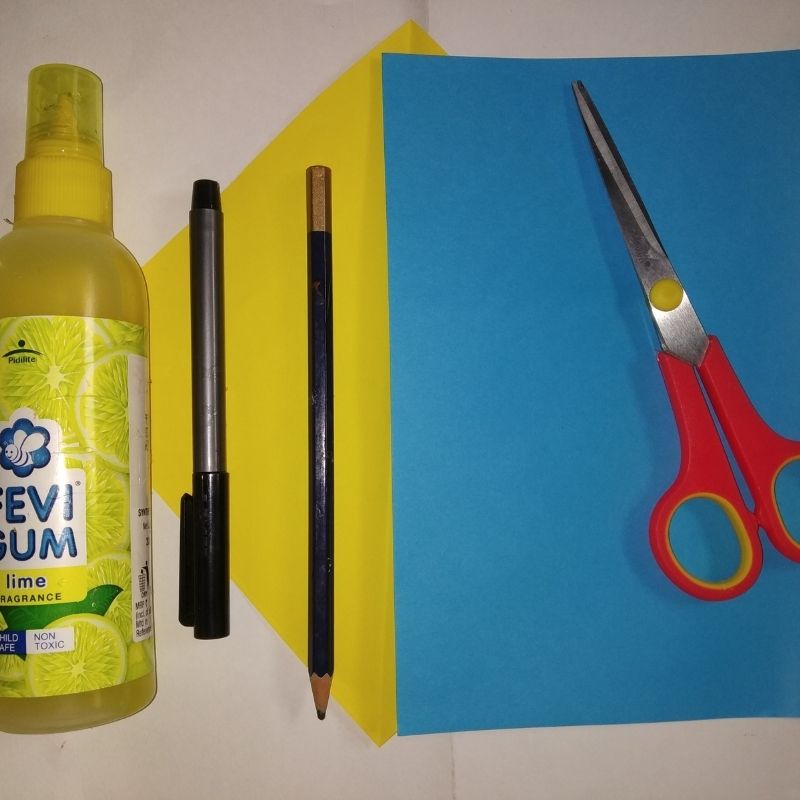
- Blue coloured paper
- Yellow colour paper
- Sketch pen
- Pencil
- Scissors
- Glue
How to Make Tie and Shirt Greeting Card Step by Step
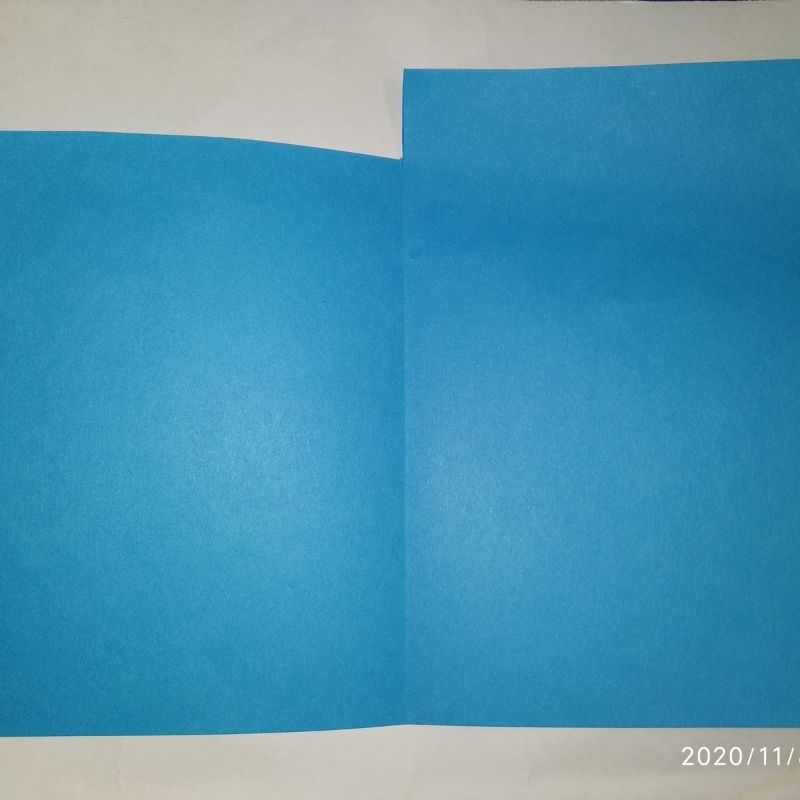
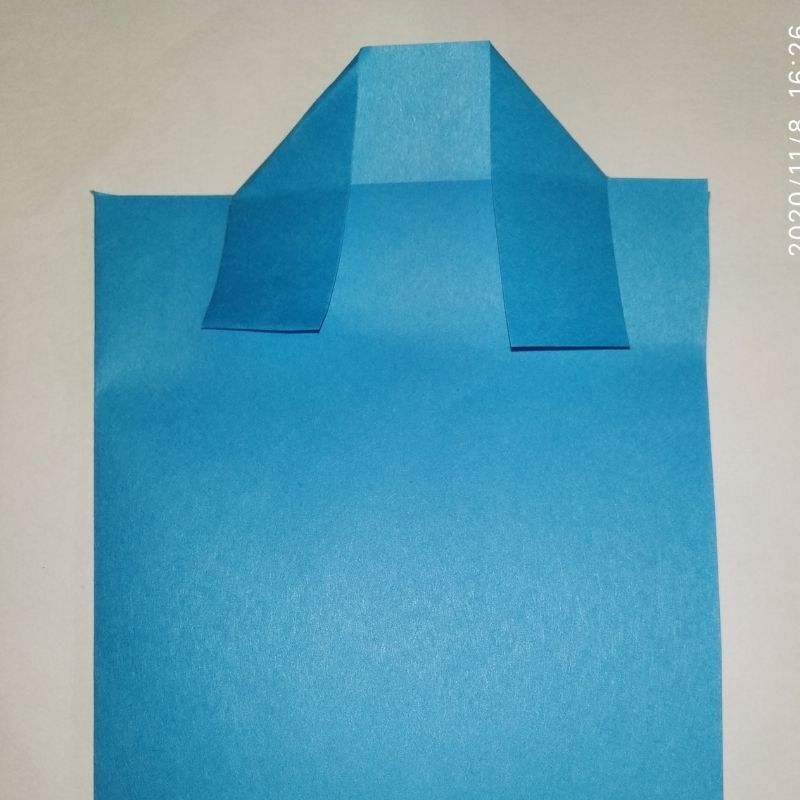
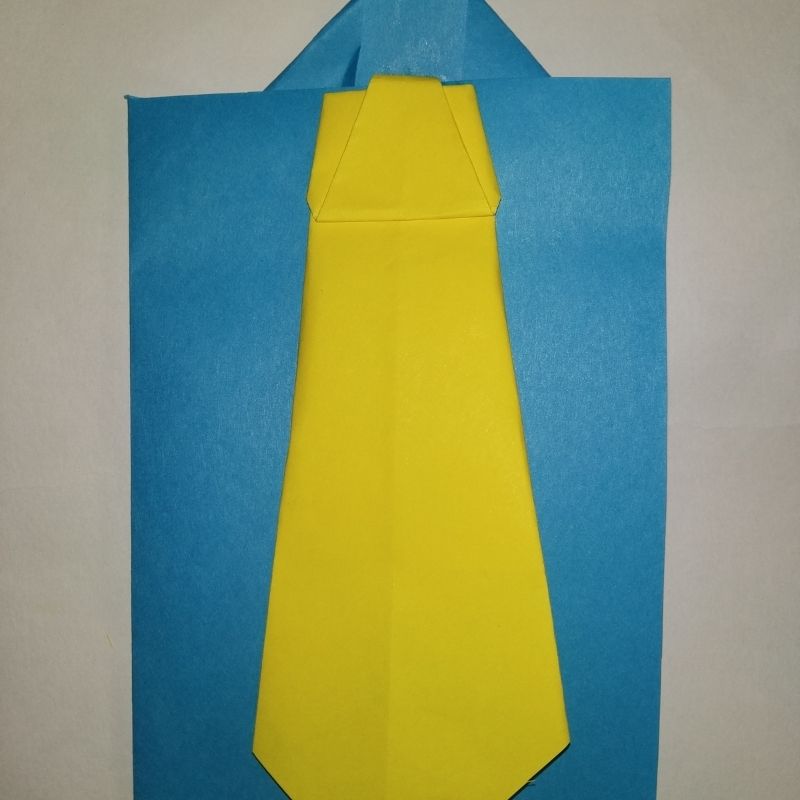
- Take a blue coloured sheet. The preferred size is half of A4.

- Fold this sheet vertically into half again.
- Next cut a strip of around 2 cms on the left half of the card.
- Further, fold a strip of around 2cms on top of the right side of the card.
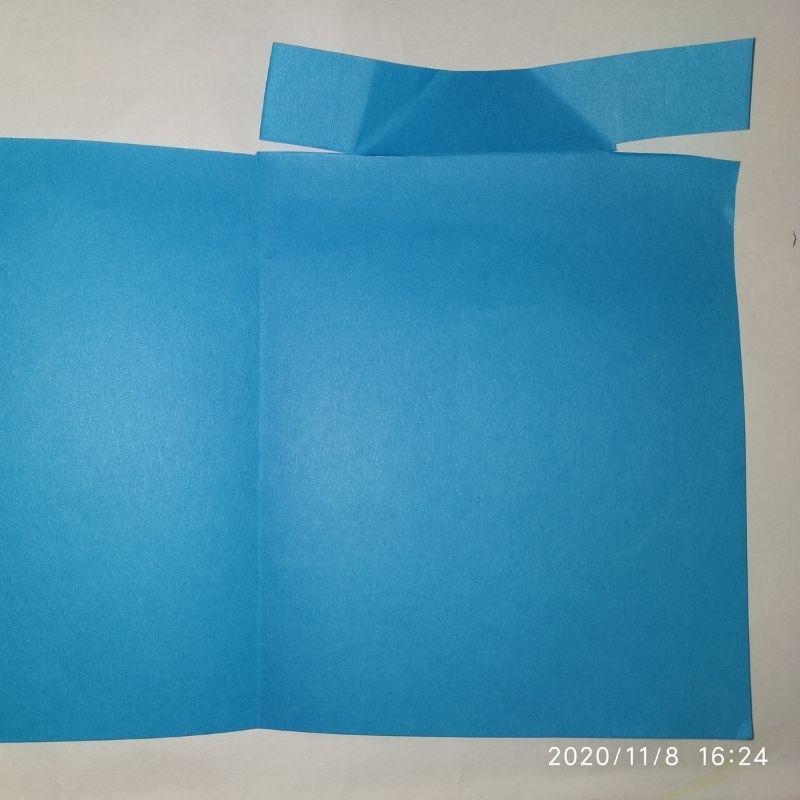
- Slit this portion on both sides and lift the sides to form the collar of the shirt.
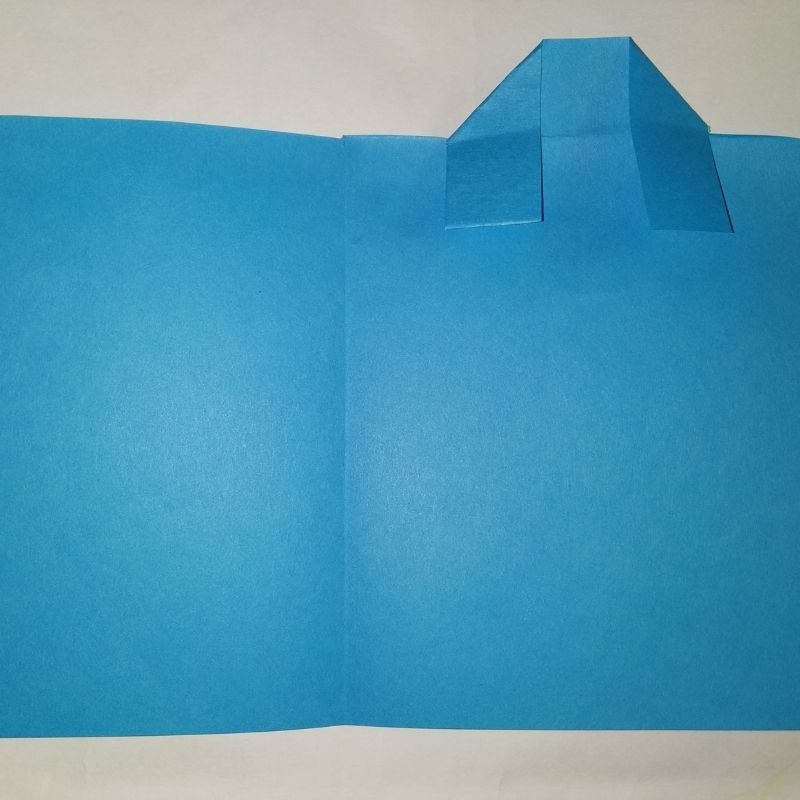
- Now fold the card.
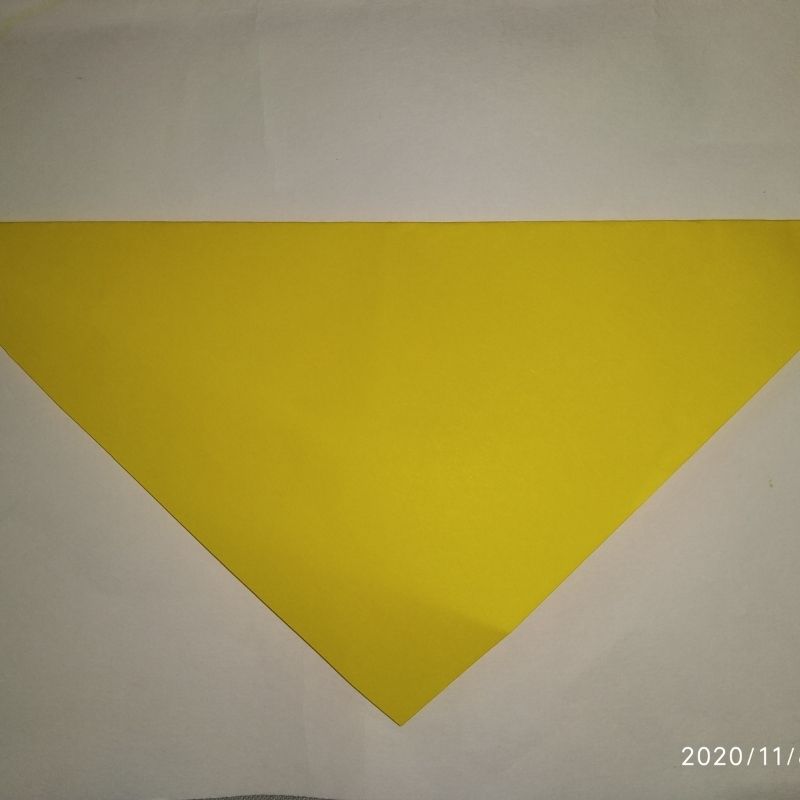
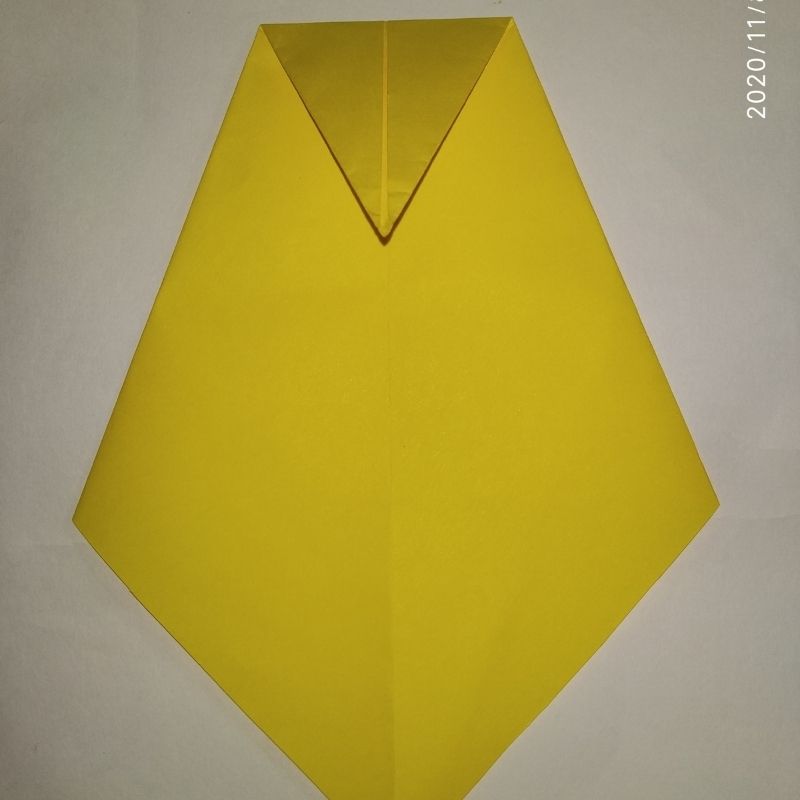
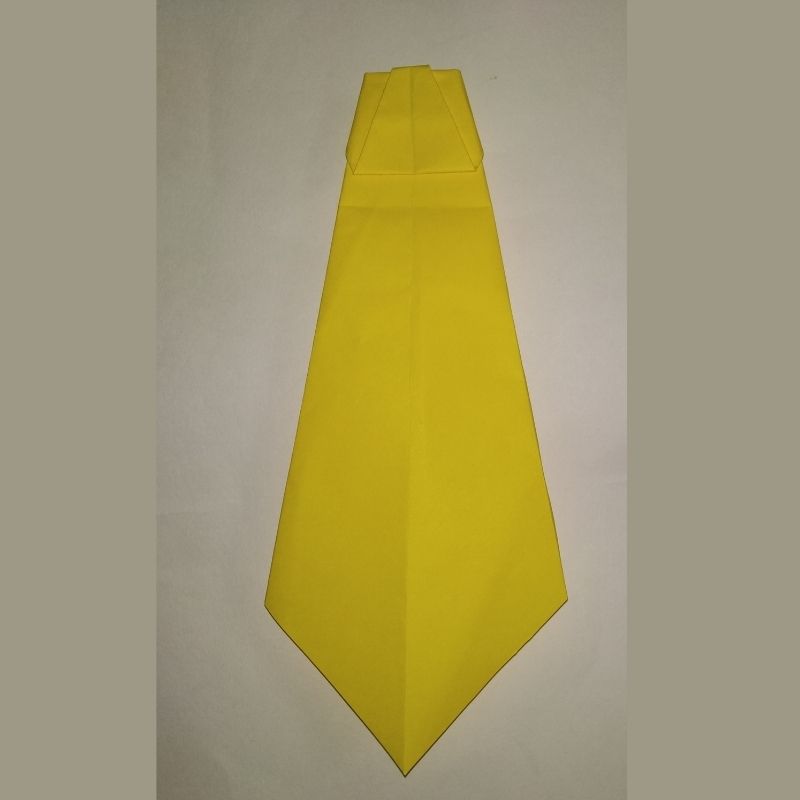
- Next, start with a square yellow sheet of paper.
- Fold the yellow sheet into a triangle and further fold it into two small vertical triangles along the midline of this triangle.
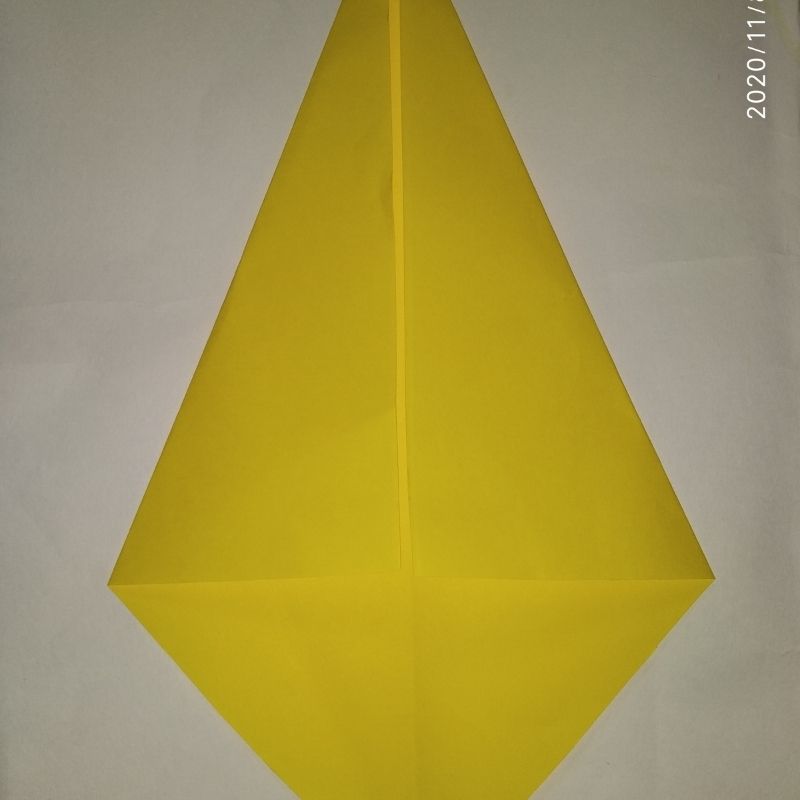
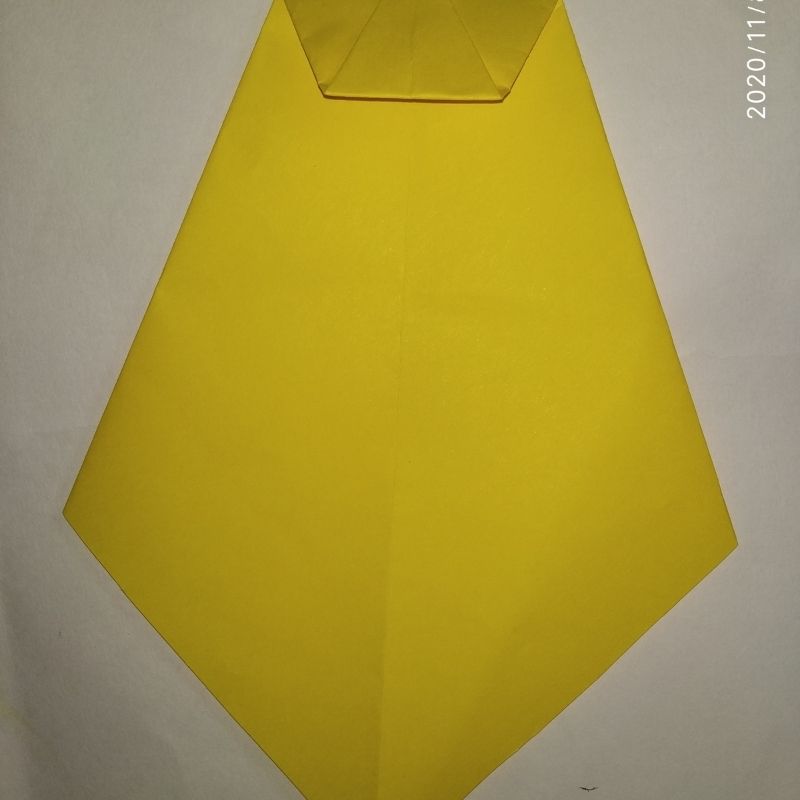
- Now flip the paper, and fold the tip of the triangle into a small triangle.
- Next, fold the tip of the triangle upwards and tuck it on the other side and again flip this sheet of paper.
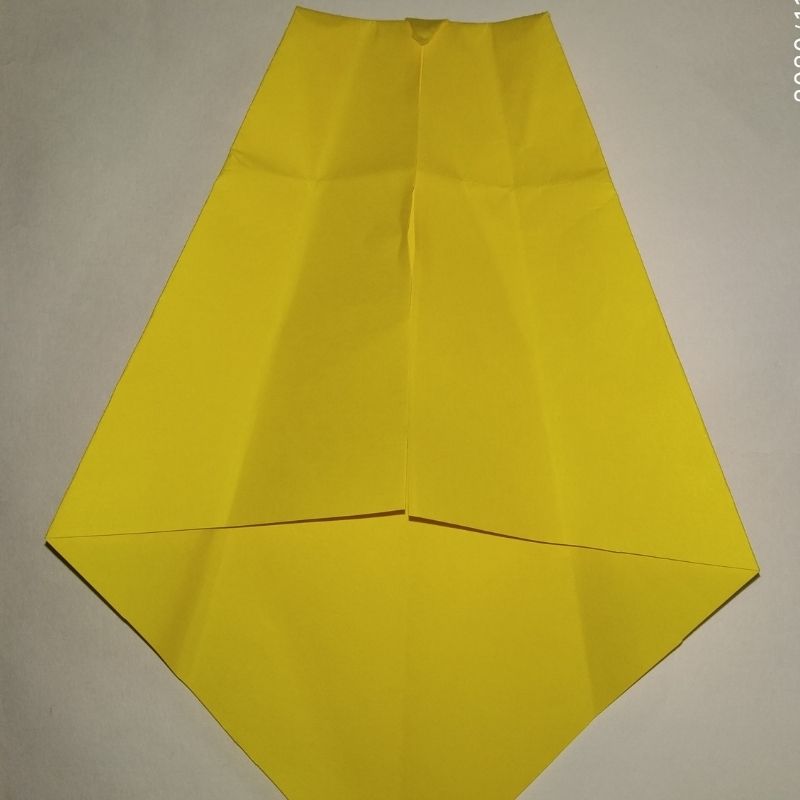
- Next, fold the sides of the two vertical triangles and flip the side.
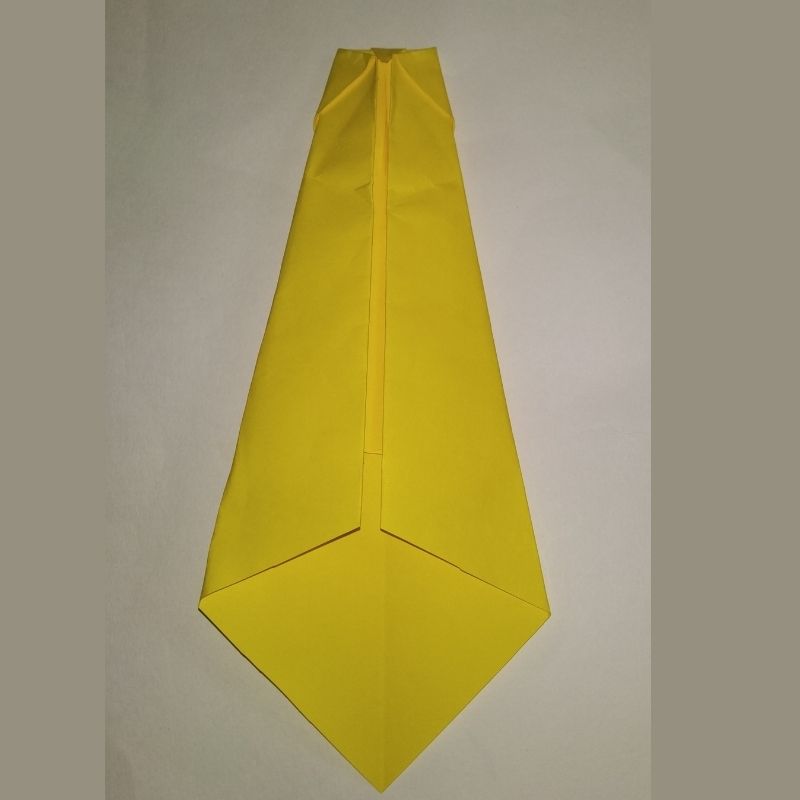
- Once you flip the side your tie is now ready.
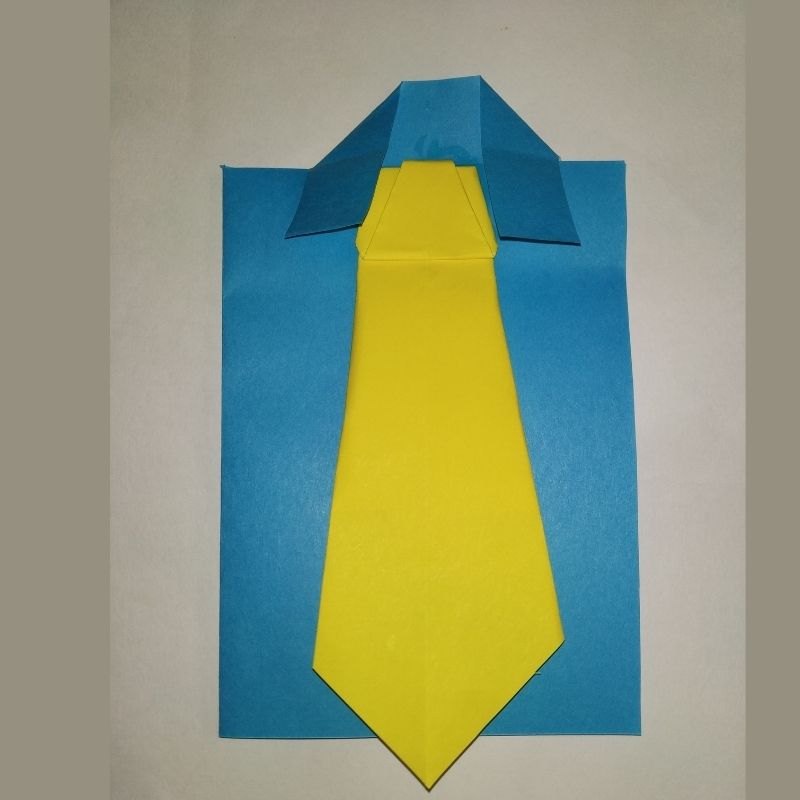
- Stick this tie on the front portion of the card just beneath the collar and gift this beautiful simple yet creative shirt and a tie card to your loved ones.
- That’s it, kids! Try for yourself!
- You can gift it to your father, uncles, brothers or friends.


Be the first one to comment on this story.