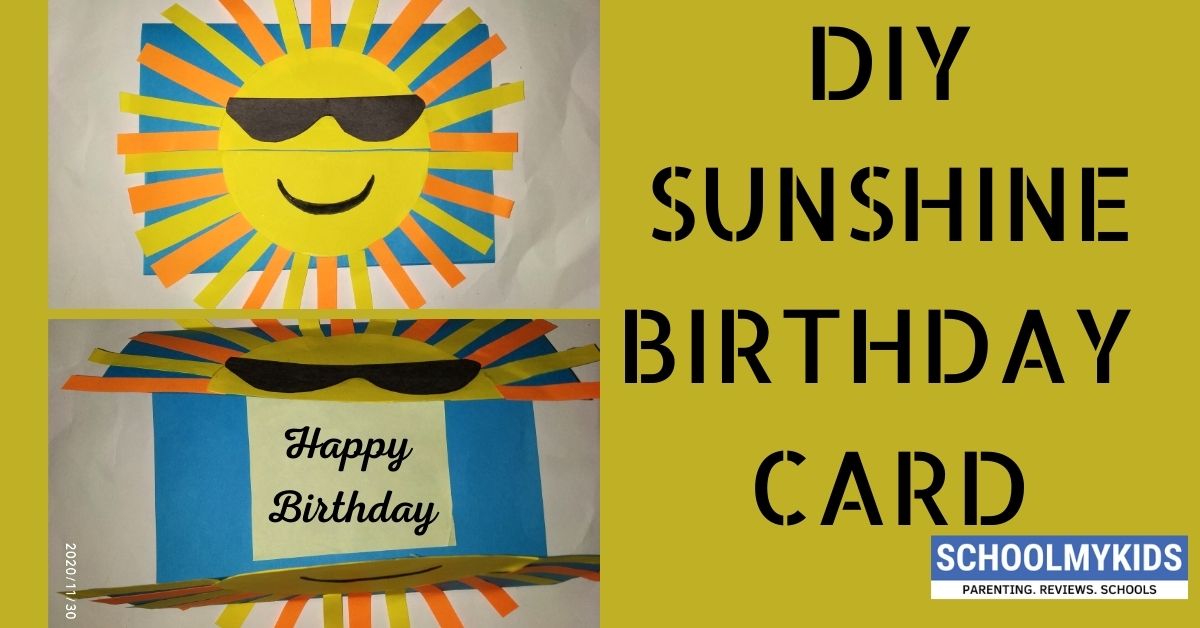
Hello kids! We all love a sunny morning, don’t we? The sun gives us light and life. Ever wondered why we feel gloomy on a cloudy evening and feel so refreshed in the morning sun? Yes, you are right! The sun is the storehouse of energy. So today let’s make a beautiful sunshine birthday card and gift it to our loved ones who are the sunshine of our lives.
Let’s get started, kids.
Follow the instructions to know how to make DIY Sunshine Birthday Card.
Materials Required to Make DIY Sunshine Greeting Card
- Blue paper
- Yellow paper
- Orange paper
- Black paper
- White paper
- Sketch pens
- Pencil
- Scissors
- Glue
How to Make DIY Sunshine Greeting Card Step by Step
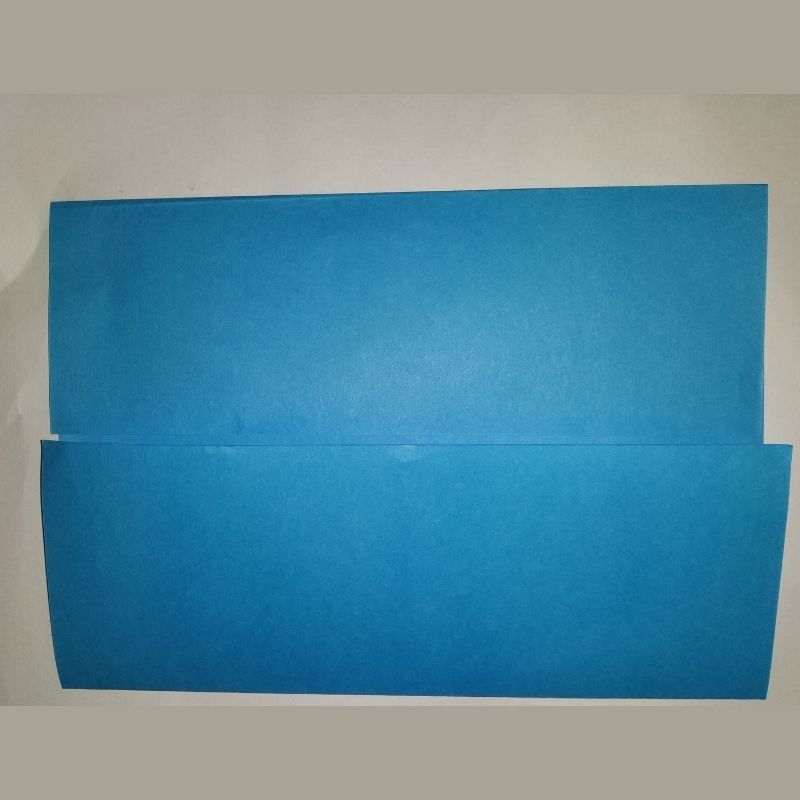
- Take an A4 sized sheet of blue paper.

- Hold it vertically and fold the two sides to form a card with its base beneath.
- You need to fold it thrice, in a way that the two ends meet each other in the centre.

- Next measure the distance between the two ends.
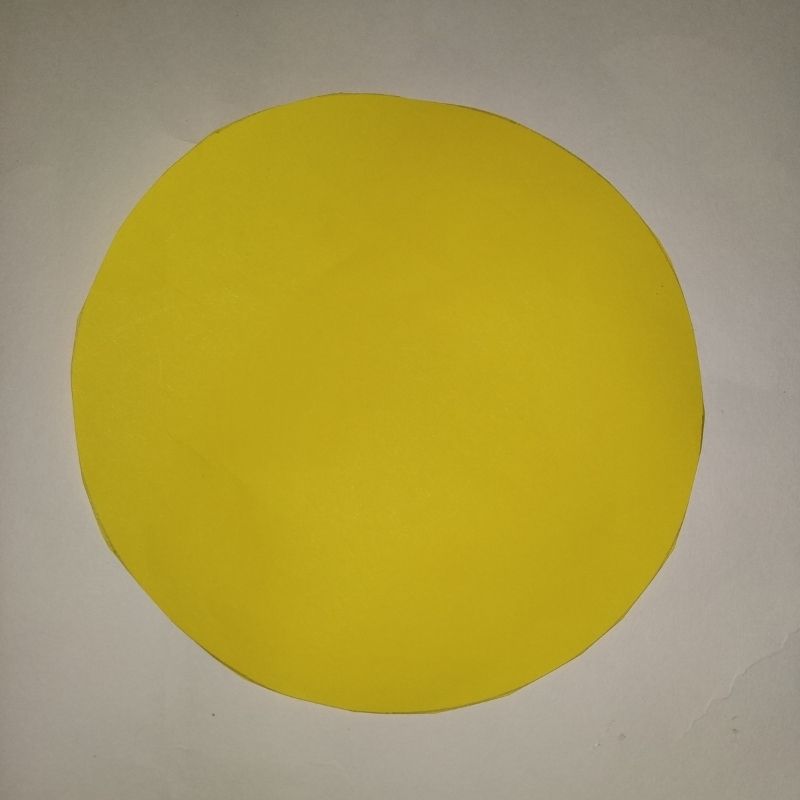
- Next, take a yellow paper and draw a circle a little less in diameter than the distance between the two folded ends.
- Cut this circle.
- Now fold this circle and cut into two pieces.
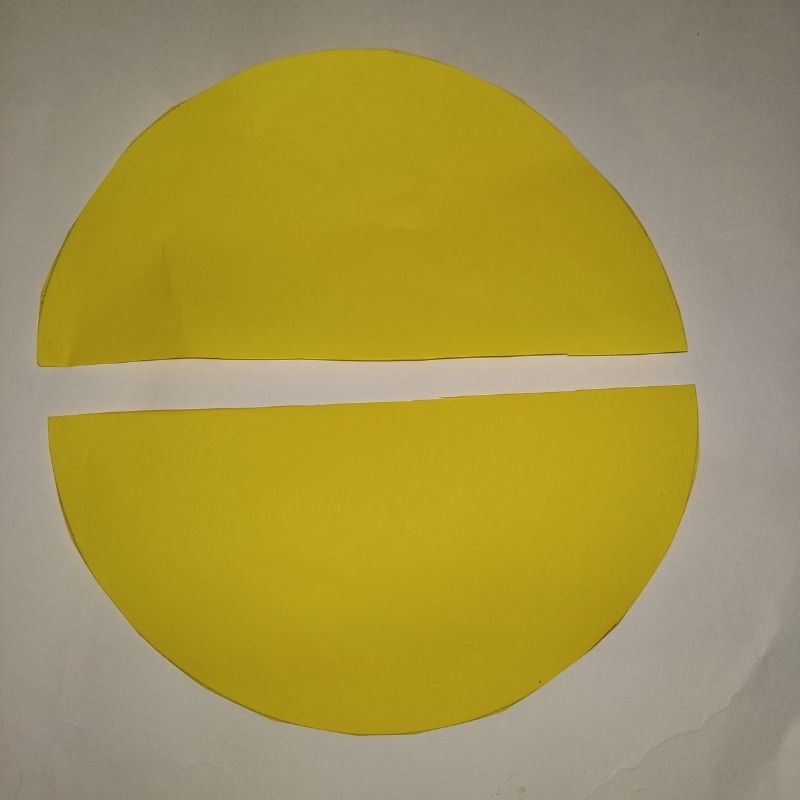
- Stick these two pieces with its base on the edge of the two folded portions of the card.
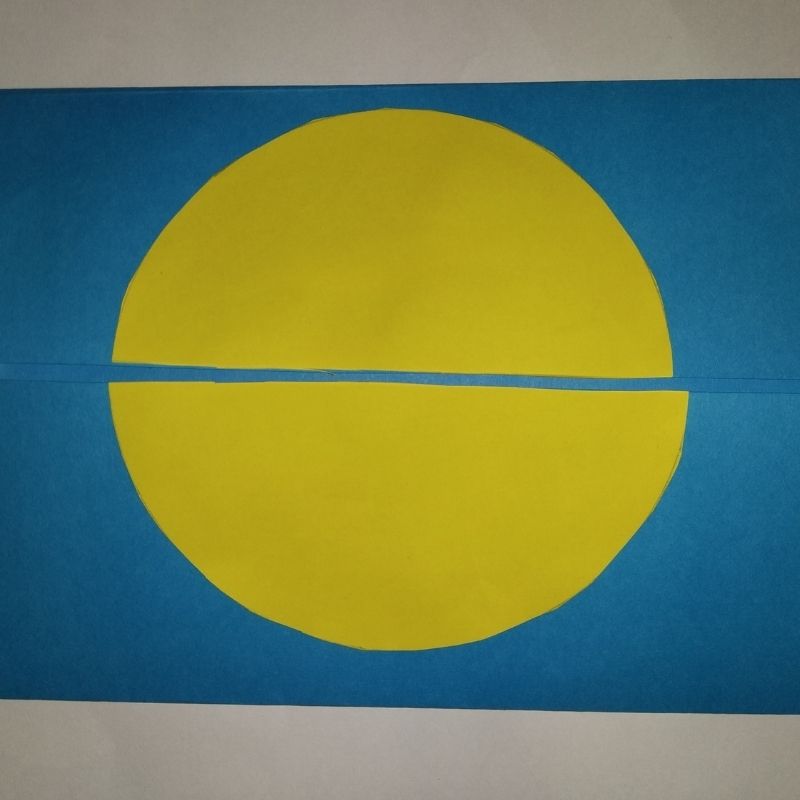
- This is your sun in the making.
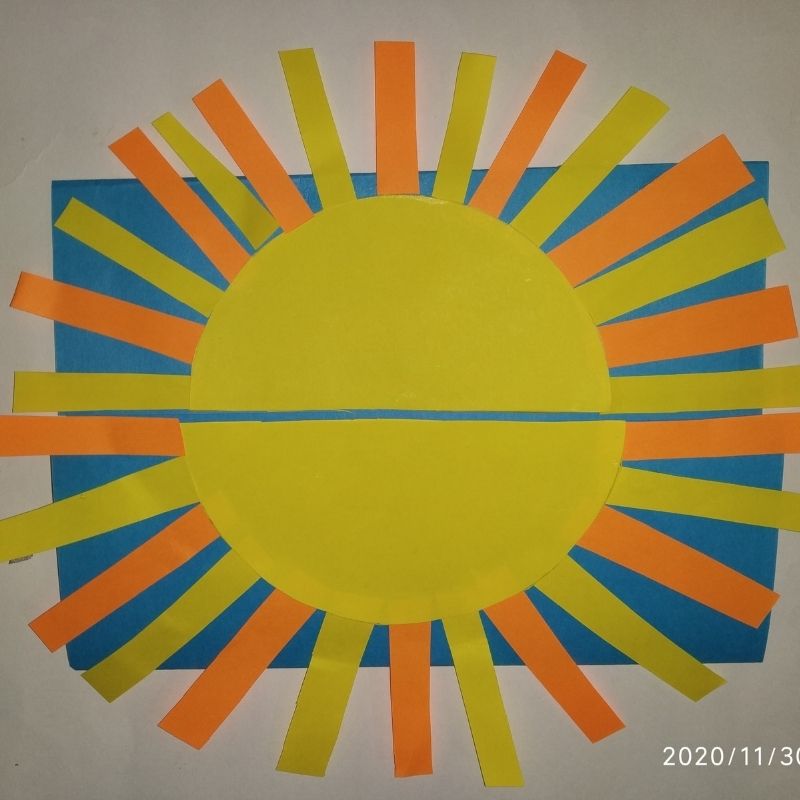
- Next, cut strips of yellow and orange and fold them into half.
- The stripes can be 1cm by 12cm in size or as per the sheet of the card.

- Next, stick these stripes in alternate fashion one after the other in a circular fashion covering the entire circumference of the sun
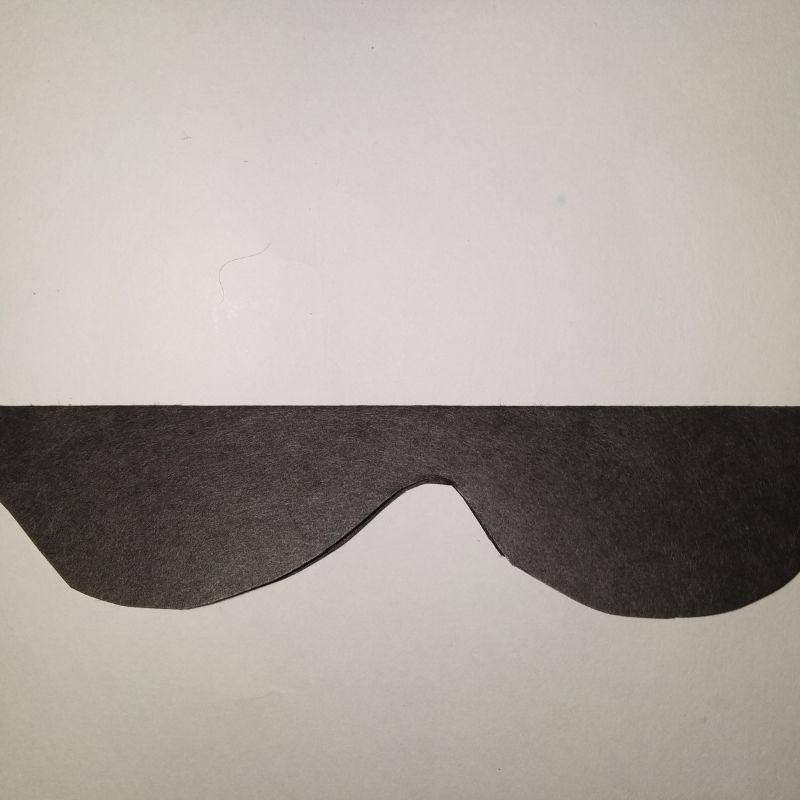
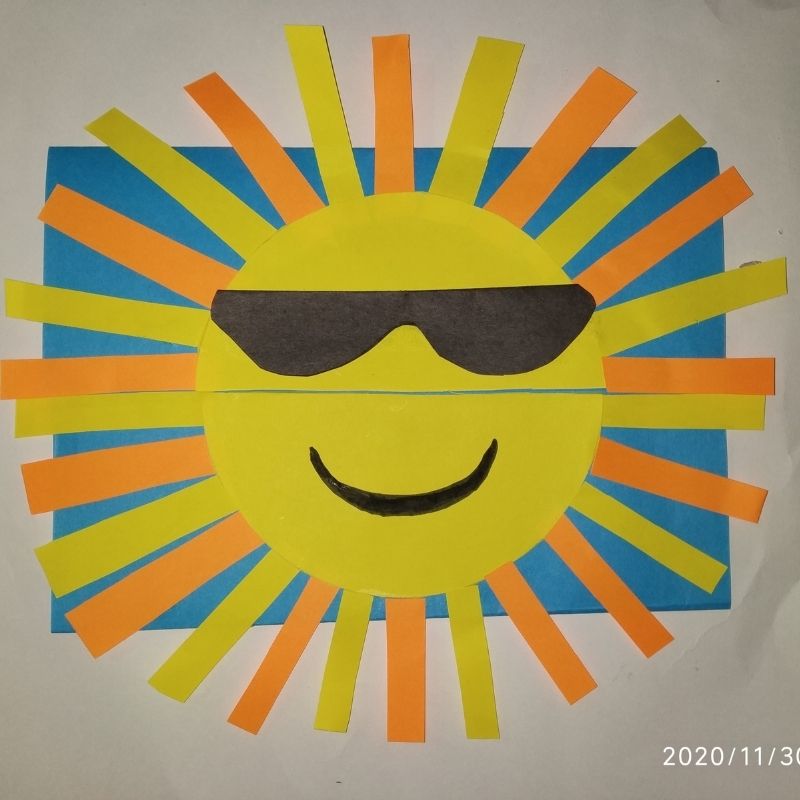
- Next, use a black sketch pen to draw the glasses and smile line of the sun. You can even make a cutout of the glasses using a black paper and stick it on the upper portion of the sun.
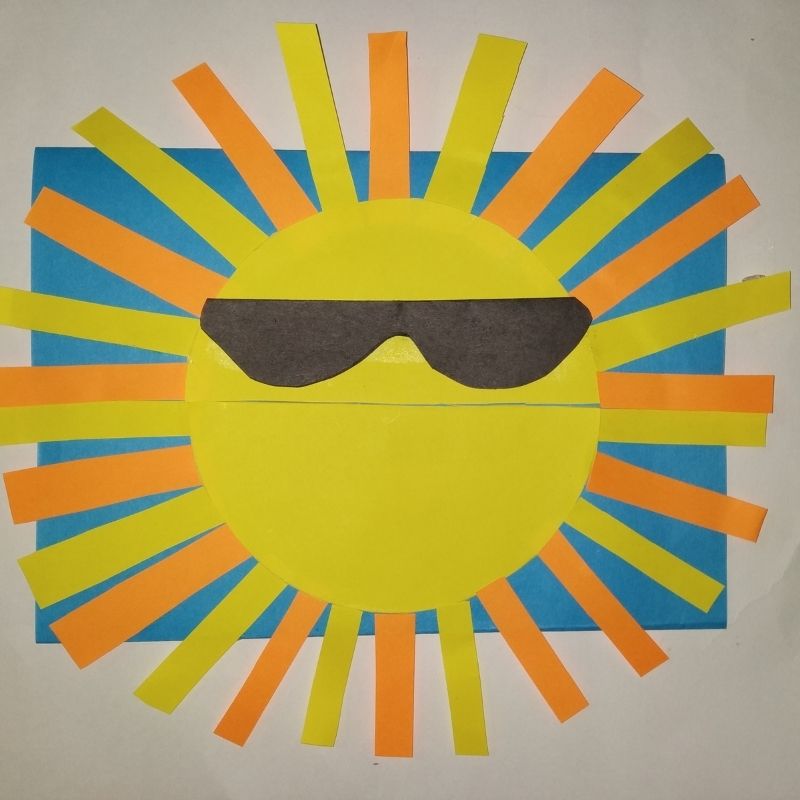
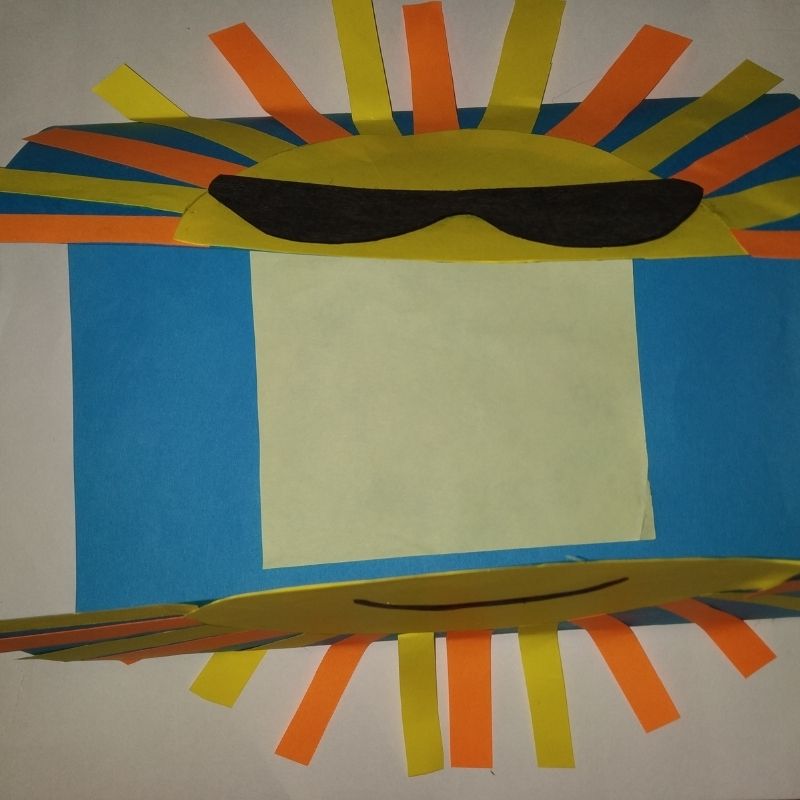
- Once done, open your card and stick a small piece of white paper inside.
- You can write your beautiful messages on this portion and gift it to your near and dear ones.
Enjoy kids!!


Be the first one to comment on this story.