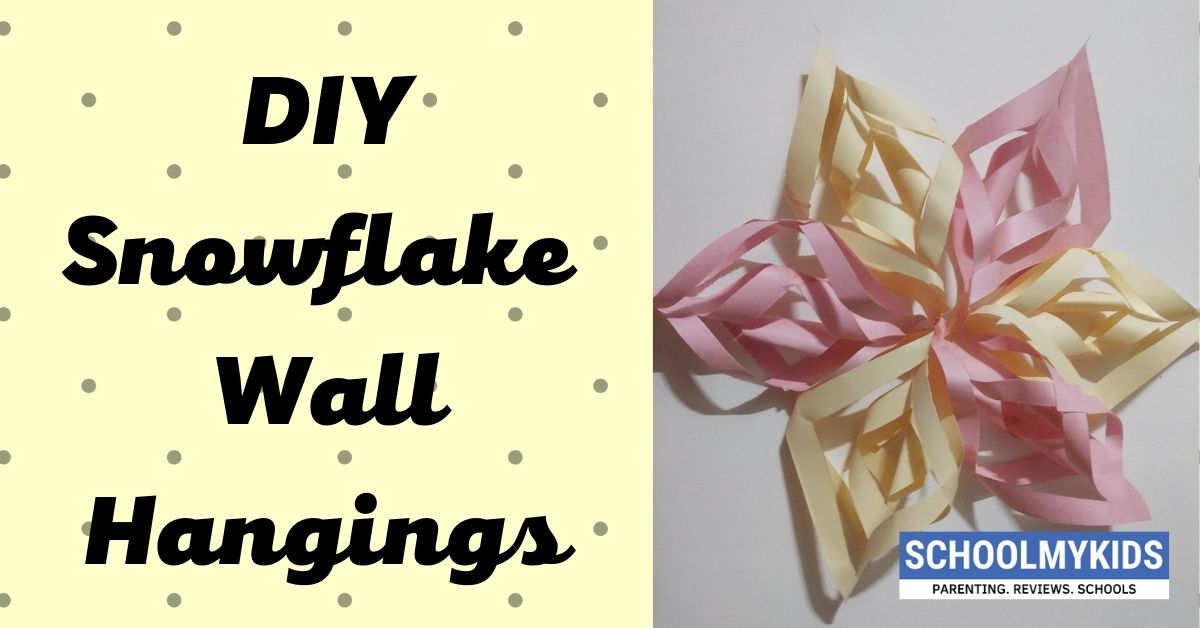
Plain walls look a bit dull especially when it’s a kids bedroom or a cosy corner of a room. At such times it’s always better to accentuate the look of the wall with creative wall hangings.
Today we are going to make one such creative paper snowflake wall hanging and hang it on our walls or just the windows. Have a look at the steps children to make your own creative DIY snowflake wall hanging. Also, check out our other collection of Art and Crafts & DIY Ideas.
Materials Required to make Snowflake Wall Hangings

- Pink sheet
- White sheet
- Ruler
- Pencil
- Glue
- Scissors
How to make Snowflake Wall Hangings Step by Step
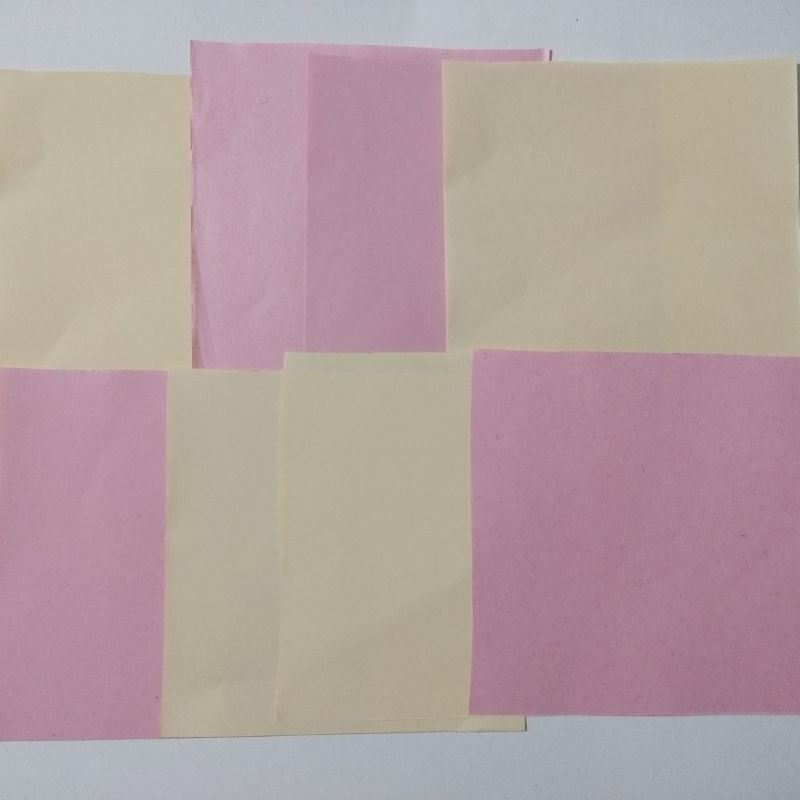
- Take a white and a pink sheet and cut around 6 to 8 squares of around 10 cm by 10 cm from these two sheets. Make sure you have an equal number of squares from each sheet.
- Next, fold the square sheet into a triangle and draw triangles in ascending order one over the other from the base of this folded triangle.

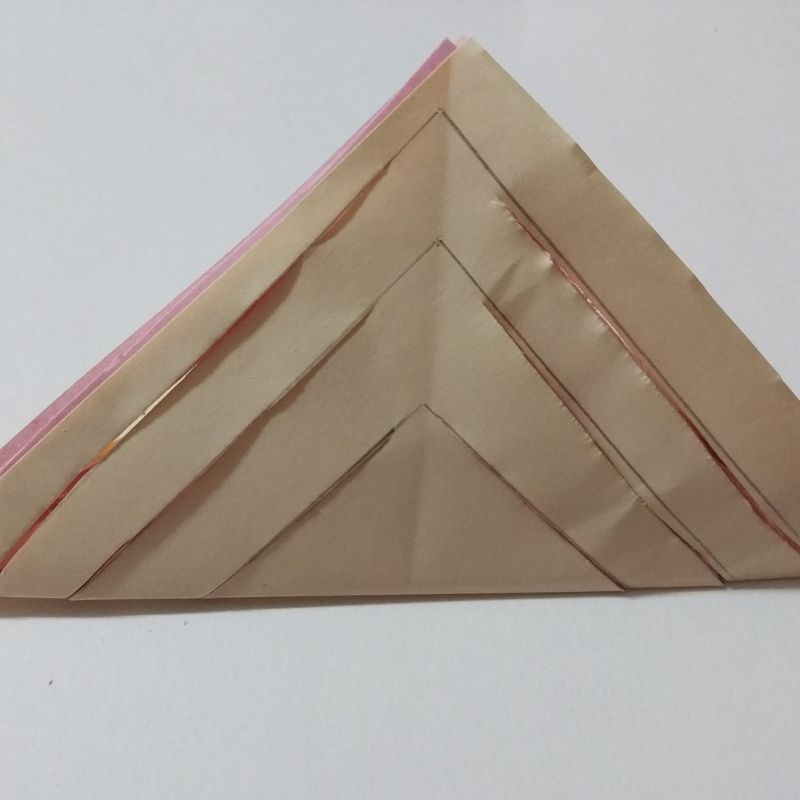
- Make sure there is a space of around 1 to 1.5 cm in between each triangle.
- Cut these triangles and make sure you leave some space near the apex and it is uncut there.
- Follow this procedure while cutting all the triangles drawn on the folded triangle sheet.
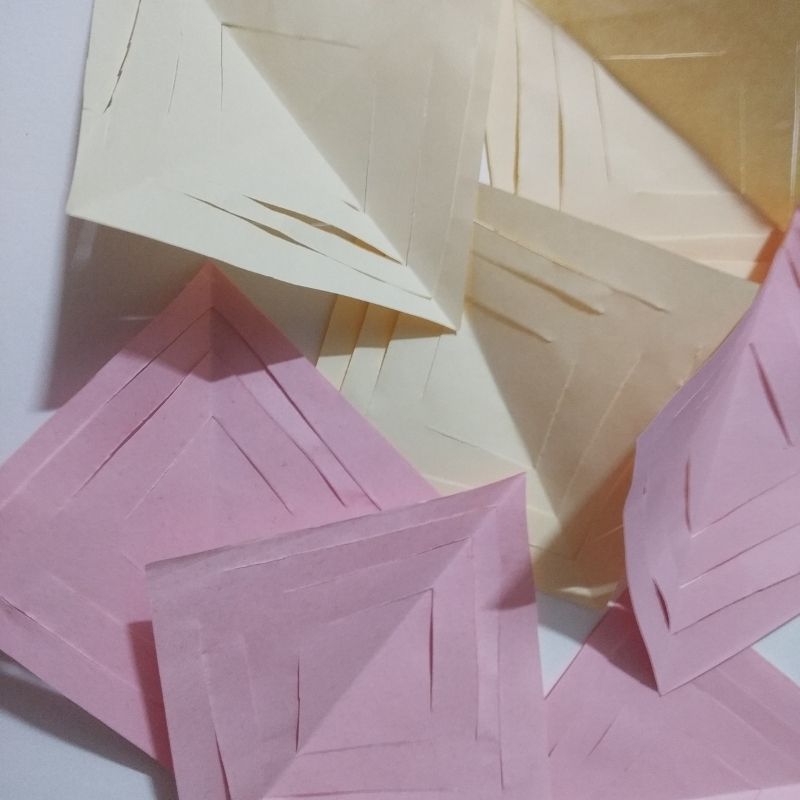
- After you open the cut triangles you will get a square sheet with small squares in ascending order from the center till the periphery.
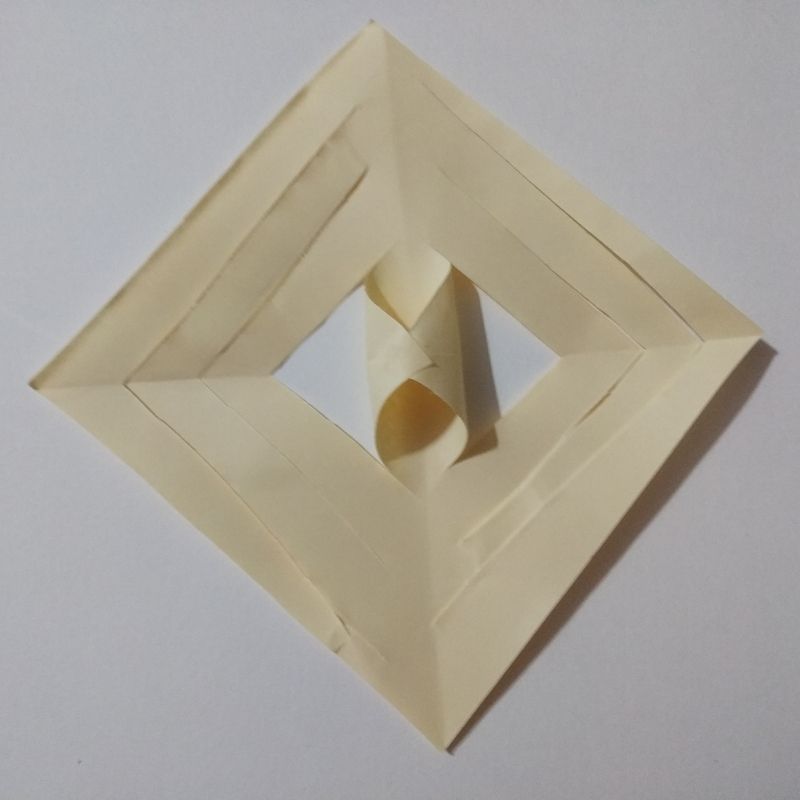
- Now hold the square sheet with the cut squares in a vertical fashion, making sure you have the apex of the triangles on both sides pointing outwards.
- Next, lift the apex of the triangles on either side and stick them together in an alternate fashion.
- This means you need to stick one square in front and second at the back and so on.
- After you follow this step you will have a part of the snowflake ready.
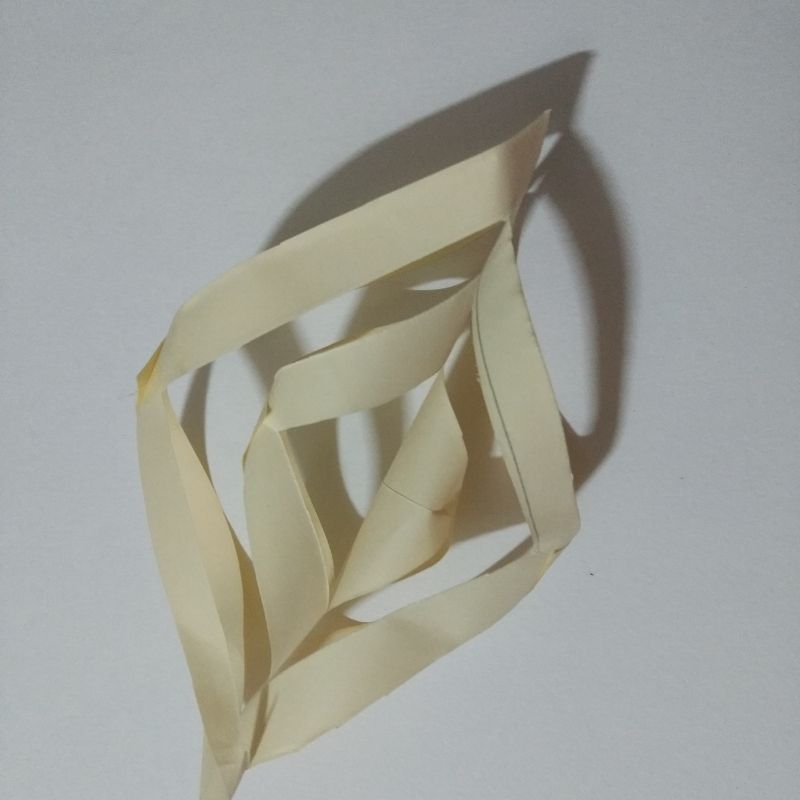
- Follow the same procedure with the other square sheets.
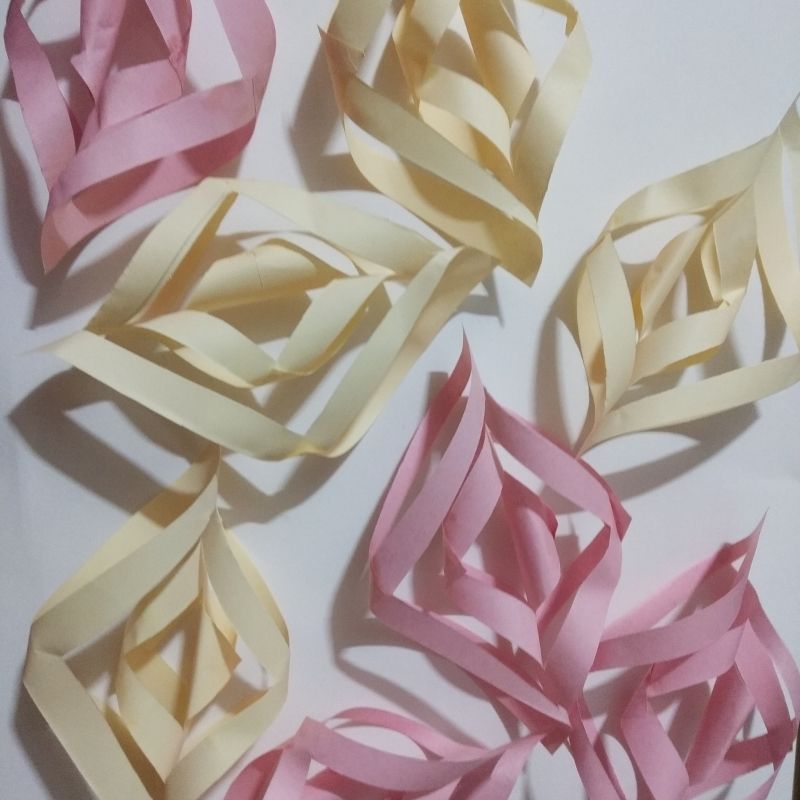
- Once ready, stick all the portions of the snowflake one by one at the centre next to each other to get one big snowflake ready.
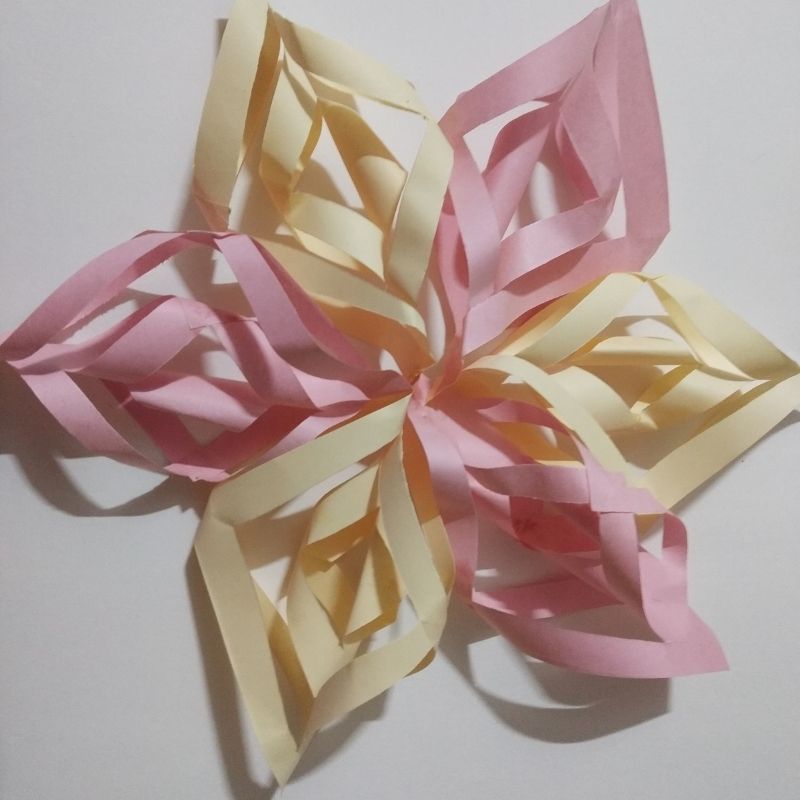
- That’s it, kids! You can punch in some holes at the tip of the snowflakes and tie a thread through it and hang it on your walls or tie up near your windows. Your DIY Snowflake wall hanging is ready.
- You can even use some beads in the thread to make it even more attractive.
Enjoy kids.


Be the first one to comment on this story.