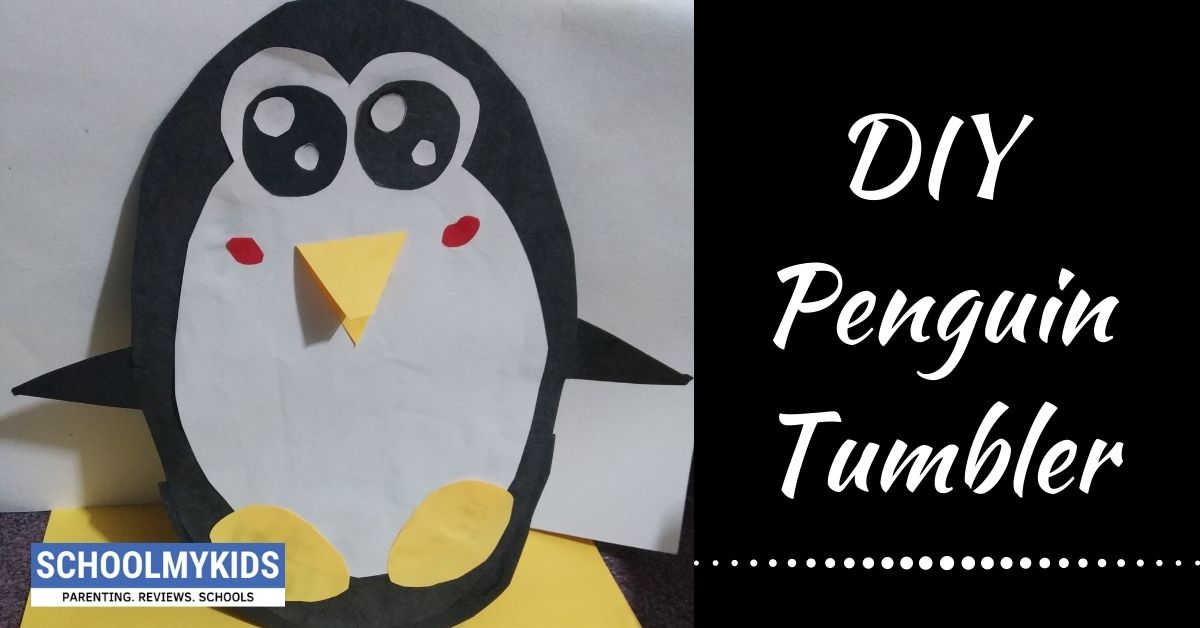
Hello kids! Penguin is known as the clown of Antarctica! They are aquatic birds but can’t fly. They swim in cold waters and are seen in snow-capped regions. Black and white with a tinge of yellow penguins waddle and walk on two feet.
Kids will love this DIY penguin craft
So today let’s make a beautiful penguin tumbler and add it to our animal kingdom collection.
Follow the instructions to make DIY Penguin Tumbler.
Materials Required to Make DIY Penguin Tumbler
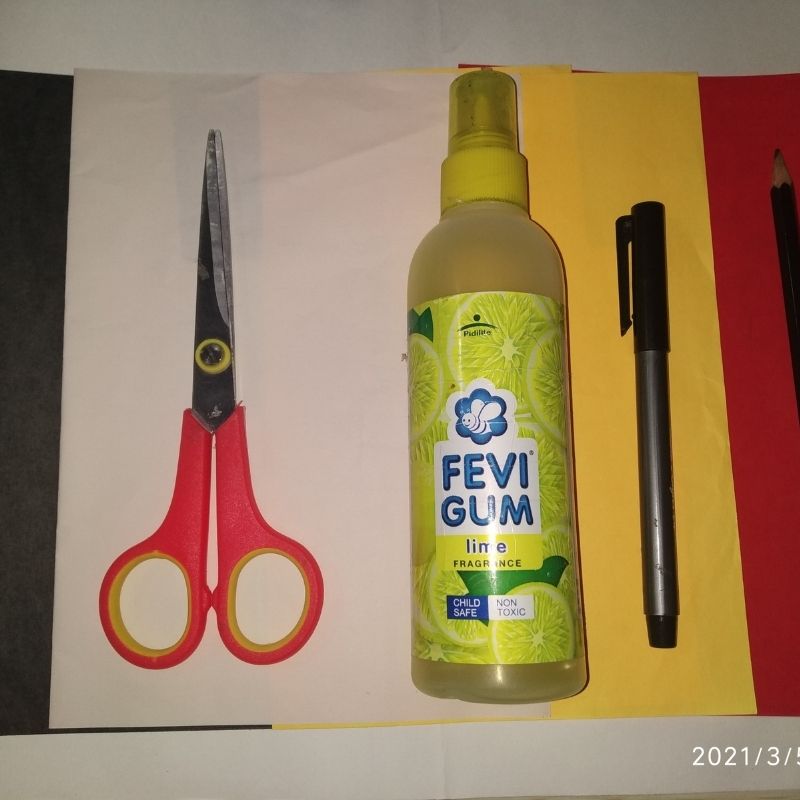
- White paper
- Black paper
- Yellow paper
- Red paper
- Sketch pens
- Glue
- Pencil
- Scissors
How to Make DIY Penguin Tumbler Step by Step
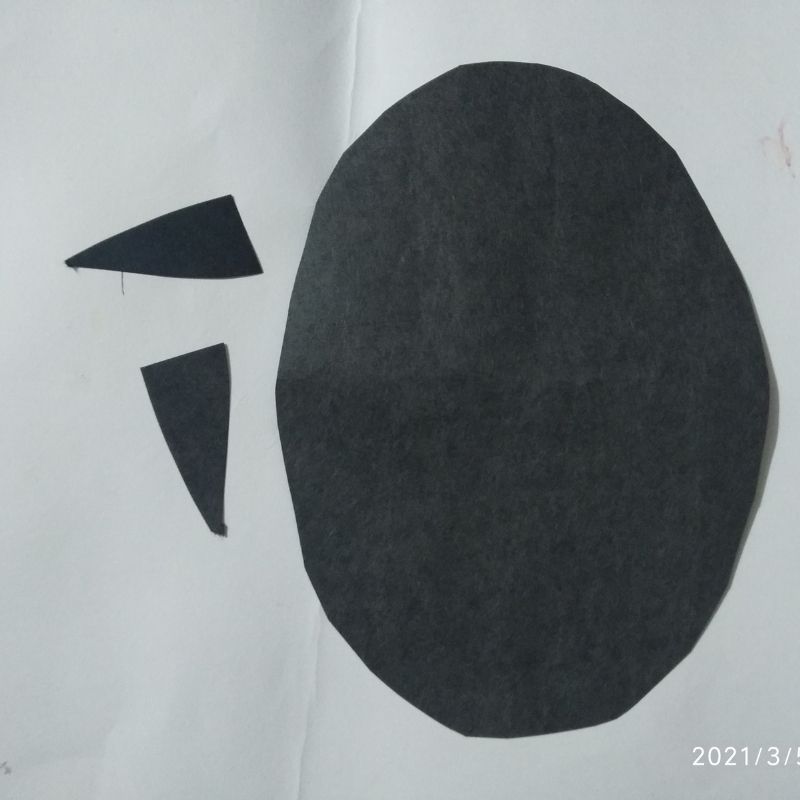
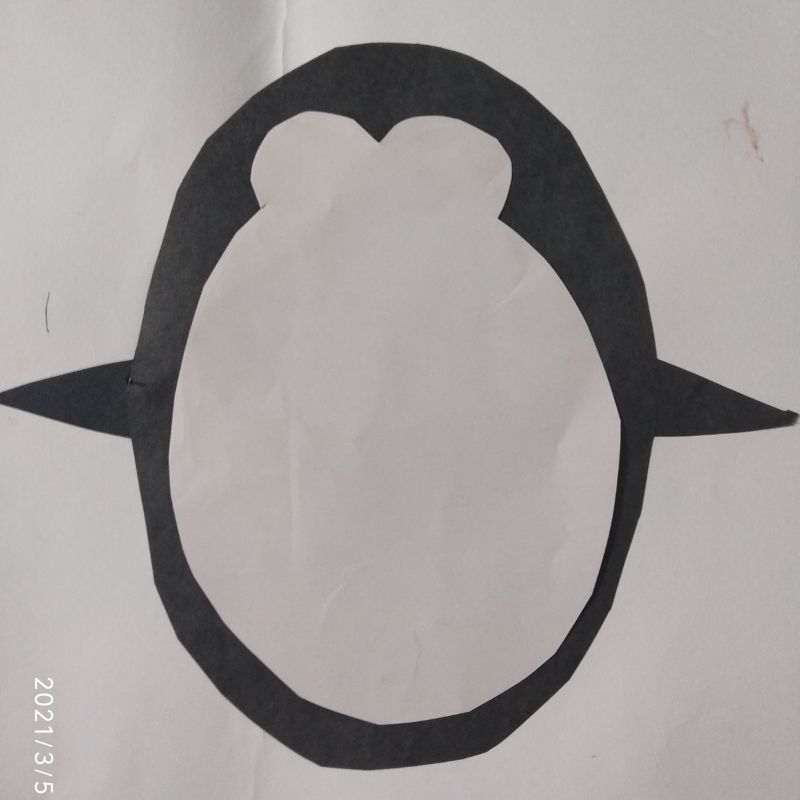
- First, we need a black sheet of paper.
- The preferred size is half of A4
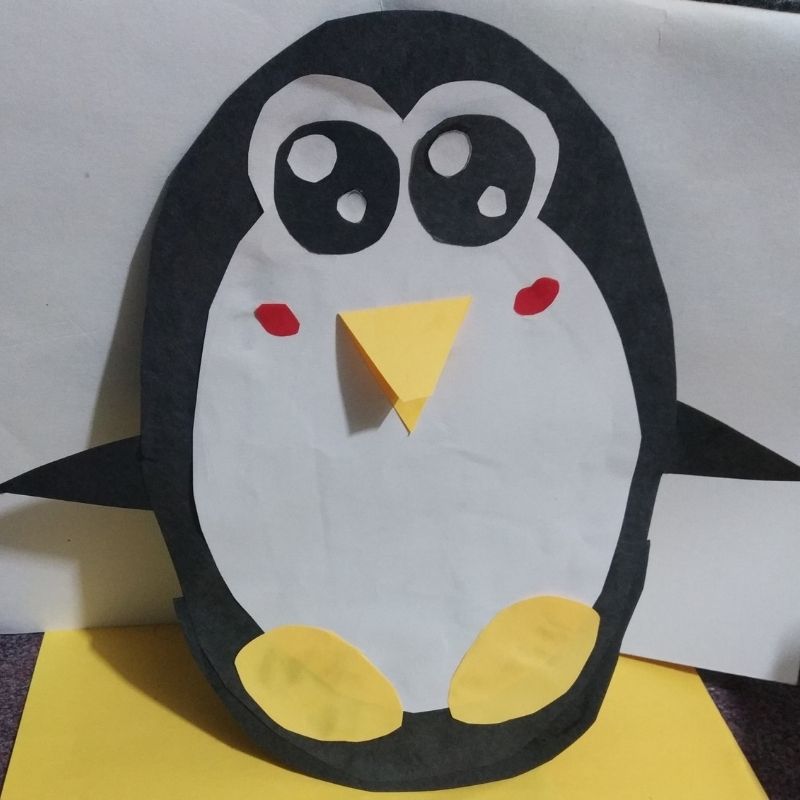
- Draw the body of the penguin in an oval pattern and cut it along the borders.
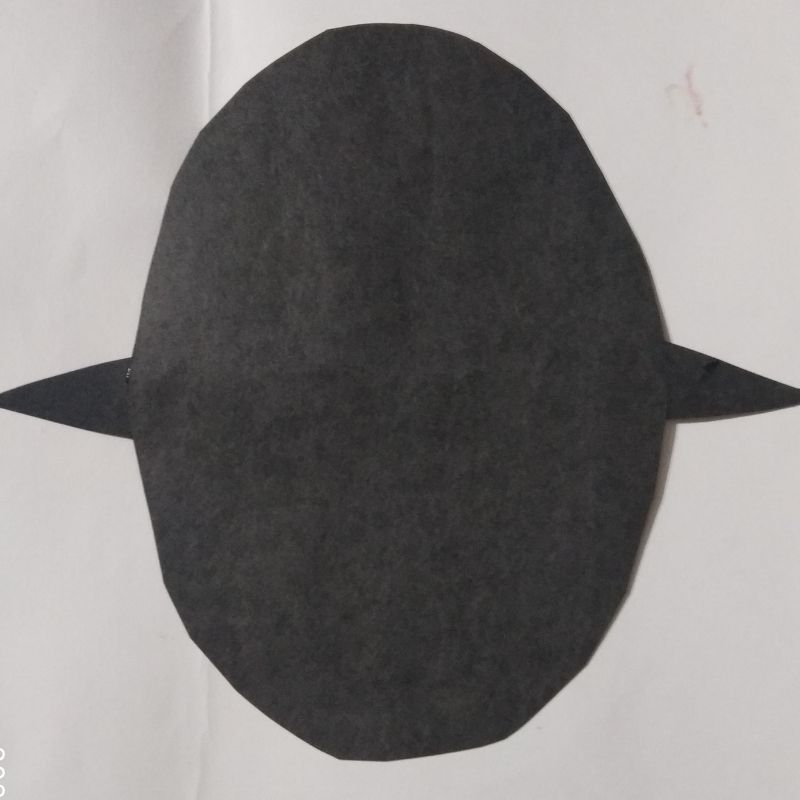
- Next, draw and cut the wings of the penguin using the same black paper.
- Now you have the body and the wings ready.
- Stick the wings on the side of the body.
- Next, use a white sheet of paper, draw and cut the frontal surface of the penguin’s body. Make sure it is smaller than the black portion.
- Cut and stick it in the middle of the black portion.
- Next, cut two small circles using a black sheet of paper and stick it on the face.
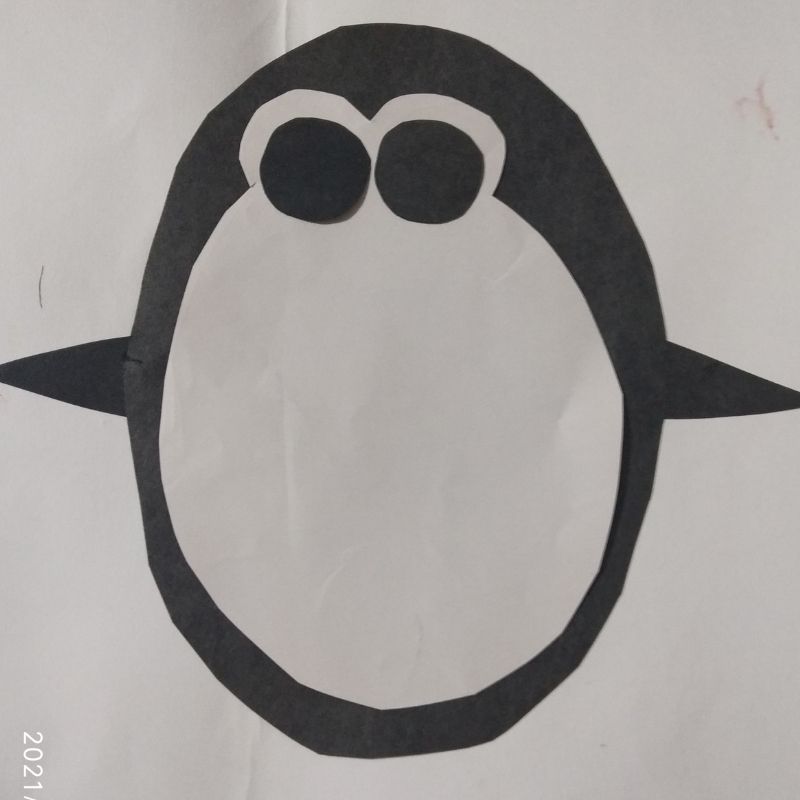
- Add two small white circles to each eye and add these elements.
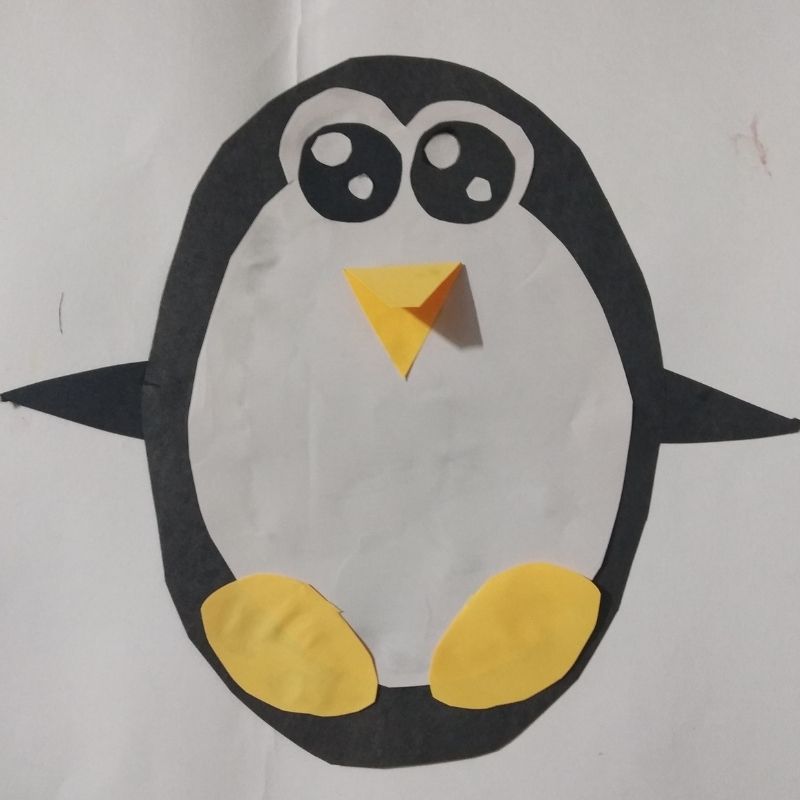
- After this, use yellow paper to cut the beak and the feet of the penguin
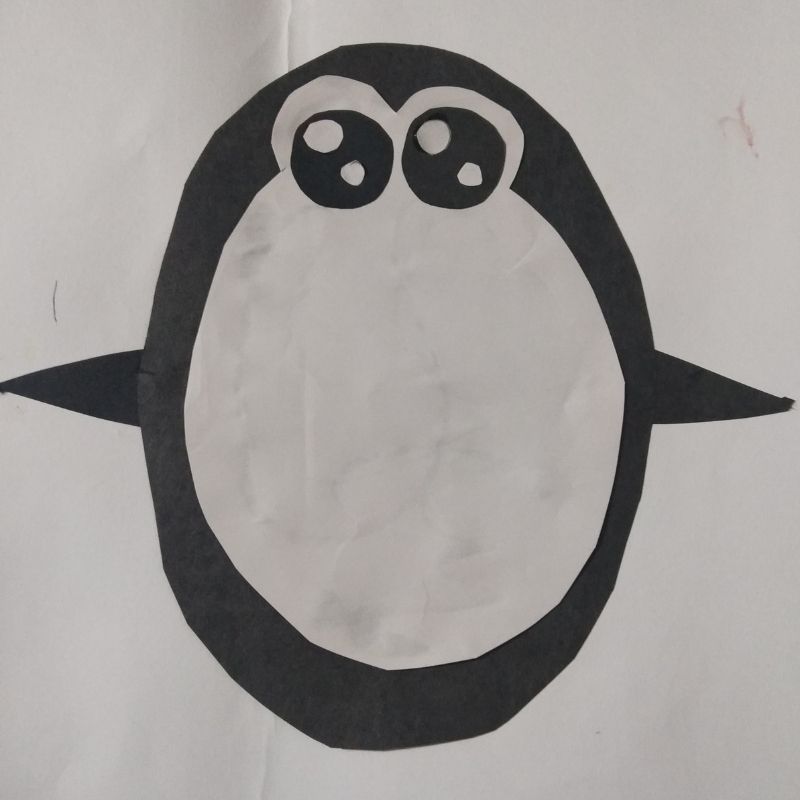
- Finally, add details to the face using two small red circles or ovals
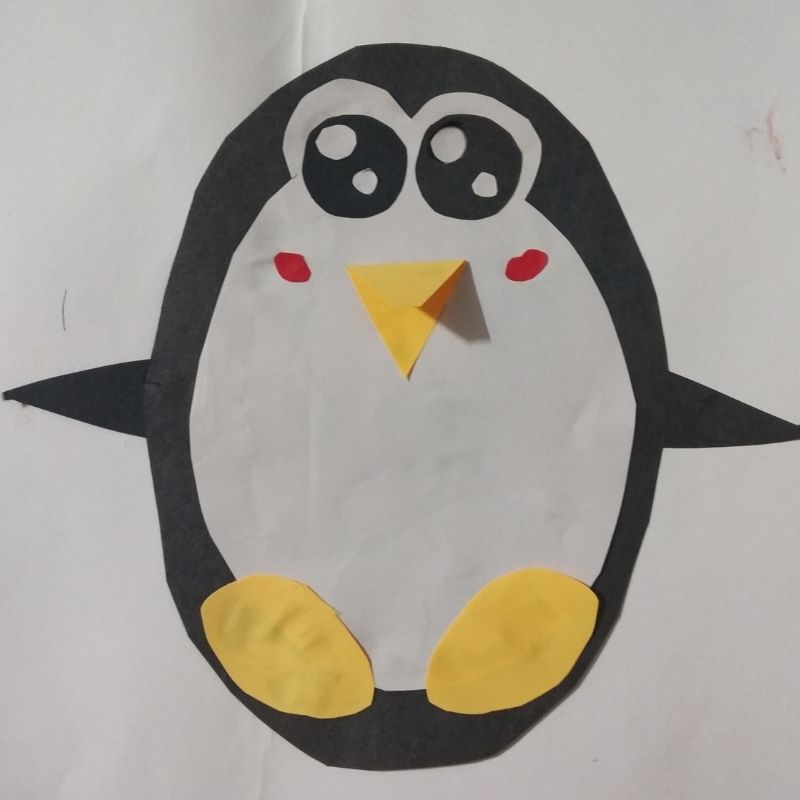
- Now your penguin is ready!
- Next, use black paper and cut a circle of 10 cms or keep the diameter ad wide as the penguin’s body.
- Fold it in half and stick it on the back of the penguin’s body
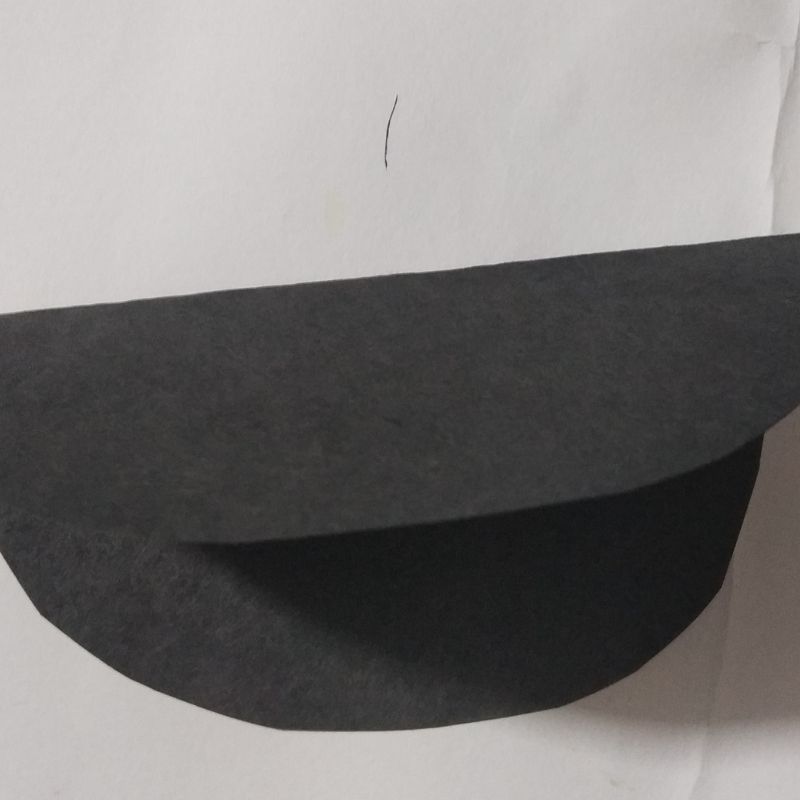
- Now just give a slight push and watch the penguin tumbler rock to and fro.
Try for yourself!


Be the first one to comment on this story.