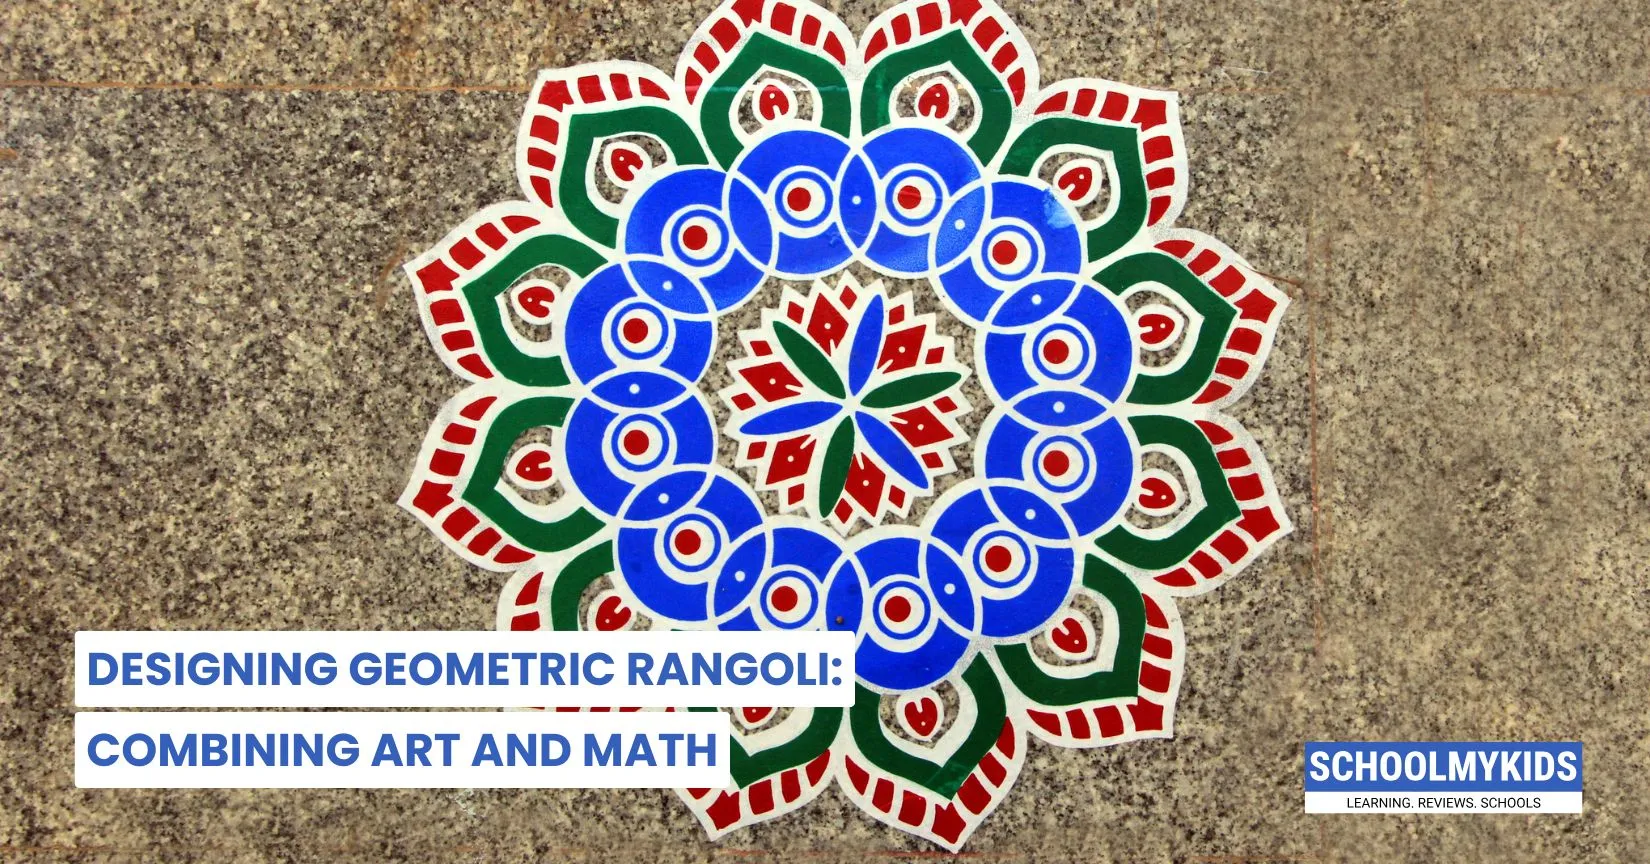
Have you ever wondered how those beautiful, perfectly symmetrical rangoli designs come to life? Well, here's a secret - they're not just art; they're math in action! This holiday homework project is not just about making something pretty—it’s about discovering how art and math work together to create amazing patterns.
Step 1: Gather Your Materials
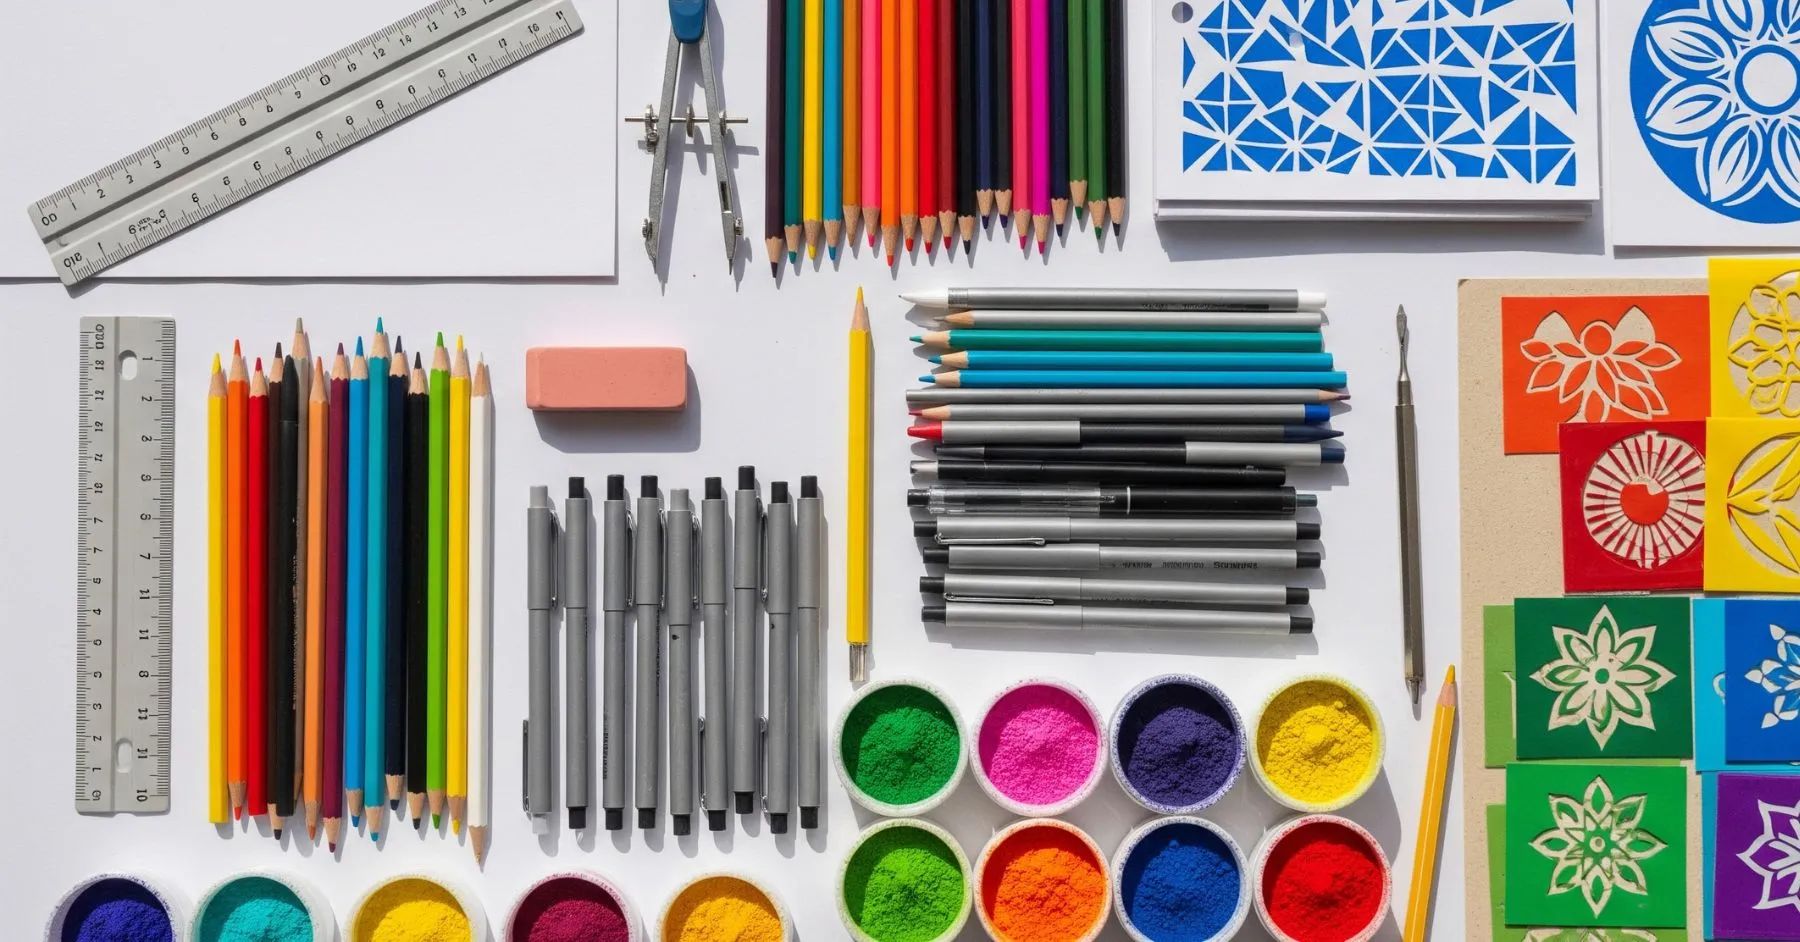
Before you start, collect everything you need. Here’s a simple list:
- White paper or chart paper (if you’re making it on paper)
- Pencil, eraser, ruler, and compass (for drawing shapes)
- Colored powders, crayons, sketch pens, or colored rice
- Stencils or shape templates (optional for beginners)
- A clean, flat surface (if you’re making it on the floor)
Tip: Keep your materials neat and ready. Teachers love organized work!
Step 2: Plan Your Rangoli with a Dot Grid
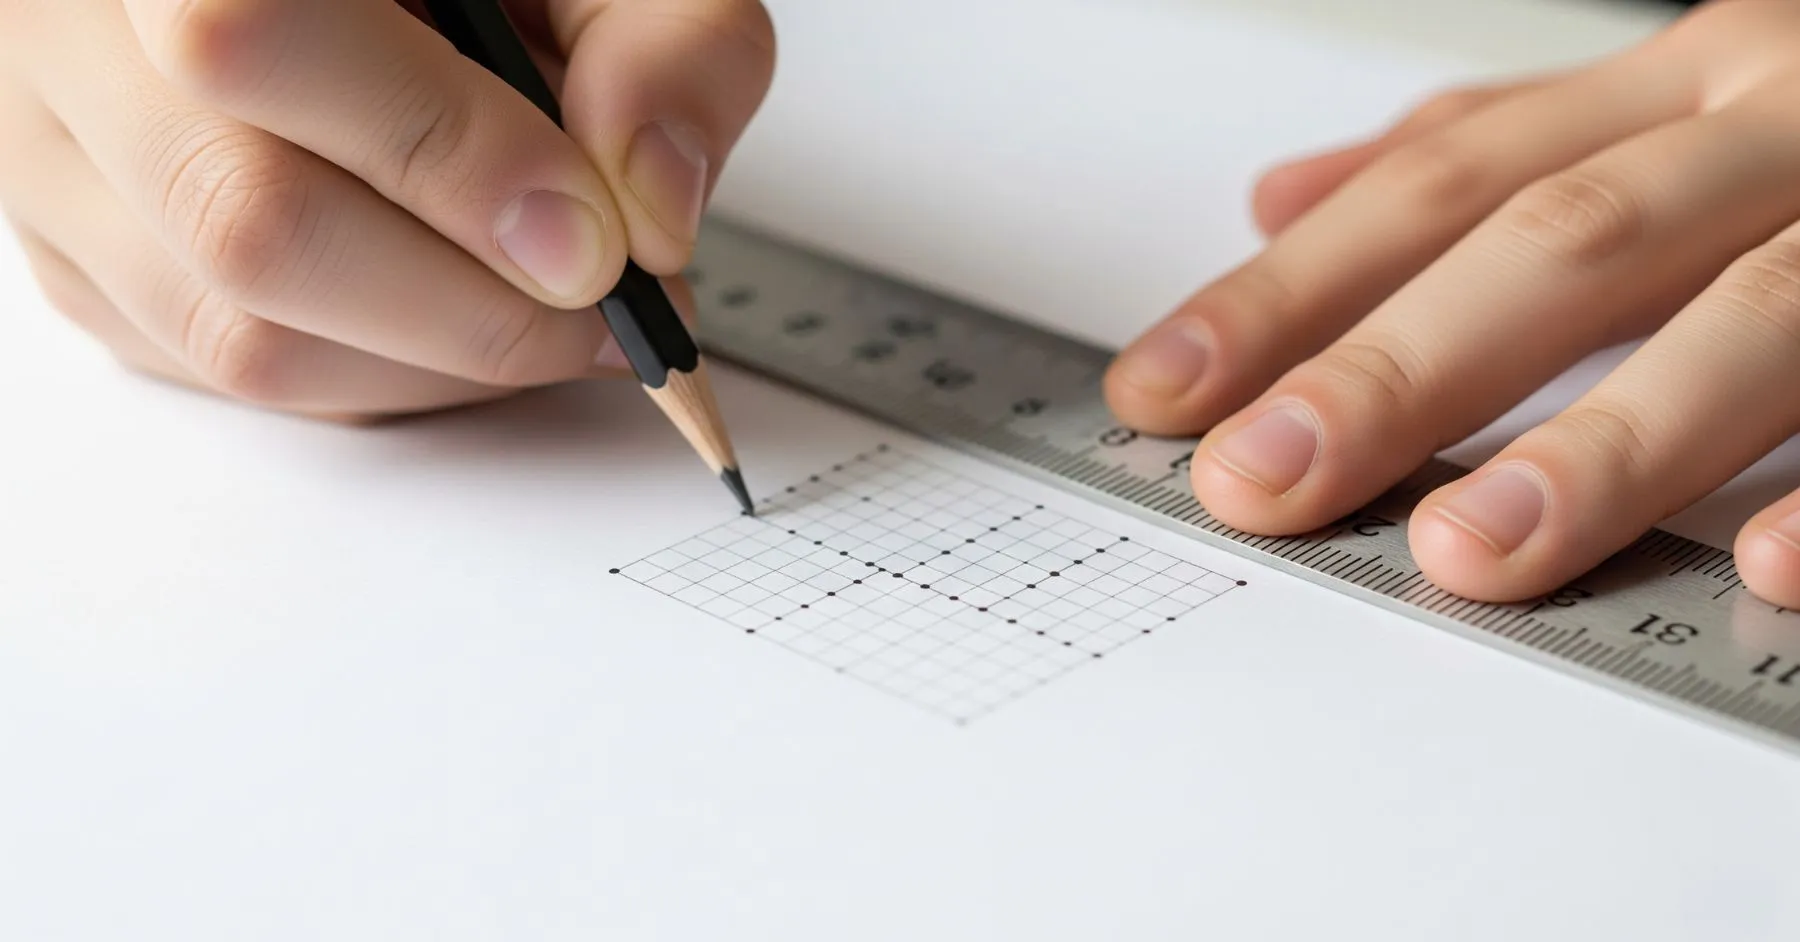
The secret to a perfect geometric rangoli is a dot grid. This helps you keep your shapes even and your design balanced.
- Use a ruler to draw a grid of dots on your paper or floor. A 7x7 grid (seven rows and seven columns) is a good starting point for beginners.
- Make sure the dots are spaced evenly. You can use your ruler or just guess if you want it to be more freestyle.
- These dots will be your guide for drawing different shapes.
Why a dot grid?
It helps you create patterns that are symmetrical and neat. Plus, it makes drawing circles, squares, and triangles much easier!
Step 3: Draw Geometric Shapes
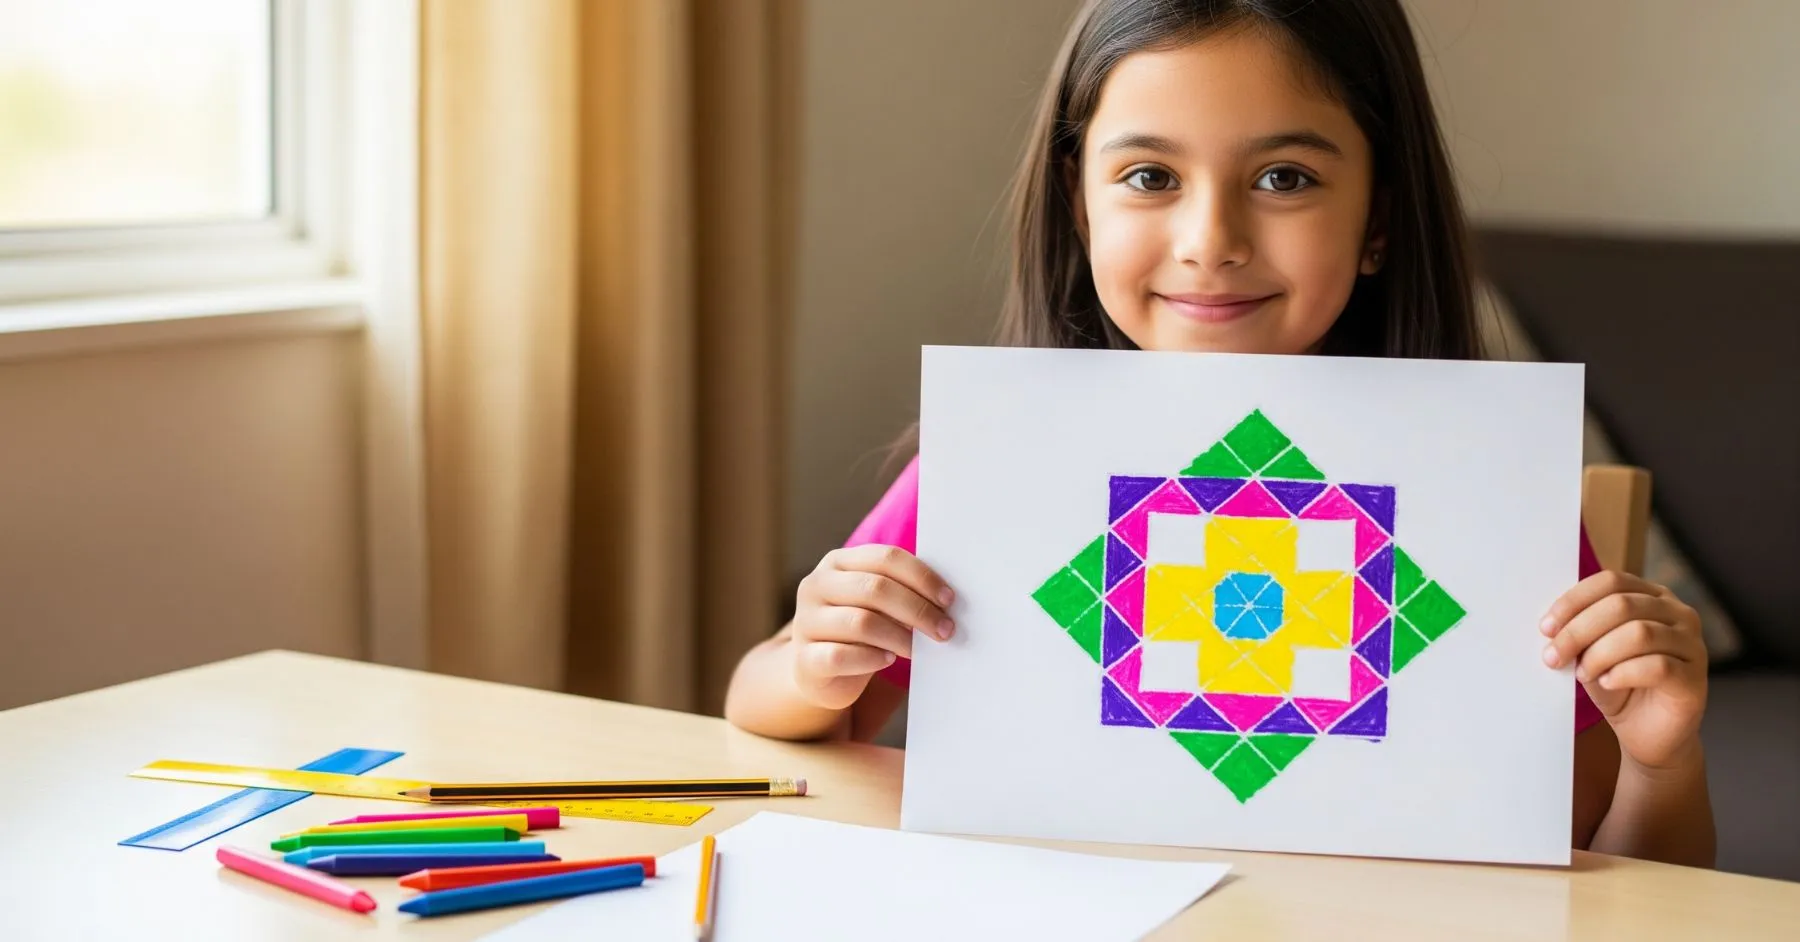
Now comes the creative part!
- Start connecting the dots to make different shapes. Try circles, squares, triangles, rectangles, or even stars.
- Mix and match the shapes. For example, draw a triangle inside a circle or a square next to a triangle.
- Make sure your design is balanced. If you draw a shape on one side, try to draw a similar shape on the other side for symmetry.
- Use a pencil first so you can erase and fix any mistakes.
Step 4: Add Colors and Details
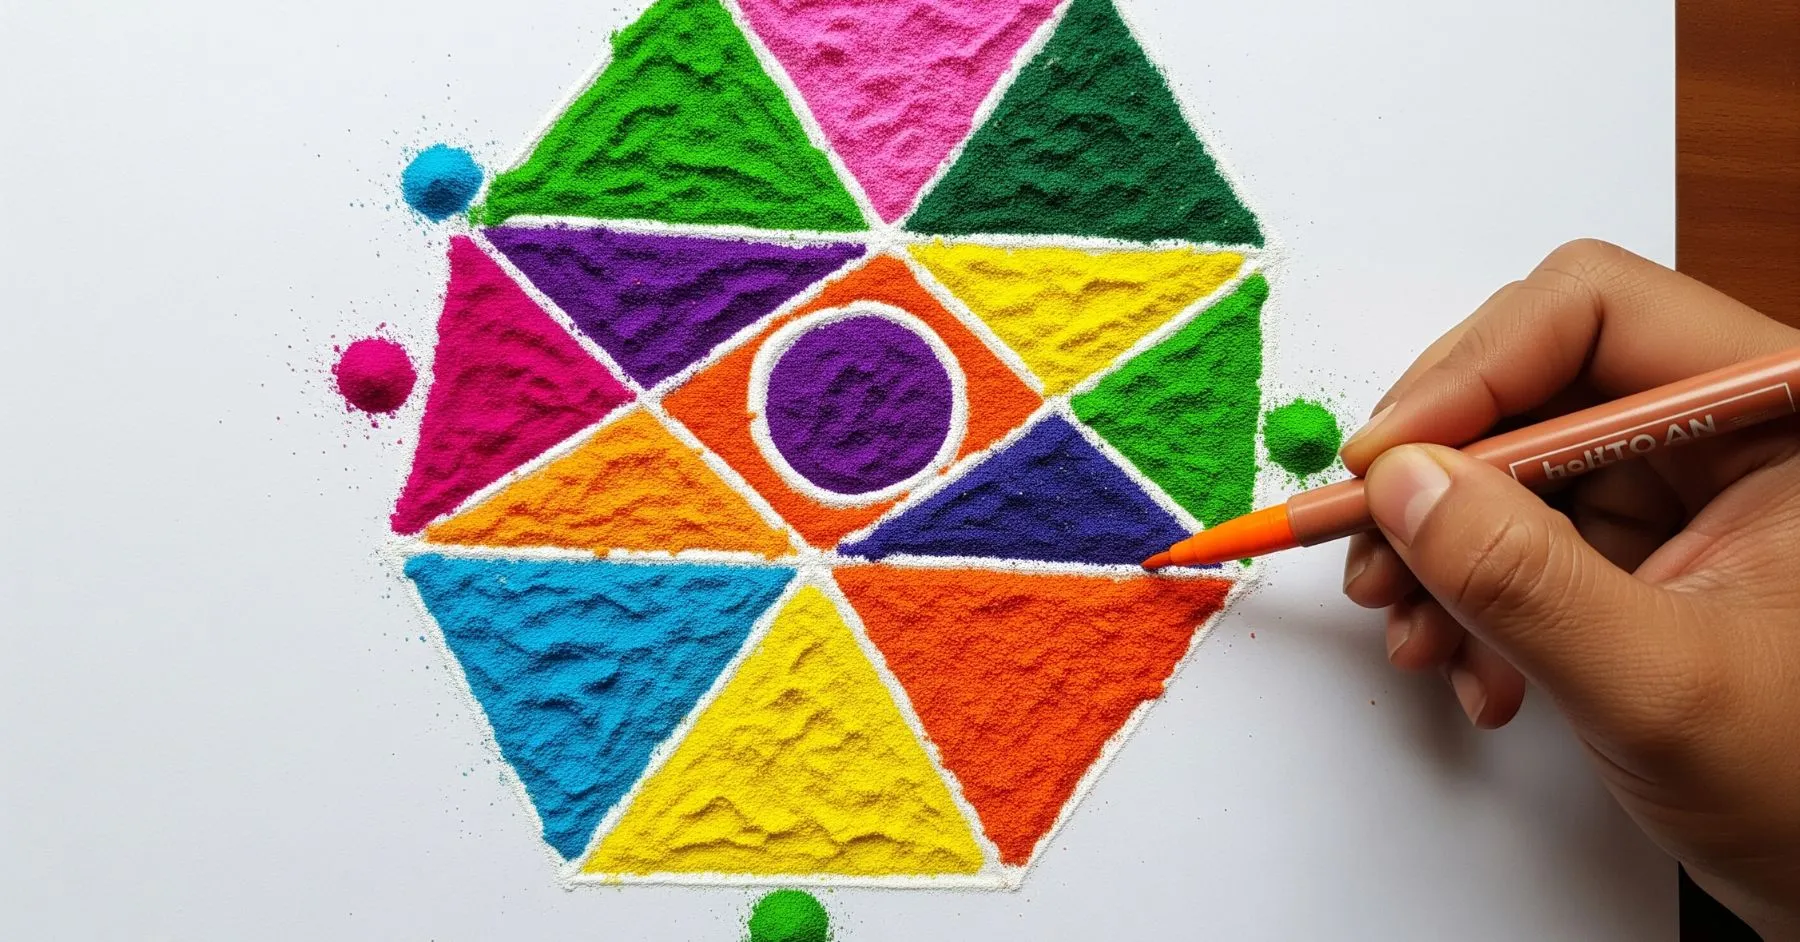
This is the most exciting step!
- Use colored powders, crayons, or sketch pens to fill in the shapes. Choose bright and contrasting colors to make your rangoli pop.
- If you’re using powders, be gentle and use a spoon or your fingers to fill the shapes.
- Add small dots, lines, or extra patterns inside the shapes to make your design unique.
- Step back every now and then to see if your rangoli looks balanced and colorful.
Tip: Don’t overcrowd your rangoli. Leave some white spaces for a clean and neat look.
Step 5: Final Touches and Refinement (The Polishing)
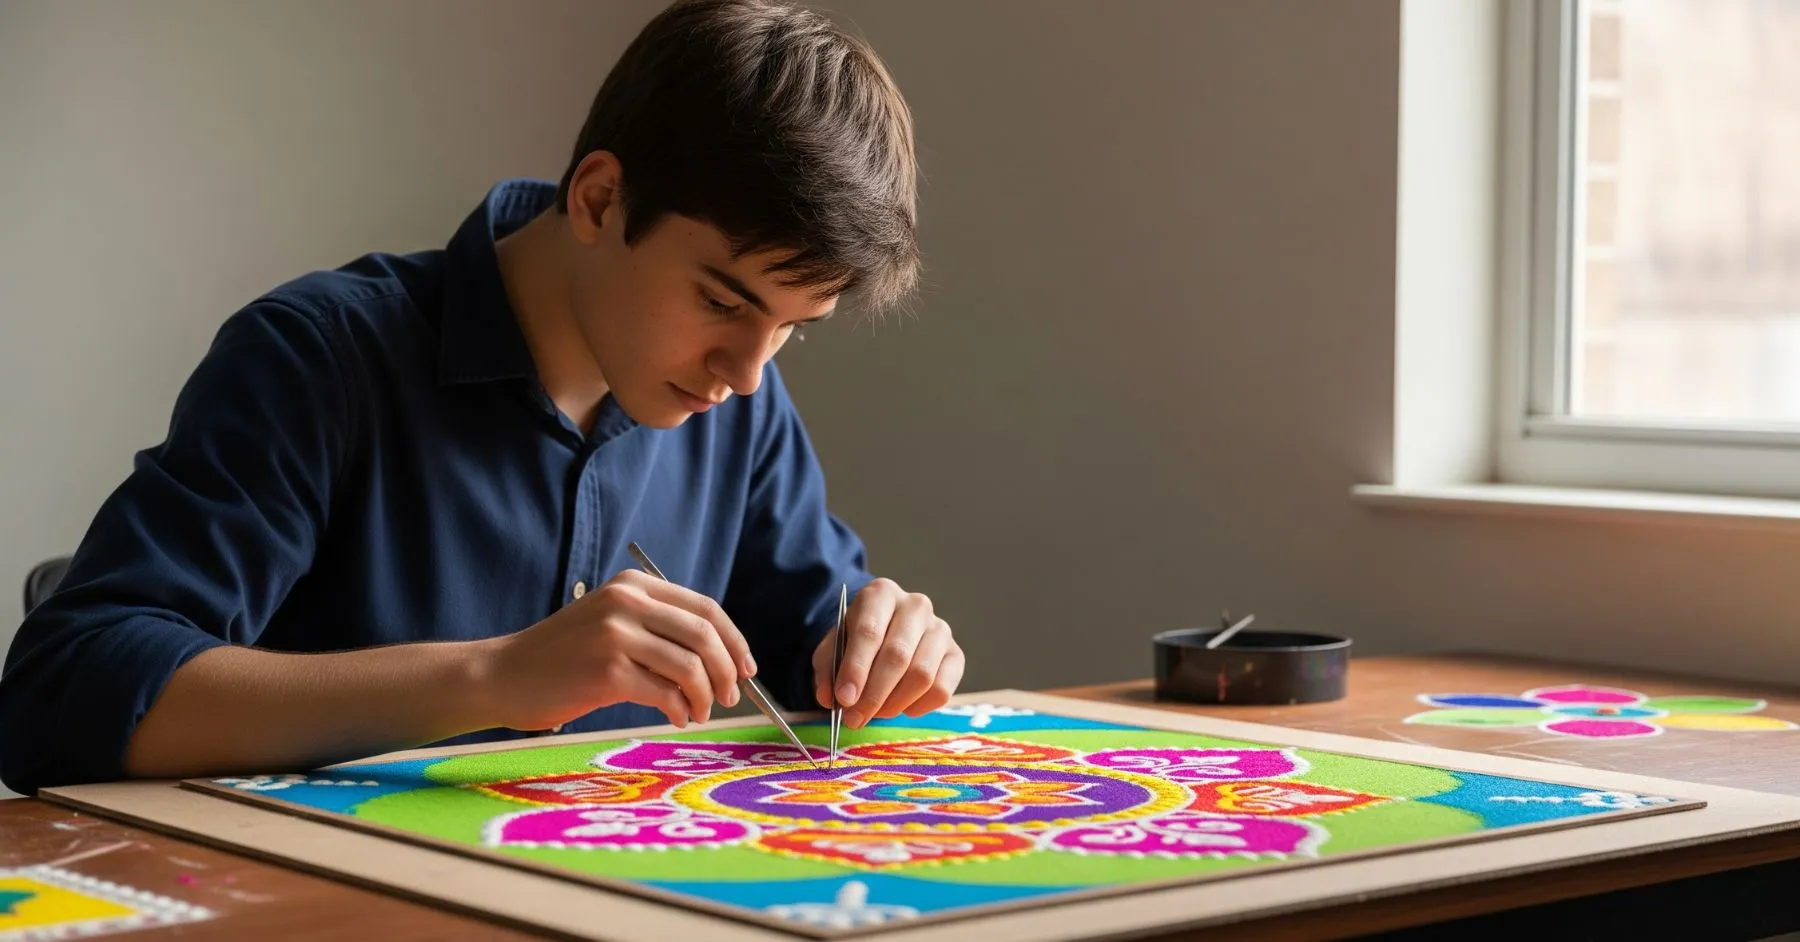
Step back and look at your creation with fresh eyes. Check for symmetry - does one side match the other? Are the proportions pleasing? This is your quality control moment.
Add small details that enhance the overall design - tiny dots, small lines, or miniature geometric shapes. Clean up any uneven edges or color bleeds. Sometimes, small adjustments make a huge difference in the final appearance.
Take photos from different angles to see how your design looks. This helps you spot any areas that need touch-ups.
Tips to Get Good Grades
- Be neat: Clean lines and careful coloring show you worked hard.
- Be creative: Try new shapes or color combinations.
- Explain your work: Teachers love when you write about your process and what you learned.
- Practice first: Try your design on a rough sheet before making the final one.
- Show your math: Use words like “symmetry,” “pattern,” and “shapes” in your explanation.
Conclusion
Designing a geometric rangoli is a wonderful way to mix art, math, and tradition. You’ll learn about shapes, patterns, and symmetry, all while making something beautiful. Follow these five steps, document your work, and you’re sure to impress your teachers and classmates.


Be the first one to comment on this story.