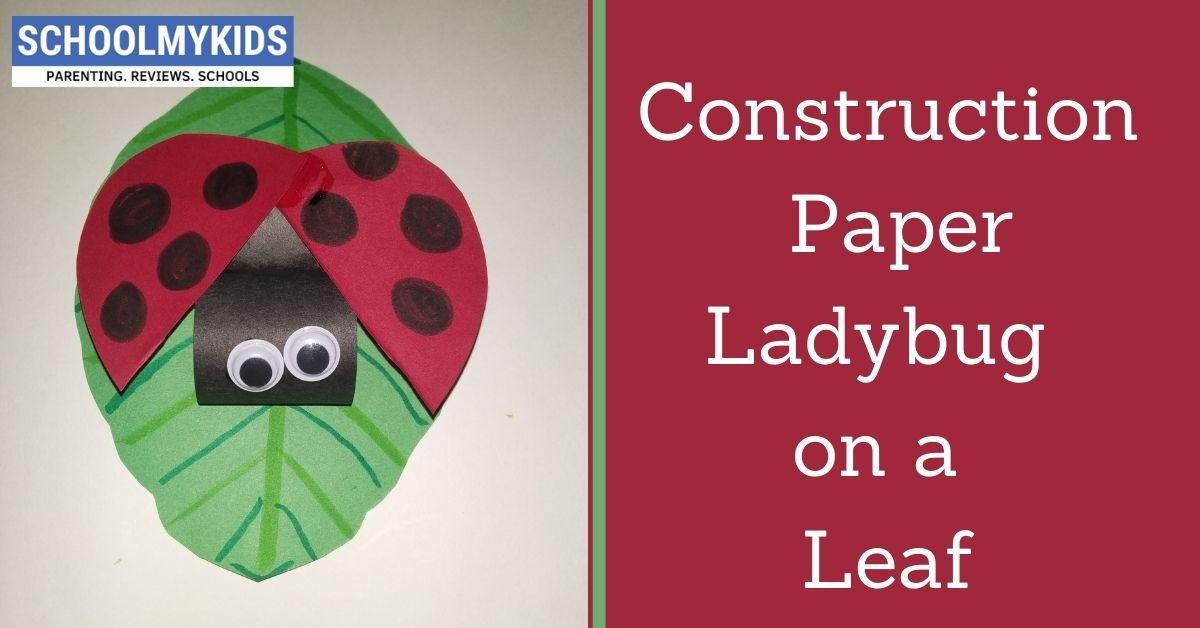
Hello kids! We see ladybug creeping on leaves, flowers and sometimes in our gardens! They look beautiful and their bright red colours attract most of the kids! Though harmless they are insects and can’t be our pets hehe, so what if we make a beautiful paper ladybug craft on a leaf using some basic craft supplies at home! Interesting isn’t it? So let’s make a construction paper ladybug on a leaf craft.
This craft is easy to make even by toddlers
Follow the instructions to know make construction paper ladybug on a leaf.
Materials Required to Make Paper Ladybug on a Leaf
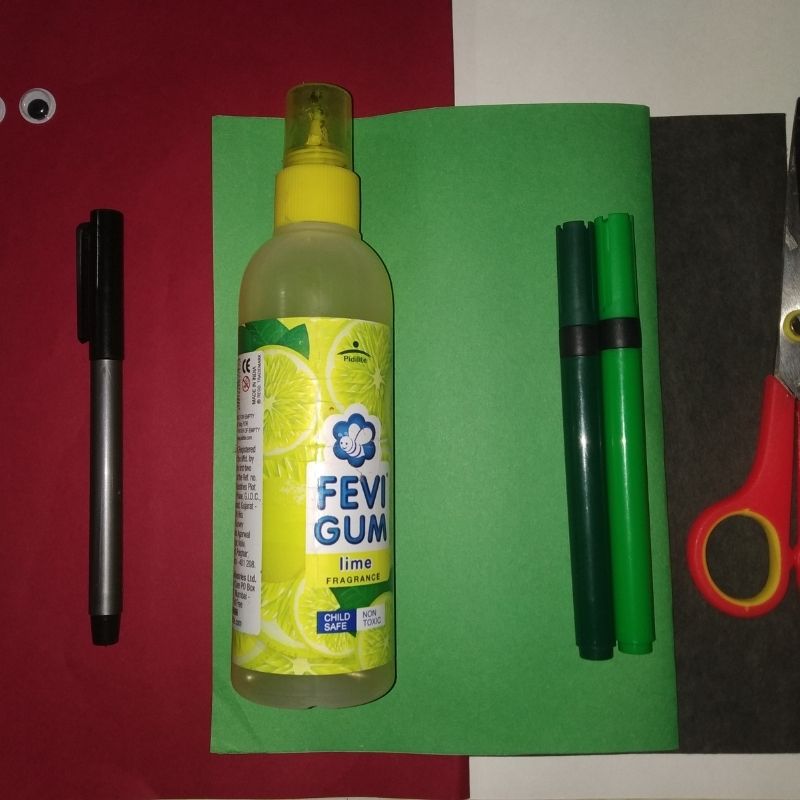
- Red paper
- Black paper
- Green paper
- Sketch pens
- Googly eyes
- Pencil
- Scissors
- Glue
How to Make Paper Ladybug on a Leaf Step by Step
- To start with we need a black paper.
- Next, cut two strips of black paper, one around 10 cm by 4cm and another 8cm by 2cm.
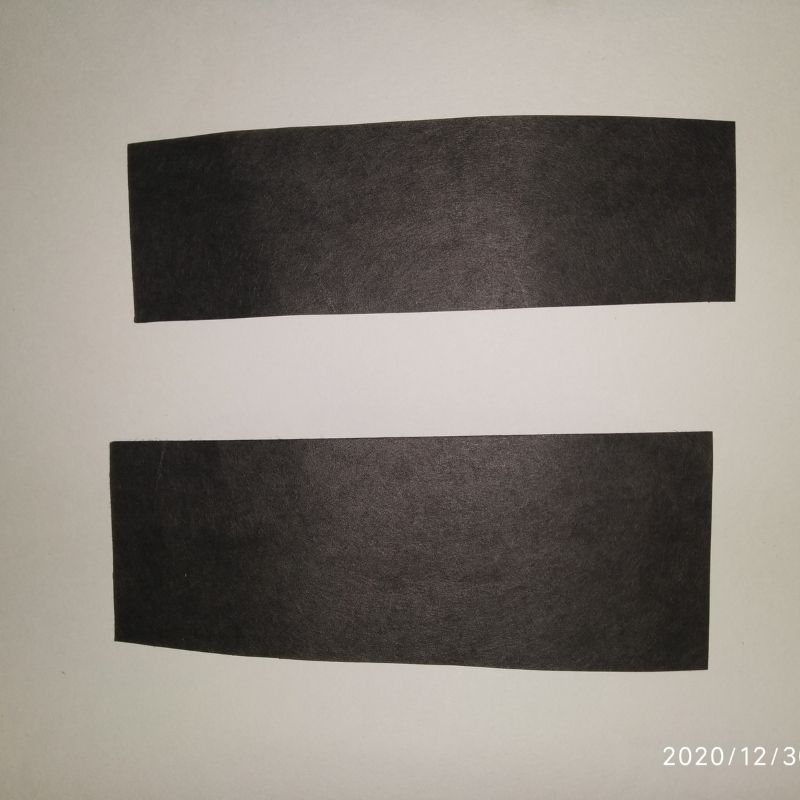
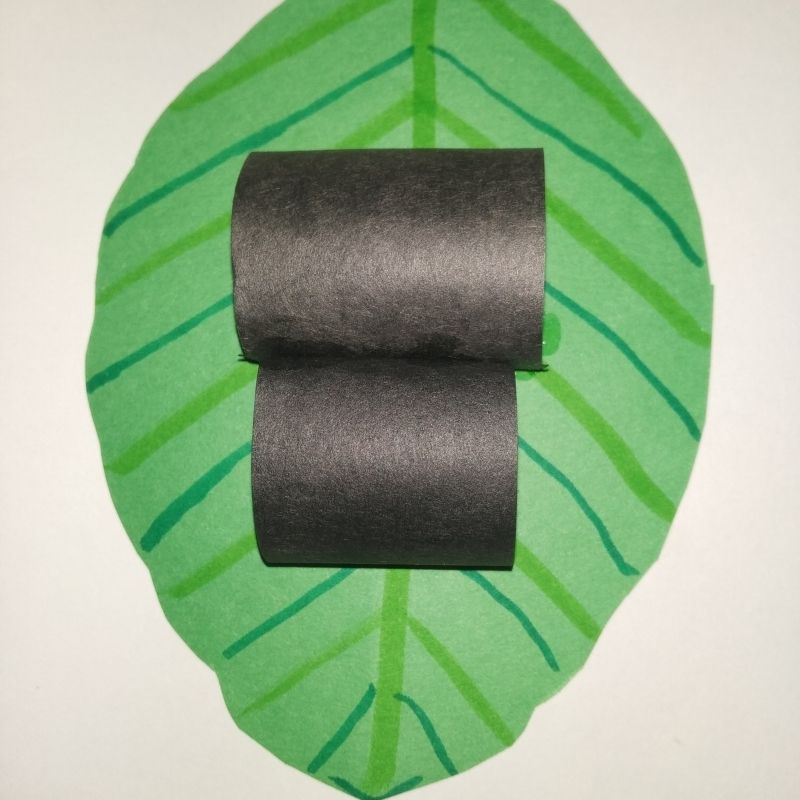
- Roll these rectangular strips into a cylinder.
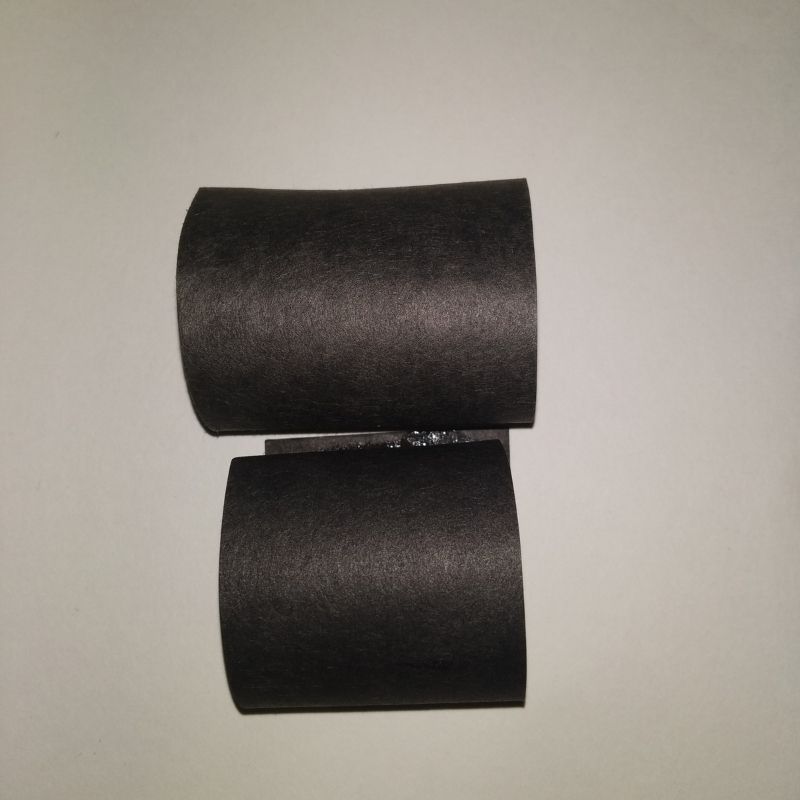
- Next, arrange these cylinders one behind the other with the smallest cylinder first.
- Now take a green sheet of paper and draw a leaf on it. Cut it
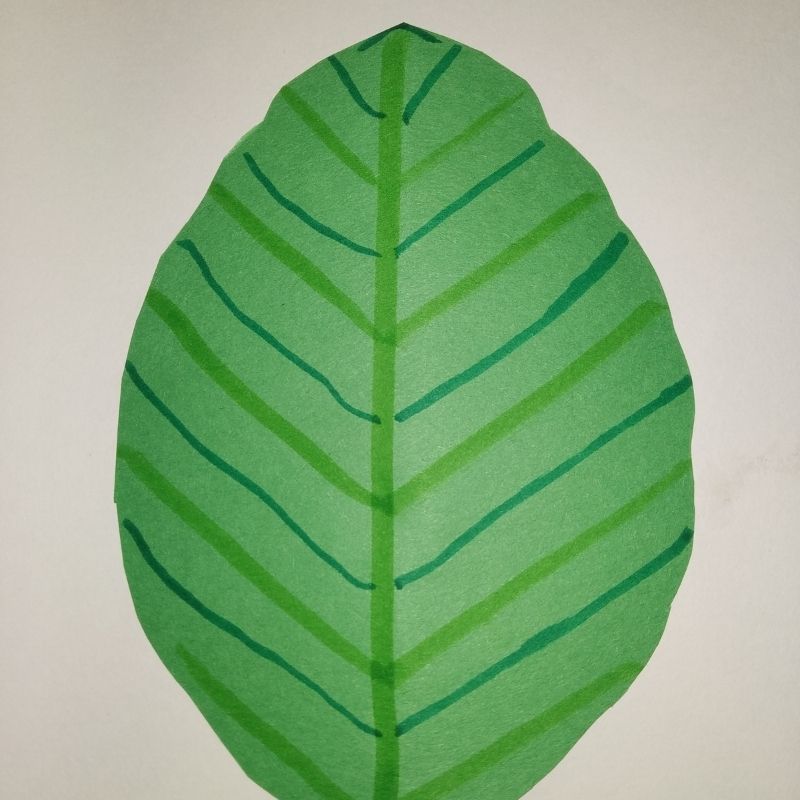
- Next, arrange these two cylinders on the leaf and stick them.
- Once done, take a red sheet of paper and draw a circle on it.
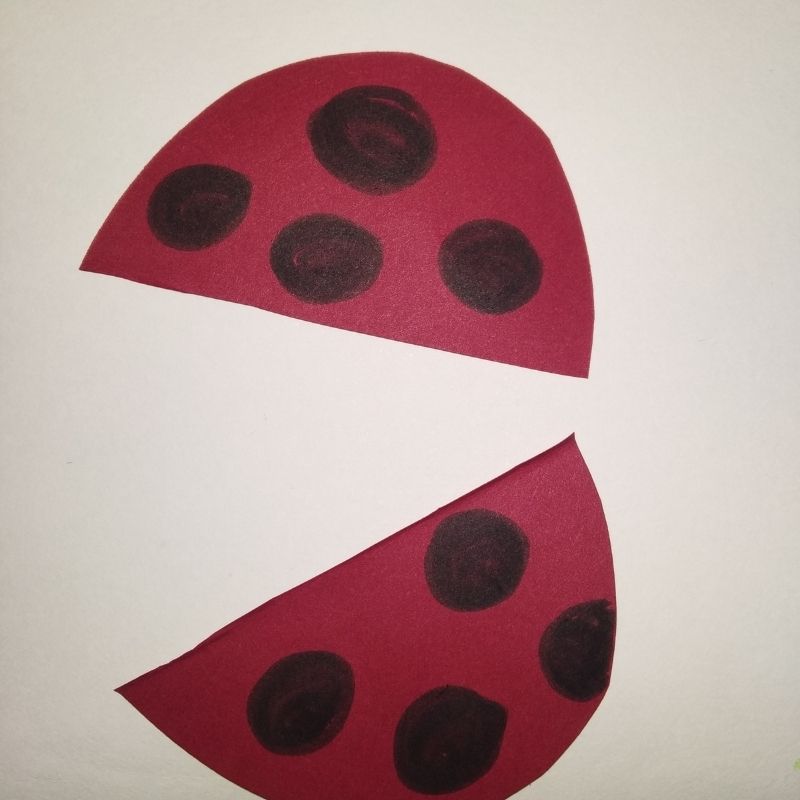
- The size of the circle should be around 10cms in diameter
- Cut it and fold it into half. Cut once again to get two semicircles.
- Now stick this two semicircle on the sides of the black cylinder.
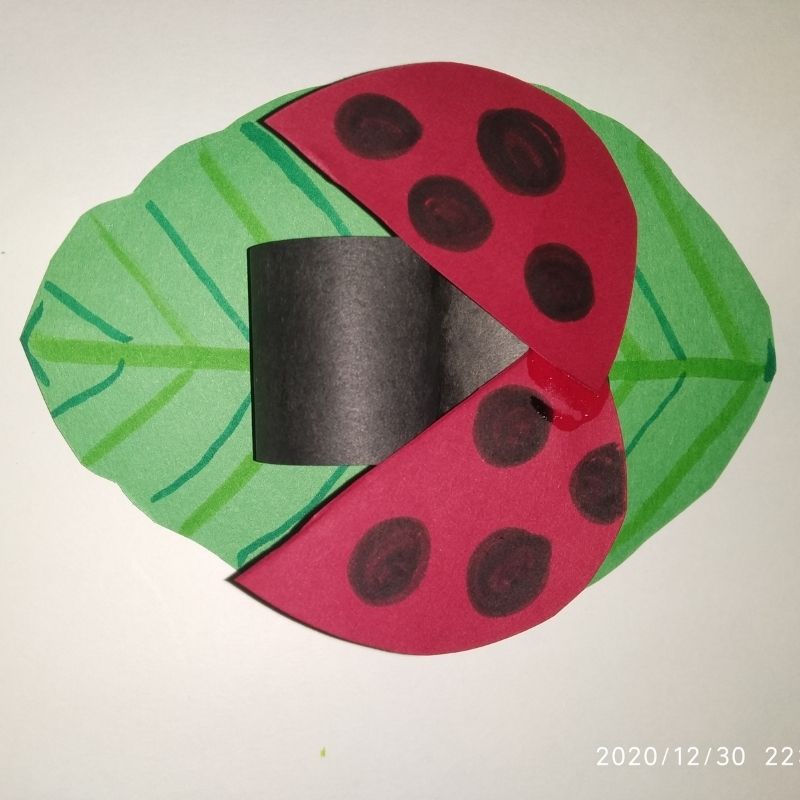
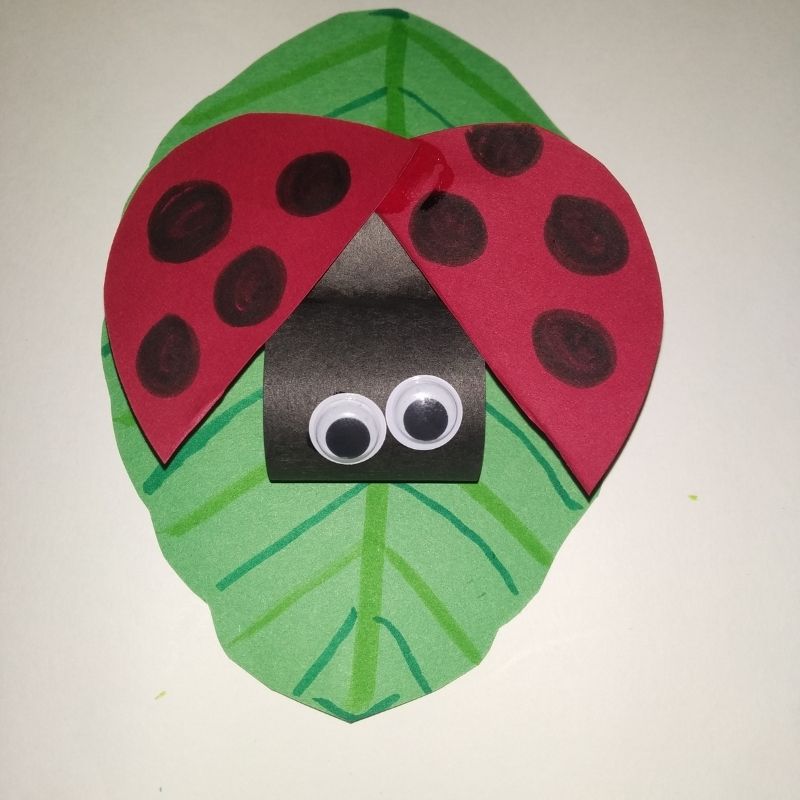
- Now you have the paper ladybug on a leaf is ready.
- Finally, stick the googly eyes and add details using sketch pens







Be the first one to comment on this story.