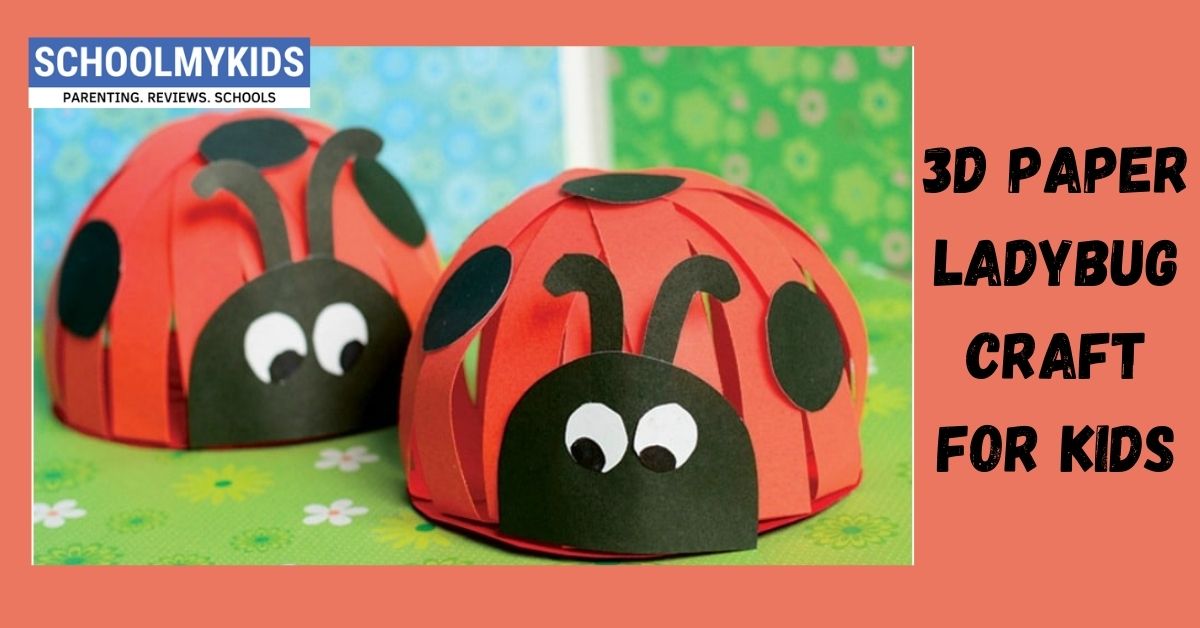
Hello kids! Ladybugs are attractive insects with bright red colour and black polka dots. Many of us have ladybug accessories! Be it a bookmark, hairpin, pencil topper, erasers and many more. So to add more to this let’s make a beautiful 3d paper ladybug craft today. With basic art and craft supplies, we are ready to make one creative paper ladybug craft!
Follow the instructions to know how to make 3D Paper Ladybug Craft.
Materials Required to Make 3D Paper Ladybug Craft

- Red paper
- Black paper
- White paper
- Sketch pens
- Pencil
- Scissors
- Glue
How to Make 3D Paper Ladybug Craft Step by Step
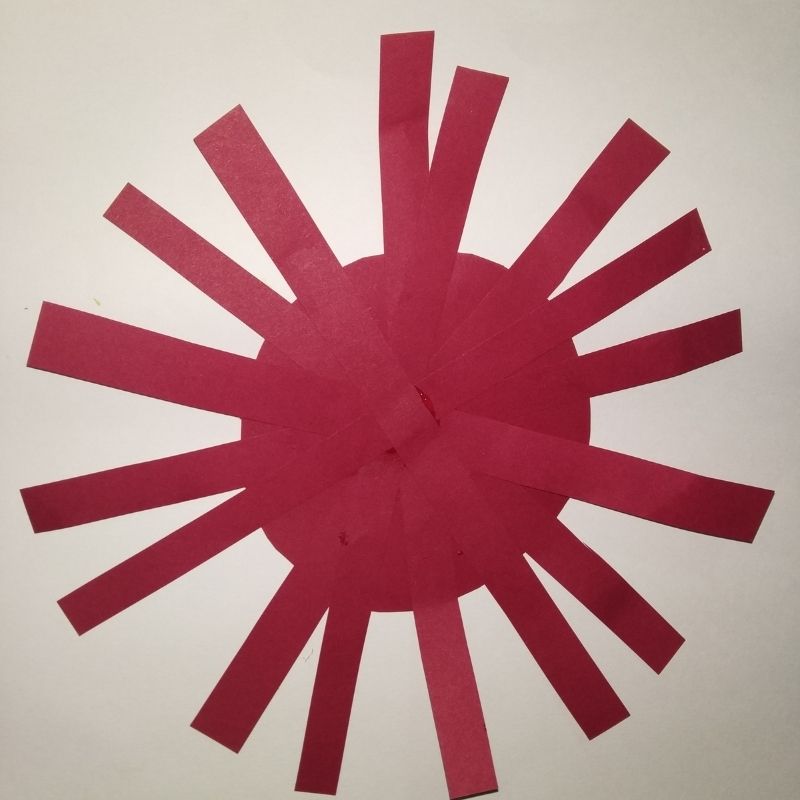
- First, we will start by drawing a 10cm diameter circle on a red paper.
- Cut the circle and keep aside.

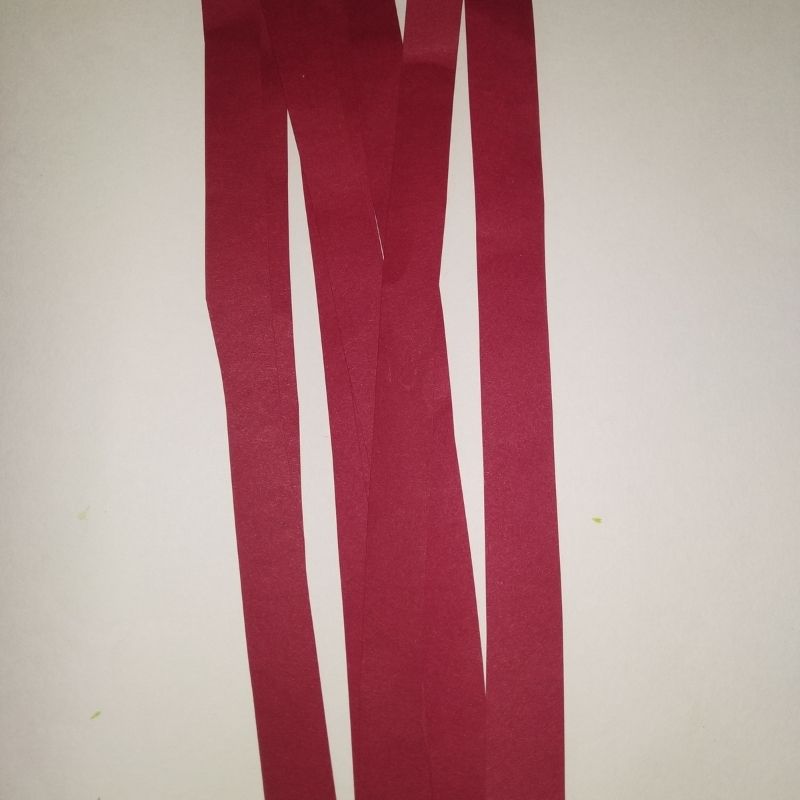
- Next, cut around 6-8 strips of red paper. The size should be 1cm by 15cm.
- Now take the red circle, this is the base of our ladybug.
- Start sticking the strips in a cross pattern with its centre on the base.
- Stick all the strips and join the ends on top by making a ball of the red strips.
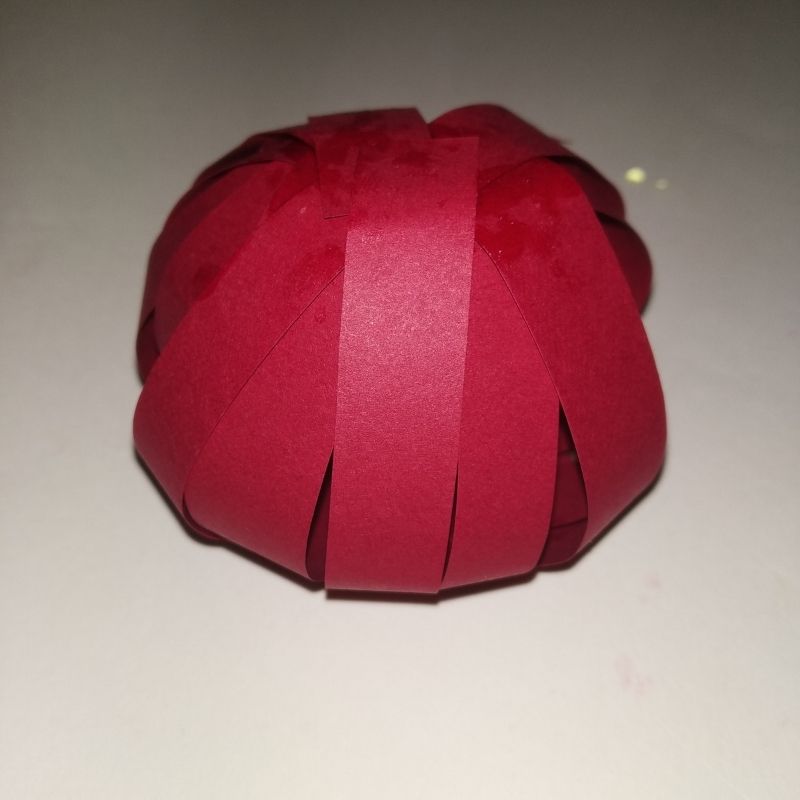
- This is the body of the ladybug.
- Next, take a black sheet of paper and draw polka dots, antennas and face of the ladybug.
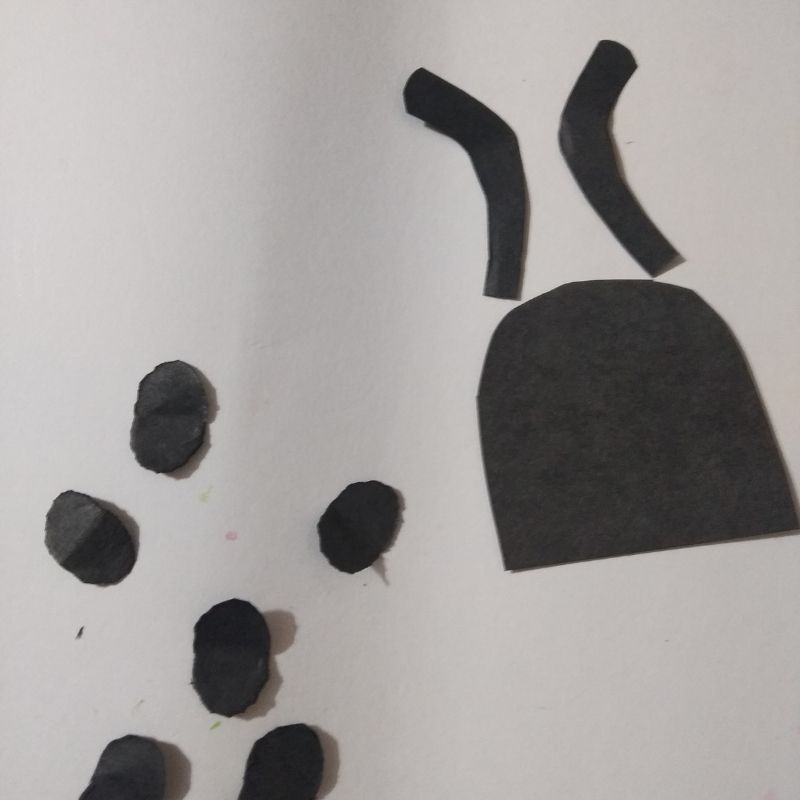
- Cut these elements and stick them on the red ball.
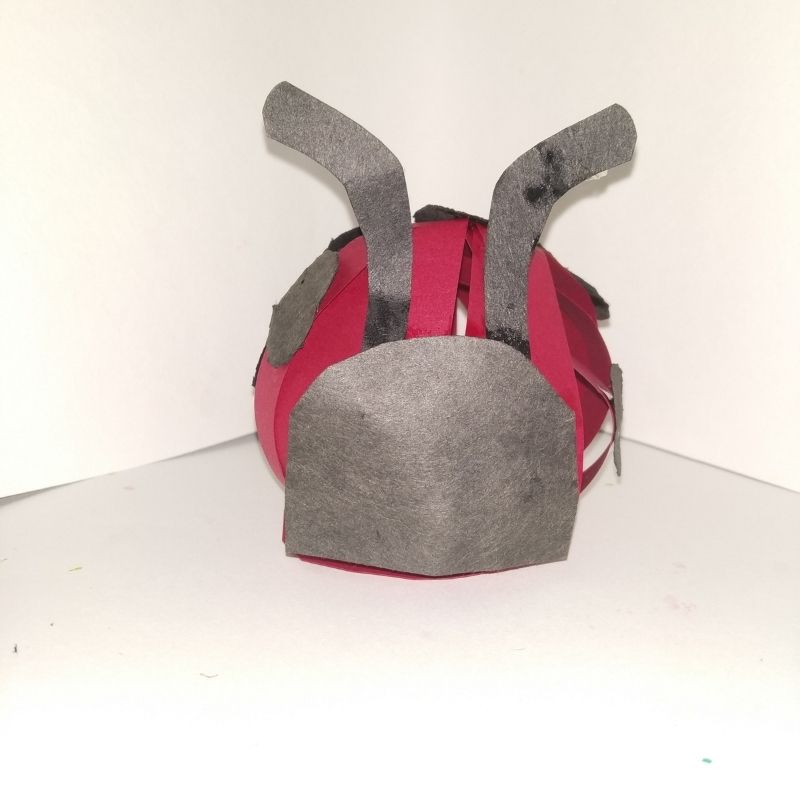
- Next, stick the antennas over the head of the ladybug.
- Next tale a white sheet of paper and cut two small circles as the eyes.
- Add details using a black sketch pen and stick it on the face.
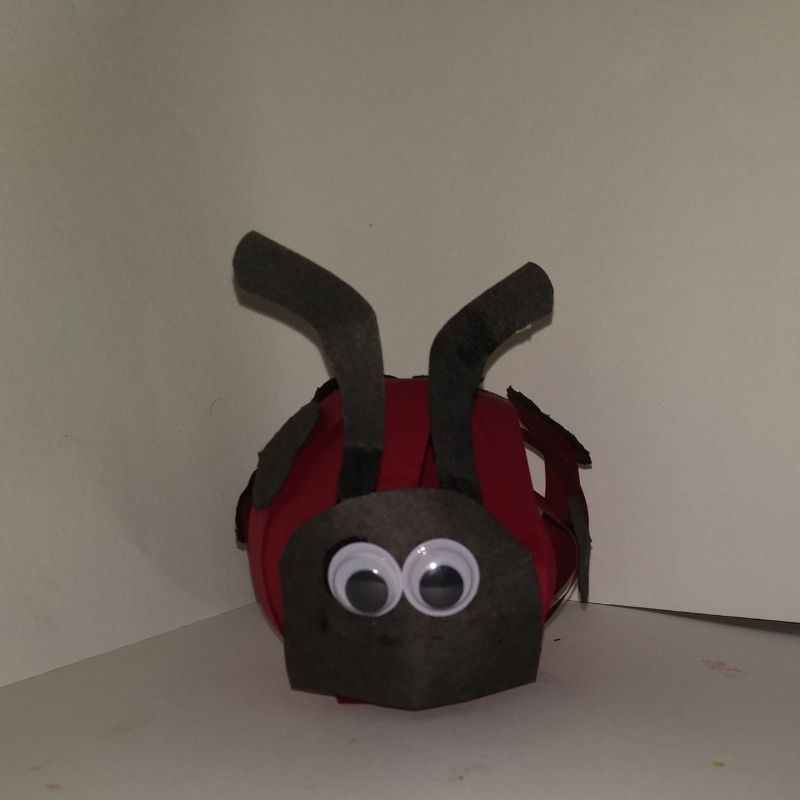
- That’s it, kids! Your 3D paper ladybug craft is all ready!
- Try for yourself!


Be the first one to comment on this story.